Quick Overview: How To Cut Chicken Wings
- Wash and dry chicken wings.
- Cut off wing tips.
- Cut through the joint to separate the drumette and wingette.
- Repeat for all wings.
- Season or marinate as desired.
- Cook using the preferred method until the internal temperature reaches 165°F and the skin is crispy.
- Enjoy!
Are you a fan of chicken wings? These delicious and versatile snacks are a staple at sports bars, parties, and game-day gatherings and can be cooked to suit any taste or occasion.
In this blog post, I’ll walk you through the steps of cutting and cooking chicken wings into portions, whether you prefer drumettes or wingettes, and share tips for achieving the perfect level of crispiness, as well as the best Dalstrong tools to help you work through tough joints and bones!
1. Different Parts Of A Chicken Wing
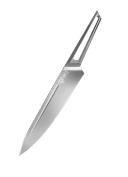
 Boning Knife 6" Quantum 1 Series Dalstrong
A chicken wing is comprised of three distinct parts: the drumette, the wingette, and the wing tip. Understanding these parts is important not only for portioning and cooking but also for selecting the right cuts for your recipes.
Drumette
The drumette is the more substantial part of the chicken wing, shaped like a small drumstick. It is the part closest to the breast and has a single bone running through the center. Drumettes are popular because of their meatiness and are great for grilling or baking since they stay juicy and tender.
Wingette
The flat or wingette, is the middle portion of the chicken wing. It has a flat, elongated shape with two parallel bones running through it, which makes it more challenging to eat. The wingette is also meaty, but it has less meat compared to the drumette. Wingettes are commonly used for Buffalo-style wings and other saucy, flavor-packed recipes.
Wing Tip
The wing tip is the pointed, bony portion of the chicken wing. While it is consumable, it is not normally used in cooking and is often removed before the wing is sold or prepared. However, the wing tip can be saved and used to make chicken stock, which is a flavorful base for soups and stews.
Kitchen Shears Are Your Best Friend
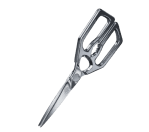
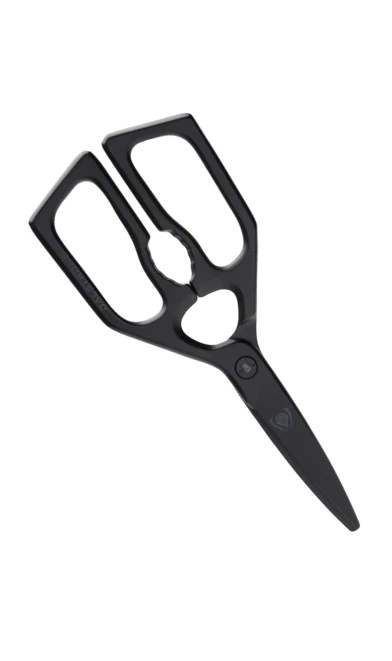
When buying chicken wings, you can purchase them whole or already portioned into drumettes and wingettes. If you prefer to portion them yourself, use a sharp knife or kitchen scissors to separate the drumette from the wingette by cutting through the joint. You can also remove the wing tip by trimming it off with a scissors or knife.
Understanding the different parts of a chicken wing can help you choose the right cuts for your recipes and ensure that your chicken wings are made equally and to the right heat. So whether you're grilling, baking, or frying, make sure to choose the right cut for the job!
2. Detailed Guide On How To Cut Chicken Wings
 Corner Cutting Board - Teak Wood
Cutting chicken wings into portions can be a bit tricky if you're not familiar with the process. But don't fret; with a few simple steps, you will be able to do it like a veteran! Here is a complete guide on how to cut chicken wings:
- Clean the wings: Before cutting the chicken wings, make sure to clean them thoroughly with cold water and pat them dry with a paper towel.
- Locate the joints: Hold the chicken wing with one hand and use the other hand to locate the joint between the drumette and wingette (also called the flapper).
- Separate the drumette: Maneuver a sharp knife to slash through the joint and separate the drumette from the wingette. You should feel little resistance if you cut it cleanly.
- Save the wing tips: If desired, you can save the wing tips to use later for making chicken stock.
- Move the joint backward: Hold the drumette with one hand and move the joint backward to expose the bone.
- Cut cleanly: Use a sharp knife to cut through the skin and meat to expose the bone. Cut cleanly and avoid damaging the bone.
- Separate the wingette: Use your fingers to pull the wingette away from the bone and cut through the joint to separate it from the drumette.
- Repeat for all wings: Repeat the process for all chicken wings.
- Use kitchen scissors: If you choose, you can also make use of kitchen scissors to cut through the skin and meat instead of a knife.
- Ready to cook: Your chicken wings are now cut into portions and ready for your favorite recipes, whether you're grilling, baking, or cooking them in an air fryer.
3. Best Way To Cook Chicken Wings
 Boning Knife 8" | Gladiator Series
There are tens, if not hundreds, of different methods to prepare chicken wings, but some methods are more popular than others. Here are some of the finest methods to cook chicken wings:
Baking
Baking chicken wings in the roaster is a sought-after method because it's easy and results in crispy skins. To bake chicken wings, simply coat them in a seasoning mix, place them on a sheet, and bake in the roaster for about 25-30 minutes, flipping halfway through.
Grilling
Grilling chicken wings is another popular method, especially during the summer months. To grill chicken wings, brush them with a marinade or barbecue sauce and grill over medium-high heat for 8-10 minutes, flipping occasionally.
Air frying
Air fryers are becoming more desired as a healthier alternative to deep-frying. To air fry chicken wings, simply season them with your favorite spices, and place them in the air fryer for 20-25 minutes, flipping halfway through.
Deep-frying
If you're looking for a classic and indulgent way to cook chicken wings, deep-frying is the way to go. Simply heat up a pot of oil to 375°F, and fry the wings for about 8-10 minutes until they are golden brown.
Pro Tip
No matter how you choose to cook your chicken wings, make sure, they are cooked to an internal heat of 165°F, and utilize a meat thermometer to ensure they are safe to eat. Once your wings are cooked, you can throw them in your preferred seasoning or sauce and enjoy them as a delicious and crowd-pleasing appetizer or main dish.
Learn about how to make crispy buffalo chicken wings (baked), here.
4. Dalstrong Tools You Will Need
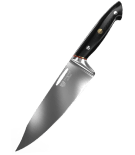
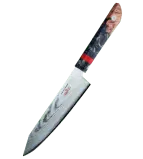
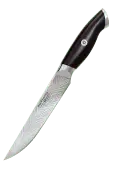
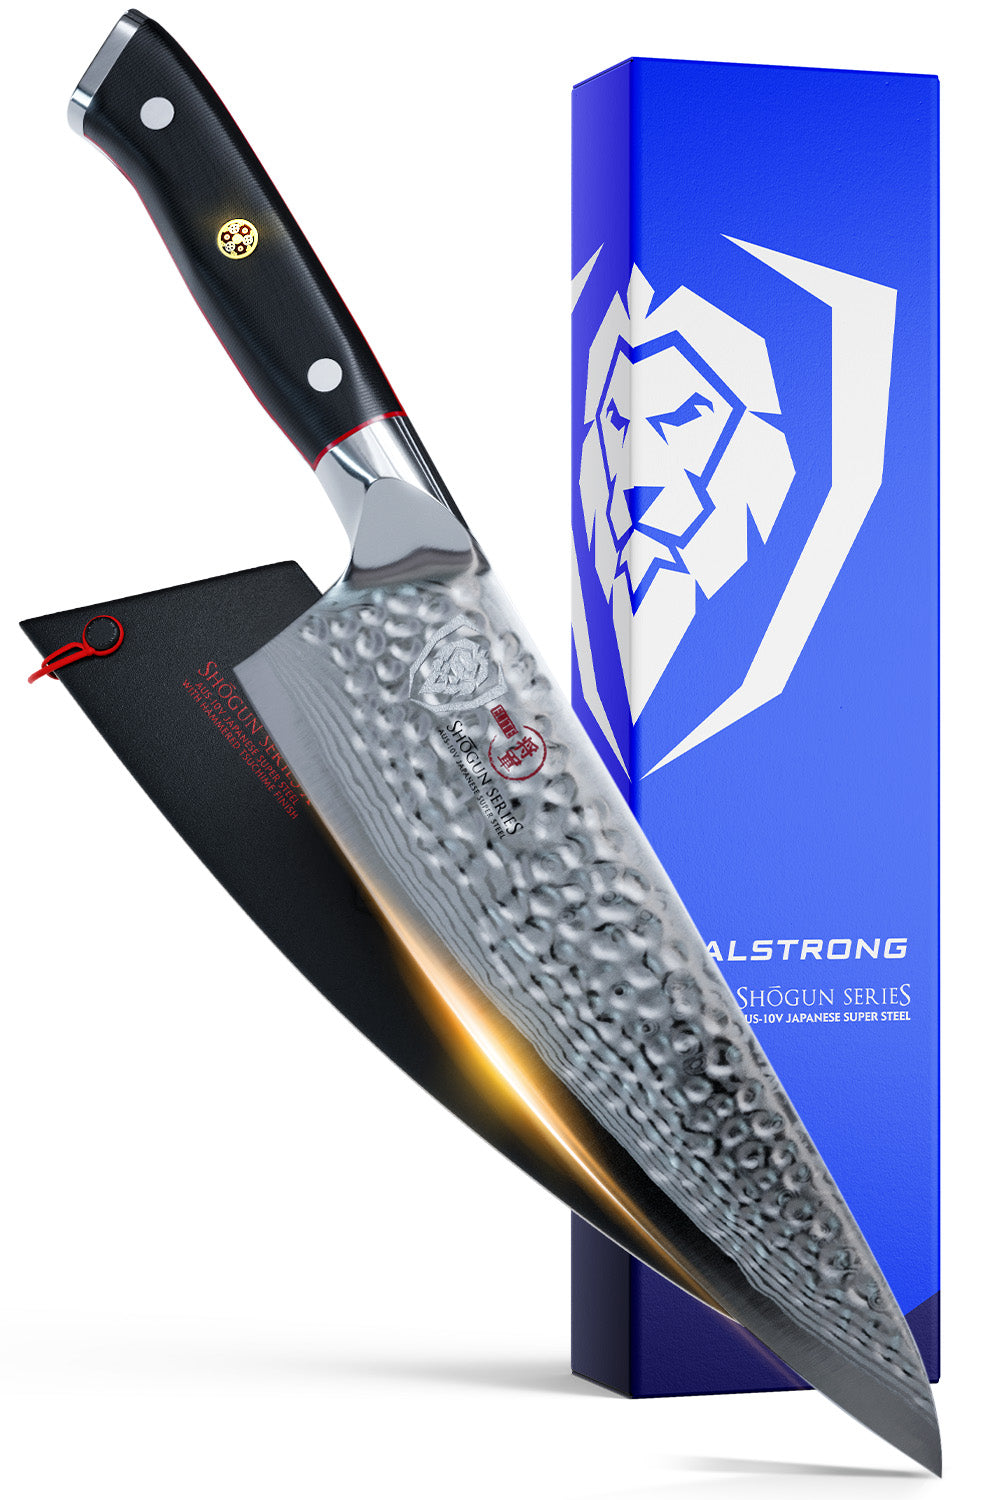
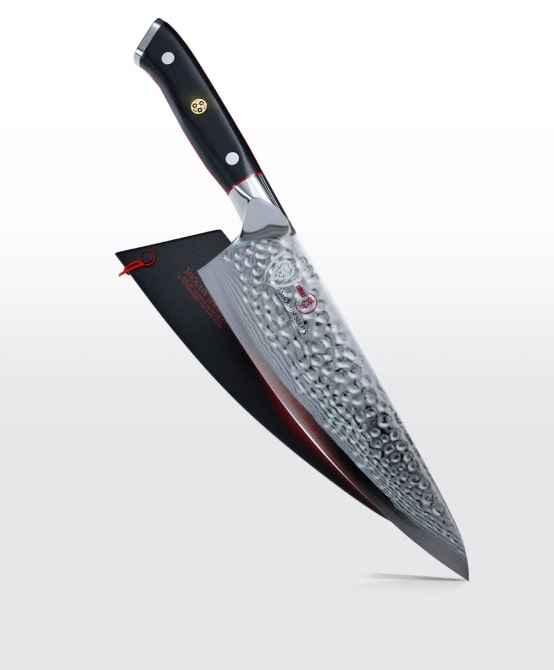
1. Boning Knife 6" Crimson Red ABS Handle Shogun Series Dalstrong
This an exceptional boning knife designed to take on any culinary challenge with its scalpel-like sharpness at a remarkable 8-10°degree angle per side. The knife features incredible edge retention with a 62+ Rockwell hardness, and its rock hollow divots minimize friction and stock on food, making it a joy to use.
PROS:
- AUS-10V Japanese super steel core for ultimate performance.
- Rust/corrosion-resistant cladding for long-lasting durability.
- Tapered bolster provides a perfect ‘zero-balance’ balance, finger protection, and comfortable grip.
- Precise cryogenic tempering enhances strength, flexibility, and hardness.
CONS:
- The blade may require additional care and maintenance due to its sharpness.
- The high-quality materials and craftsmanship may come with a higher price tag than other kitchen knives on the market.

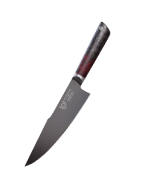
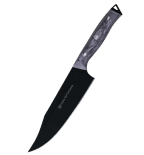
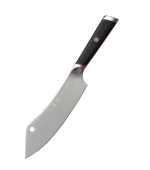
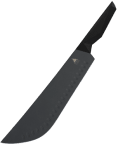
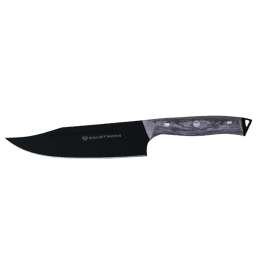
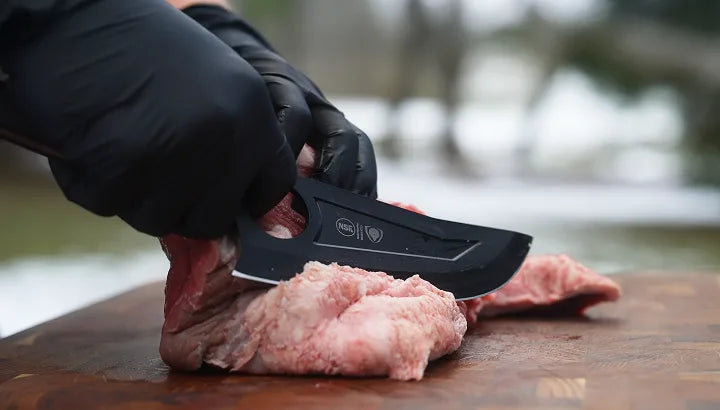
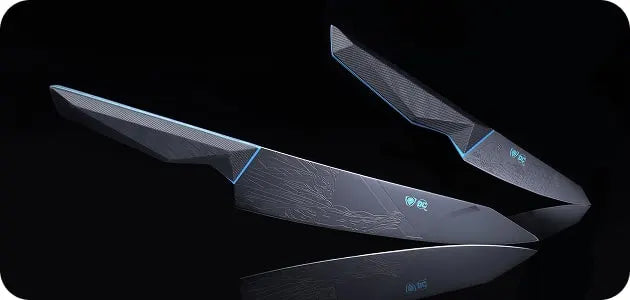
This boning knife from the Shadow Black Series is simply phenomenal.The blade is a precision forged and ultra-sharp kind that is made from high-carbon 7CR17MOV-X vacuum-treated steel at 58 Rockwell. Its hand-sharpened edge sustains a ideal balance between sharpness and resilience. The knife features a black, non-reflective titanium-nitride coating that adds corrosion resistance and enhances non-stick properties.
PROS:
- High-quality, wear-resistant steel
- Hand-sharpened to a precise angle for optimal sharpness and resilience
- Tall blade height provides knuckle clearance for food preparation
- Black coating adds corrosion resistance and non-stick properties
- Ergonomic handle for maximum comfort and maneuverability
- NSF Certified for quality assurance
CONS:
- Some cooks and chefs may prefer a different handle material.
- The design of this knife may add a few minutes to the knife sharpening process.

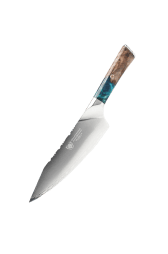
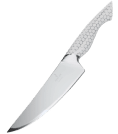
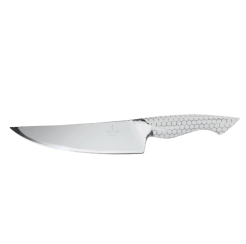
The 6" boning knife from the Valhalla series is a personal favorite! It is a precision tool designed for those who request the very finest in performance and design in the kitchen. The blade is forged with 5-layer stainless steel at 60+ Rockwell hardness, ensuring a sharp, durable edge that can withstand even the most vigorous use. The edge is hand sharpened to an 8-12° angle per side and has a beautiful sandblasted finish.
PROS:
- Precision forged and ultra-sharp blade for effortless slicing, dicing, and cutting.
- Sturdy and strong impact resistance handle that can withstand extreme temperatures.
- Superior scratch-resistant material that maintains a polished and glossy finish.
- Sanitary build for busy kitchens.
CONS:
- The 6" blade may not be suitable for larger cuts of meat. Others want to go for a extended blade length.
- The handle material may not be to everyone's preference.

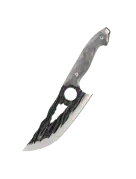
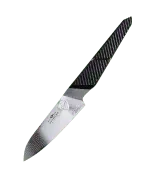
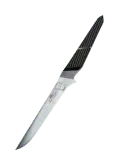
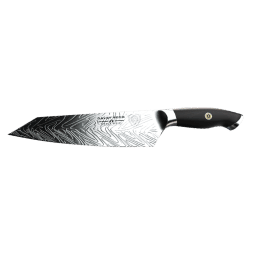
This high-performing knife is designed to handle the toughest of kitchen tasks with ease. The blade is made from precision-forged, ultra-sharp, and wear-resistant high-carbon 9CR18MOV steel at 60° Rockwell Hardness.
PROS:
- Precision forging and high-carbon steel create a strong and durable blade.
- Ultra-thin blade thickness reduces friction and allows for precision cutting.
- Dalstrong Diamond Detailing (D3) and black titanium-nitride coating enhance the blade's sharpness, corrosion resistance, and non-stick properties.
- Added chromium provides stain resistance.
CONS:
- The G10 camouflage handle may not appeal to everyone's aesthetic tastes.
- The ultra-thin blade may not be suitable for heavy-duty tasks.
5. Curved Boning Knife 6" Firestorm Alpha Series Dalstrong

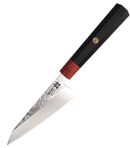
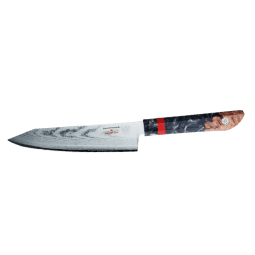
The double bevel blade on this curved boning knife is ruthlessly hand-sharpened to 8-12° for ultra-thin slicing, making it ideal for boning, filleting, and trimming. The blade features laser-etched Dalstrong, and Firestorm marks with an engraved lionhead logo, adding an extra touch of style and sophistication.
PROS:
- 67 layers of high-carbon steel and a rating of 61+ on the Rockwell Hardness scale indicate exceptional strength and durability.
- The double bevel blade, hand sharpened to 8-12°, allows for precise and ultra-thin slicing.
- The red G10 ring and mosaic rivet adds durability and a pop of color to the handle.
- The traditional Japanese "Wa" shape of the handle provides an ergonomic fit and an iconic look.
- The included ABS sheath allows for safe storage and transport.
CONS:
- The 6" blade length may not be suitable for larger cutting tasks.
- The intricate layering and design of the blade may need more care and maintenance than a simpler blade.
5. Frequently Asked Questions
How do you cut chicken wings with scissors?
To cut chicken wings with scissors, start at the joint and cut through the skin, cartilage, and bone.
How do you cut a portion of chicken wings?
To cut a portion of chicken wings, locate the joint, and cut through the bone with a sharp knife or kitchen shears.
Do you have to cut chicken wings before cooking?
It is not necessary to cut chicken wings before cooking, but some recipes may call for it, such as when making chicken wingettes or drumettes.


