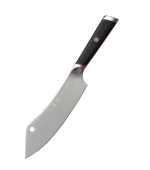
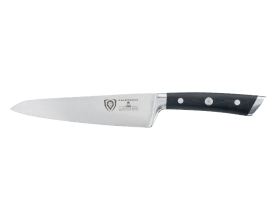
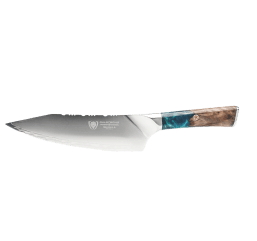
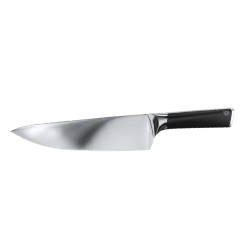
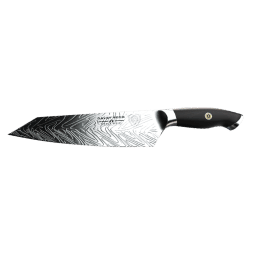
 Nakiri Knife 7" | Omega Series
How to Open a Coconut
Quick Steps Overview
- Set up the cutting station
- Drain the coconut water
- Crack the coconut
- Loosen the coconut meat
- Scoop out the coconut meat
- Peel the skin
There are very few fruits that are as fascinating as a coconut. Although their exterior may look complicated, the fruit inside is a delicious sweet treat. Coconuts are delicious and versatile, especially if eaten fresh. Now, I know a lot of you shy away from buying whole coconuts because you assume that you need special tools to cut them open, but you don’t!

1. How To Tell If Coconut Is Ready To Be Opened
There are 2 types of coconuts commonly available in the market. If you are buying the coconut for its meat, opt for a mature coconut. These will have a hard surface, covered in brown hair-like fibers. If coconut water is what you’re looking for, young coconuts should be your pick. Typically, these are sold peeled, but you have to cut it open to get to the good stuff.
No matter what coconut you go for, here are a few tips that will help you pick the finest one:
- Pick up the coconut and ensure that it feels heavy for its size.
- Shake the coconut. While doing this, you should hear some water flowing around. Remember, that both young and mature coconuts must have some water inside.
- Steer clear of any coconuts with cracks, mold, or wet exteriors.
To know if the coconut is ready to be opened, press your thumb against the three “eyes” at the top of the fruit. Compared to the hard shell, this should feel slightly soft and dry. In a mature fruit that is ready to be cut, you should also be able to hear the coconut water splashing inside.
2. Tools Required To Cut Open A Coconut
- Cutting board: A big and sturdy cutting board is very important for this task. It will help keep the coconut in place and minimize the mess.
- Sharp knife: A razor-sharp paring knife is the perfect tool to help you pry out the flesh away from the shell. If need be, you can also use a meat cleaver for this purpose.
- Screwdriver/Metal skewer: This will make it easier for you to poke holes in the 3 “eyes” of the coconut to drain the after.
- Bowl/Liquid measuring cup: To avoid spilling and wasting coconut water, make sure to drain the fruit over a bowl or cup.
3. Different Ways of Opening a Coconut
|
Method 1: The Knife Method |
|
|
Step 1: Set up the cutting station |
Note: I suggest you also keep a napkin or some paper towels around just in case things get messy. |
|
Step 2: Drain the coconut water |
|
|
Step 3: Crack the coconut |
|
|
Step 4: Loosen the flesh |
|
|
Step 5: Scoop out the flesh |
|
|
Step 6: Peel the skin |
|
|
Method 2: The Bang Method |
|
|
Step 1: |
|
|
Step 2: |
|
|
Step 3: |
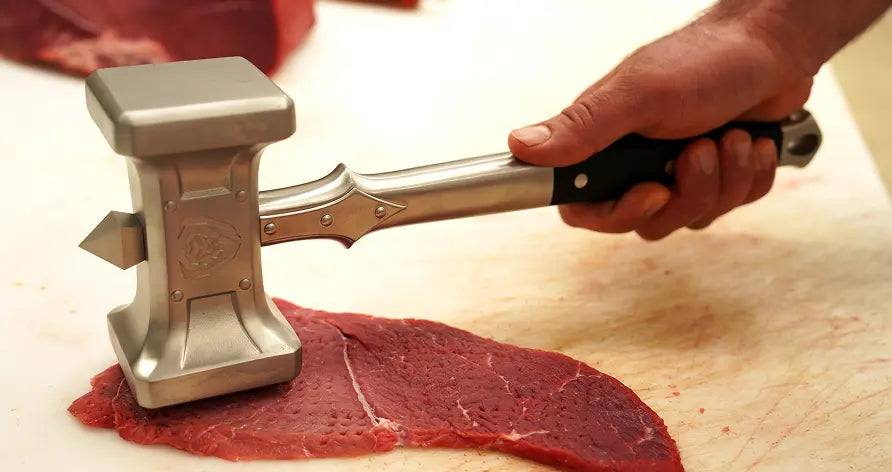
Note: If the cracked pieces of coconut are too big, you can break them down into smaller pieces using a meat hammer. |
|
Method 3: The Oven Method |
|
|
Step 1: |
|
|
Step 2: |
|
|
Step 3: |
|
4. Health Benefits of Coconut
Coconut Oil
Coconut oil is rich in lauric acid which has anti-microbial and anti-bacterial properties. This means that it can help fight infections.
Coconut oil also makes a great oil for people who are trying to lose weight as most of its fats are medium-chain fatty acids. The particular type of fat is easy to digest and use immediately for energy. This oil also plays a positive role in cases of cardiovascular diseases.
Uses
Solidified coconut oil can be used to cook and bake as it helps create a firm texture. It also does wonders when incorporated into homemade beauty care products. It acts as a great moisturizer and can be applied directly to the skin or incorporated into DIY lip balm recipes.
Coconut Milk
Just like coconut oil, this is also a great source of lauric acid and medium-chain fats. It is also a great substitute for milk as it is vegan and dairy-free. This makes it a great ingredient for any lactose-free or vegan recipe.
Uses
The thick and creamy texture and sweet flavor of this make it a great substitute for any milk-based product. It results in excellent curries, soups, hot chocolate, baked goods, ice cream, smoothies, pies, tarts, coconut rice, and also coconut whipped cream.
Coconut Meat
The white flesh of this fruit has immune-boosting and heart-healthy benefits.
It contains proteins like iron, potassium, and magnesium and is a great source of fiber. This works in favor of those with digestive tract issues.
Uses
You can toss fresh coconut meat into a smoothie or curry, blend it into coconut milk, ferment coconut yogurt, slice it up and dry to make coconut chips, or snack on it just as is.
Shredded Coconut
For shredded coconut, grate the white meat into shreds using a grater and dry the coconut in the oven on a baking sheet at its lowest setting, until completely dry. Shredded coconut adds dietary fibers, iron, and zinc to your diet. Uses
Shredded coconut can be used to make cookies, muffins, granola bars, coconut butter, dairy-free chocolate, coconut macaroons, bread, porridges, and puddings.
Coconut Water
This sweet water derived from green coconut is an excellent source of electrolytes and contains high amounts of potassium, sodium, calcium, and magnesium. This makes it a great post-workout beverage.
Research suggests that coconut juice can also help lower blood pressure and has anti-bacterial properties.
Packaged coconut water that you would find in your local store is not going to offer you the same nutrient value that you’d get from fresh, raw, and unpasteurized coconut water.
Uses
The fruit has a naturally sweet taste so you can use it in any context where you’d use normal water. However, to retain the health benefits, smoothies, juices, and raw desserts are the best way to consume them. My favorite has to be drinking it straight up.
5. How to Store Coconut
Fresh, unopened coconut can last for up to 4 years if stored at room temperature.
The grated, fresh coconut should be stored in an air-tight, sealed container or plastic bag. This can be stored in the refrigerator for up to 4 days.
You can also freezer coconut for about 6 months. The best way to do this is to remove the husk, drain the liquid inside, and slice and chunk white flesh.
6. Recommended Paring Knives To Open a Coconut
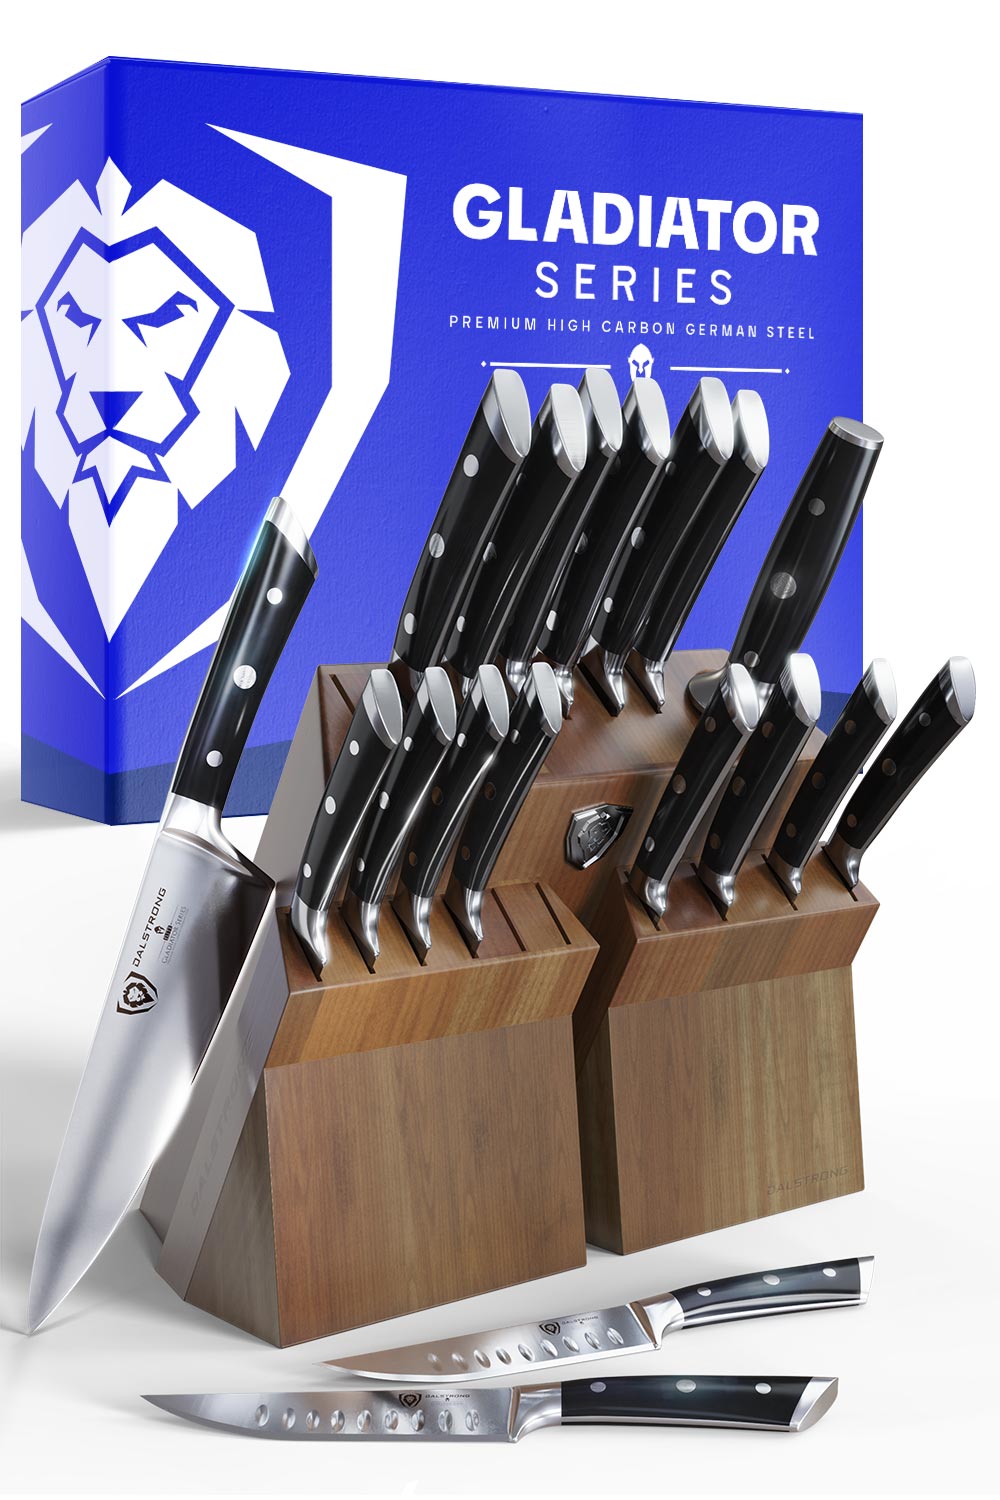
1. Paring Knife 3.5”- Gladiator Series
This paring knife is a master of precision with a small and narrow yet strong and ruthless blade that can cut open even the toughest coconuts. Not just that, it is also almost as versatile as a chef’s knife, making this a great addition to your knife collection.
Pros:
- The knife is designed to give the user maximum comfort even when performing the most tricky kitchen task.
- The tapered design of the blade provides its hardness and flexibility, making it a great tool to cut open a mature or fresh, young coconut.
- The blade of this knife is highly impervious to heat and moisture which allows it to withstand the harsh kitchen environment.
Cons:
- You might need a longer blade if cutting open a bigger coconut as the 3.5-inch blade of this knife might fall short.
- While it doesn’t need to be sharpened that often, the blade of this knife can slightly be difficult to sharpen.
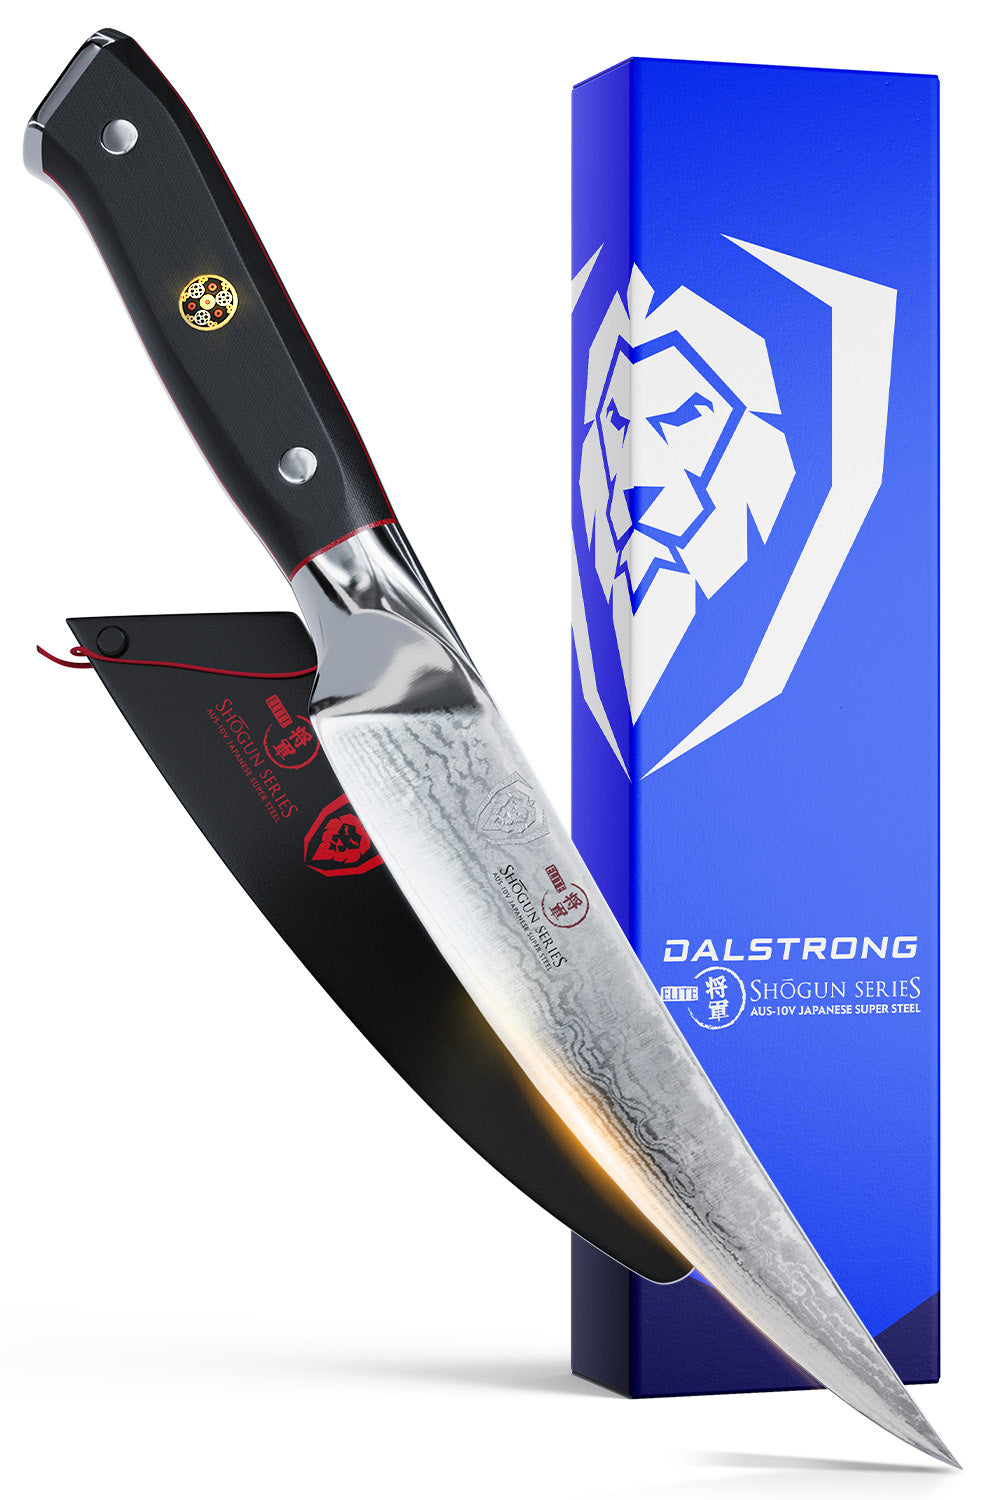
2. Paring Knife 3.5”- Shogun Series
This beautifully crafted knife is built to last in the kitchen making it a worthwhile investment.
Pros:
- The blade is precision forged from a single piece of Japanese high-carbon steel that enhances the strength and hardness of the knife, making it a great to tackle a coconut.
- The blade cleans easily, making it a low-maintenance addition.
- The handle is made of incredibly strong, non-porous, fiberglass-like material that makes this knife highly durable.
Cons:
- This knife is pricey, especially for someone who does not cook regularly. In that case, you can check out the other paring knives we have.
- If you are looking for something, especially for peeling or other delicate tasks, you can also go for the 2.75” Bird’s Beak Paring Knife.
3. Paring Knife 4”- Omega Series
Looking for a blade that will help you perform any kind of kitchen task with ease? Then this is what you need! This blade is specifically engineered for tasks like coring, slicing, peeling fruits and vegetables, mincing herbs, and scoring detailed patterns.
Pros:
- The screamingly sharp edge of this knife is perfect for helping you scoop out the meat from the coconut.
- The added Nitrogen increases hardness, flexibility, and toughness, helping you with tasks like cracking coconuts.
- The knife’s distinct and striking appearance will make this a head-turner in your kitchen.
Cons:
- While it is worth it for a seasoned chef or someone who spends long hours in the kitchen, if you don’t cook that often, you might not want to spend so much on a knife.
- Paring knives can be slightly difficult to use, so if you are a new cook, be patient and practice before you begin using them in full swing.
4. Paring Knife 4”- Valhalla Series
Small and powerful, this multi-purpose bole is perfect for intricate kitchen tasks like skinning, peeling, deveining, and seed removal. The precisely tempered blade of this knife proved it with extra strength and hardness.
Pros:
- This mighty knife is beautifully designed to enhance the look and charm of your kitchen space.
- The knife cleans easily, making it a low-maintenance blade.
- The small size of the blade makes it very easy to store.
Cons:
- While gorgeous is an understatement for how this knife looks, the design might be too bold for those with a minimalistic taste.
- A wood handle might not be everyone's preferred choice.
5. Paring Knife 4”- Shadow Black Series
With a screamingly sharp edge, this knife is designed to be sleek, aggressive, and effective when working tirelessly in the kitchen.
Pros:
- The handle of the blade is designed to minimize fatigue, making sure you can work long hours comfortably.
- The striking features of this knife are bound to turn heads in any kitchen.
- The carefully tapered blade of the knife ensures minimal food drag and maximum edge retention.
Cons:
- The all-black look might not match every kitchen aesthetic.
- The handle of this knife might be a concern for some as it can get slippery when in use.
7. Frequently Asked Questions
What is the best tool to open a coconut?
Some everyday tools that can help you open a coconut are metal BBQ skewers, a screwdriver, a hammer, and a sharp paring knife.
How do you open a coconut without a tool?
You can place the coconut in a cloth bag and bang the bag against a rocky/hard surface. This will help you crack the coconut quickly.
Check Out All Of Our Kitchen Knives
120 Day Full Money Back Guarantee with ALL Dalstrong Knives.
Written by Himani Vaid
Toronto-based food nerd turned food storyteller, Himani is a connoisseur of all things delish. Currently, busy thinking about what to eat next.


