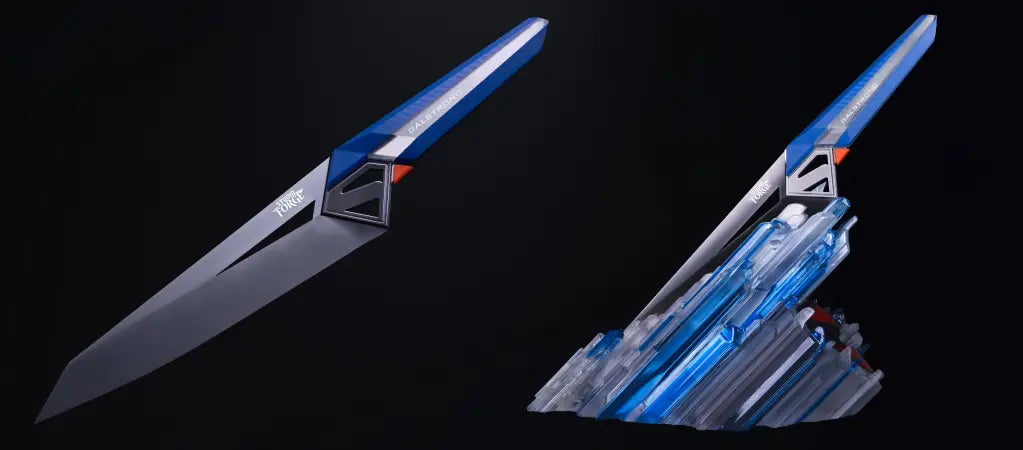
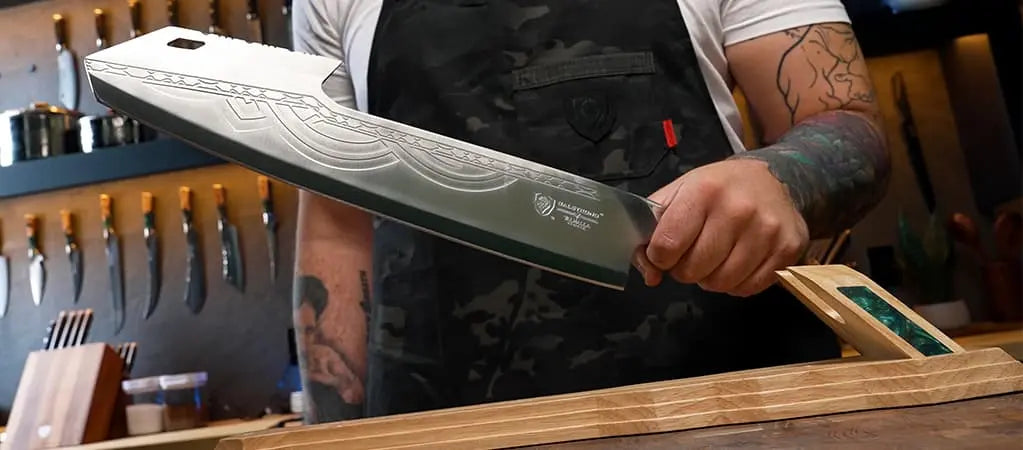
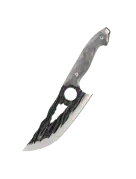
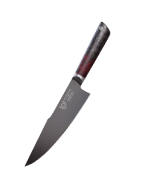
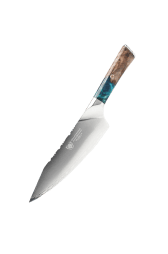
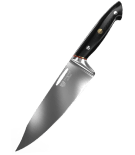
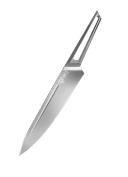
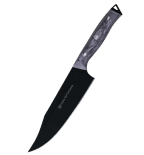
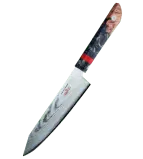
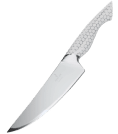
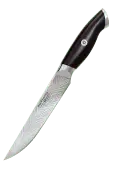
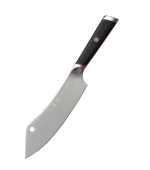
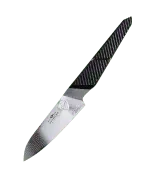
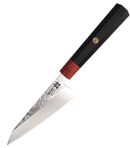
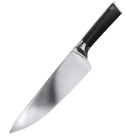
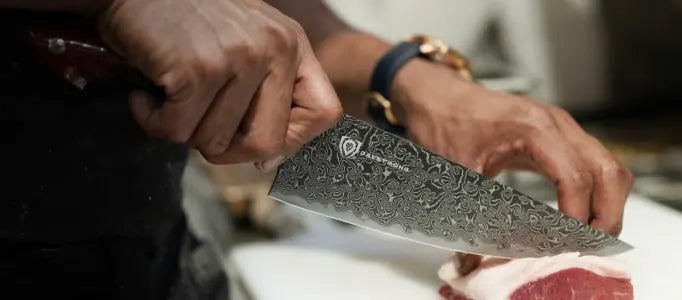
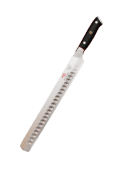
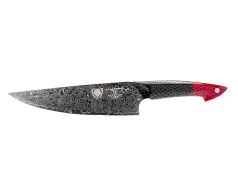
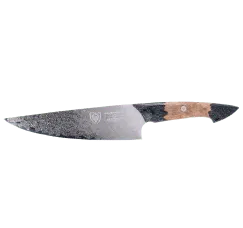
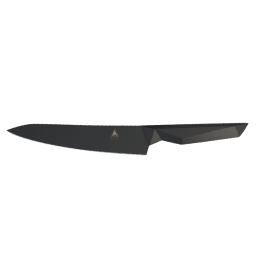
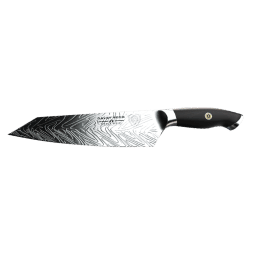
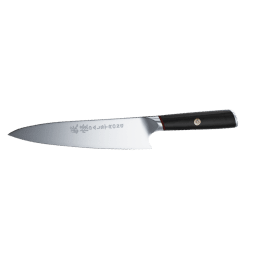
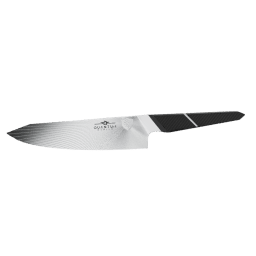
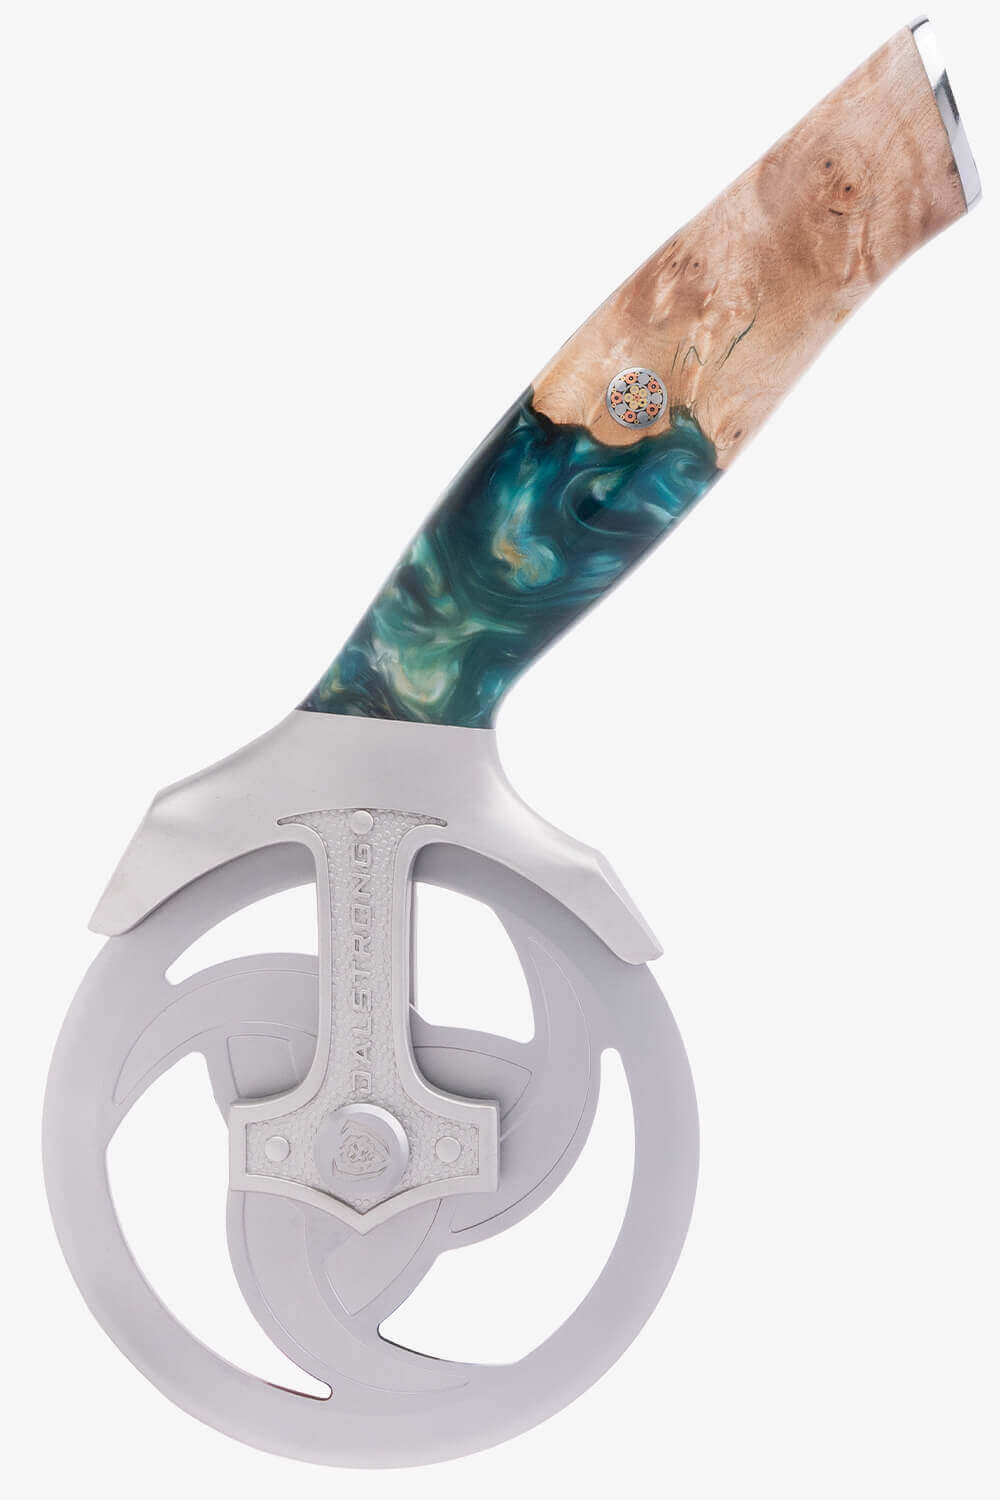
 Slicing & Carving Knife 12" | Phantom Series
What is Brisket? The Definitive Guide for 2022
Beef brisket is a large cut of beef taken from the lower breast or pectoral muscles of the cow. It is a highly exercised area, so it is a naturally tough meat; however, it is also highly flavorful, and the process of slow cooking can break down its connective tissue and result in a tender, juicy, exquisite piece of beef.

1. What is Brisket, Anyway?
Up until somewhat recently, I was the kind of person who’d go through life, fully content to not know anything about cuts of beef or different cooking temperatures or “meat grain”. I didn’t need to know what part of the animal I was eating; as far as I was concerned it was all the same.
Of course, when it comes time to take home cooking seriously, there are a few things you need to learn. Knowing what piece of the animal you’re cooking is one of them, and an extremely helpful one. Not only will it help you hone your personal taste and pick the cuts of meat you prefer, but it also aids in knowing how to cook it.
For years, I had no idea what brisket was. I don’t think many of my friends know, either. They just know that smoked brisket is this delicious, succulent, juicy cut of beef that is always close to falling apart and is brimming with delicious flavor. A Texas brisket is one of the best things in the world.
But little do they know that brisket’s texture doesn’t come naturally to the meat – in fact, it’s a direct result of the long, drawn-out cooking process. If you were to take a piece of brisket and simply cook it like a steak, you’d end up with an extremely tough, extremely chewy piece of meat.
This is why knowing which piece of meat you’re eating helps. So let’s dig into the noble beef brisket; we’ll learn what it is, how to pick the best ones, how to cook it, and then how to slice it properly (including what tools you’ll need for each one of these tasks).
First off, what is brisket?
Brisket is a cut of beef originating from the lower breast or pectoral muscles of a cow. Yes, this is an area of the cow that is well exercised. They use it a lot, as opposed to something like the tenderloin, which is high up and doesn’t get much exercise, resulting in an extremely tender piece of meat called filet mignon.
But the pectoral muscles, they’re always being used. This is because cattle don’t have collar bones, so these muscles have to support approximately 60% of their body weight. This results in a tough piece of meat, full of connective tissue.
And that’s where the slow, steady preparation comes in. As tough as brisket is naturally, it’s just as flavorful. And a long, slow preparation – smoked beef brisket for several hours in a smoker or a slow cooker – helps to break down this connective tissue. And once the tissue breaks down, it results in a tender, rich, delicious piece of meat. Not only that, but it will hold its shape after hours and hours of cooking – if you tried this with a chuck roast or short ribs, they’d fall apart quickly when you tried to slice it.
And the tender, juicy smoked brisket can then be sliced and served in a number of different presentations. It truly is one of the greatest discoveries of our modern cuisine, and one of the most satisfying meals to get right.
So let’s make sure you get it 100% right.
2. Brisket Buying Guide: What to Look For
The first thing you need to do is know what you’re looking for. So let’s talk about the parts that make up a brisket.
Brisket is a large cut of meat, usually weighing between 10 and 14 pounds. You might buy a full brisket (sometimes known as a “packer brisket”) or you might buy brisket in parts. For slow cooking, we recommend purchasing an entire brisket (or “packer brisket”, now that you’re learning the lingo).
The piece itself consists of two parts, corresponding to muscles that overlap: the “flat,” also known as the “flat cut” or “first cut,” is the thinner part. The “point,” also sometimes referred to as the “deckle point” or the “second cut”, is the thicker and fattier section.
It’s unusual to find a full brisket at your local grocery store, so you should try buying brisket from your local butcher. Developing a rapport with your local butcher is one of the best things you can do; after a few times, they’ll know to hook you up with the very best cuts available.
The thickness of the flat
When it comes time to buy a brisket, choose the one that has the thickest and most uniform flat. It’s common to see briskets that taper off too much. The problem there is that it will result in uneven cooking, and the burnt ends of your brisket will be dry and unpleasant. You’ll end up throwing it away or feeding it to the dog. Choose a brisket with a flat that is at least 1 inch thick at the very end.
Beef grade
You can make an imperfect cut of brisket into a truly delectable meal, but why not make things as easy as possible for yourself? It’s always good to examine the grade of beef you’re purchasing.
The very minimum you should be looking at is USDA Choice. If you can find Prime grade beef brisket, that’s fantastic and will result in a truly remarkable cooked brisket. If all that’s available is Select briskets, look elsewhere; it’s not worth it, and you’ll end up with a ho-hum experience.
Of course, there’s the extremely decadent Wagyu beef. If you can afford to treat yourself to this highly sought-after, highly marbled piece of meat, you should consider it. The marbling on a piece of Wagyu brisket is out of this world, but its fat does have a lower melting point. It’ll require you to adjust the finishing temperature down by 5-10 degrees to avoid overcooking. Certified Angus beef is also a great choice.
Fat cap
One last thing I’d like to point out is to be wary of the fat cap. A nice, thick layer of fat might seem appealing at first, but sometimes briskets have so much fat cap that it adds weight and drives up the price without adding much in terms of flavor (and you might have to trim off some of the fat anyway).
It’s always good to have a fat cap, but too much is wasteful. The fat cap doesn’t penetrate the meat and will end up dripping away during the cooking process. Too much may even prevent your rub or your marinade from reaching the meat.
For the best value and quality, the top layer of fat should be around 1 inch thick, no more. With the flat cut, you won’t have this problem.
3. Seasonings, Dry Rubs, and Brines for Brisket
Of course, cooking a large piece of meat like a beautiful brisket is more than just turning on the heat and placing the meat in there. You need to help it along with a little bit of seasoning. Sure, you could go the extra-straightforward route and simply season it with a bit of kosher salt, fresh ground pepper, and garlic powder… but what’s the fun in that?
If you want to bump your brisket up a notch, the best way to season it is by making a dry rub. And sure, you could go to the store and pick up someone else’s idea of a dry rub, but as we’ve discussed, there’s nothing like the personal touch.
The best dry rub for brisket
A rub is a combination of spices, salt, and sugar that is used to season the meat before cooking it. “But wait, what’s the difference between that and just seasoning?” I hear you ask. “Is putting salt and pepper on a piece of meat the same as a ‘dry rub’?”
Not at all! As it turns out, rubs are rarely added after cooking – they are used to add flavor and texture before cooking.
As far as I’m concerned, the best brisket rub is a simple blend of brown sugar and spices. It contains:
|
Brown sugar |
⅓ cup |
|
Paprika |
2 |
|
Smoked paprika |
1 tablespoon |
|
Freshly ground black pepper |
2 ½ teaspoons |
|
Kosher salt |
1 tablespoon |
|
Garlic powder |
1 tablespoon |
|
Onion powder |
1 tablespoon |
|
Mustard powder |
¾ teaspoon |
|
Cayenne pepper |
¼ teaspoon |
To make it, simply mix all your ingredients. Stir them until they’re well incorporated, then simply set them aside in an airtight container until you’re ready to use them.
And yes, this rub does include two types of paprika. I know you might be tempted to simply swap out the smoked paprika for regular paprika, but honestly, it makes a tremendous difference. You want that smoky flavor, trust me.
This rub is perfect on brisket, but it also pairs beautifully with pork, chicken, fish, or other cuts of beef. It will keep for up to four months when stored in a cool, dry place.
As far as applying the rub on the brisket, that’s pretty straightforward as well. Place a very generous amount of rub onto the meat and then use your hands to rub it all over, making sure it covers as much of the surface of the meat as possible. You can do this at any point before you cook your meat, or leave it on for 24 hours before cooking.
One thing to keep in mind: if you’re planning to brown your smoked brisket, my recommendation is to add the rub after you’ve done the browning. This rub contains sugar, and it can burn if you put it on the brisket before you brown it.
Brining your brisket
If you’re not sure what a brine is, or you think you know but you’re not 100%, let me break it down for you. A brine is a solution of salt (and other ingredients) in water, in which you can let your meat soak for some time to infuse it with flavor. It has the added benefit of tenderizing and moisturizing the meat, which is why some expert brisket makers choose to brine their briskets.
Do keep in mind that this is by no means an obligatory step. Since cuts of brisket tend to be quite large, and since the idea behind brining is to immerse the entire piece of meat in the solution, brining brisket requires a lot of time and patience. Don't forget the bay leaves!
So yes, it will require a container large enough to hold the entire brisket plus the brine solution, but the good news is that bringing brisket comes with a lot of benefits. You’ll be adding flavor and preventing your meat from drying out as it cooks, offering a layer of insurance against moisture loss. The end result will be a tasty, tender piece of meat.
Some simple cooking tips for brining your brisket:
- Use 1 cup of kosher salt per gallon of liquid. Proportions are the key here. Use too much salt or too little water, and your brine will be a failure.
- The liquid needs to be very cold. It’s a good idea to refrigerate the brine on its own for a while before you add the meat. Keep the meat away from the temperature “danger zone” of 40 to 140 degrees F.
- Make sure the entire piece of meat is fully covered. Don’t leave any piece out or it might cook unevenly. Adding bay leaves to the mixture also gives it a nice savory flavor.
- Don’t leave the meat in the solution for too long. You might think “hey, the longer it’s in there, the more it’ll soak up the flavor.” But brining the brisket for longer than 24 hours will result in an unappetizing grayish hue to the meat.
Okay, now that we have those basic rules out of the way, how do we go about brining our brisket? Here are the steps.
- Figure out how much brine you’re going to need. You need enough liquid to fully submerge your brisket, which means you’ll need a large container. If you don’t have a large container, you could cook either the flat or the point.
- Boil 2 cups of water for each cup of salt you’ll need based on the formula described above. Once your water boils, you can add in the salt and whatever spaces you want. Some thyme, some rosemary, some peppercorns, or even some brown sugar; anything you want to use to infuse your brisket with flavor.
- Stir your mixture until it’s fully dissolved. Let it cool a bit, then add in the remaining water. Refrigerate the brine until it’s fully chilled.
- Time to add in the brisket. You may need to use a heavy plate on top of the meat to help it stay submerged.
- Put your container in the refrigerator. Let the brisket sit in the brine for approximately 1 hour per pound of meat.
- When you’re ready to start cooking, remove the brisket from the brining solution. No need to rinse it.
- Now you’re ready to start cooking your brisket. And hey, there are several ways to do that. Let’s talk about some of them…
4. How to Smoke Brisket
Smoking your brisket is one of life’s great pleasures, and if you’ve never tried it, I can only say I’m jealous that you’re about to experience it for the first time. And while smoking a large piece of meat (that we’ve already very carefully seasoned and prepared) might seem a bit intimidating, I’m glad to inform you that it can be broken down into a very simple process.
Of course, if you want an authentic smoky taste, you need a smoker and plenty of wood chips. Specifically, one that can hold a steady temperature of 224 degrees F. There are other ways to cook a brisket if you don’t have one of those (see below).
And for this method, a good idea is to have a meat thermometer. These are always handy when it comes to ensuring you reach the optimum internal temperature for any cut of meat you’re cooking. Here’s the smoked brisket recipe:
- When you have your brisket nice and seasoned, it’s time to start the smoker. Preheat your smoker to 225 degrees F using indirect heat. Use a nice hardwood mix of wood chips in your smoker. You want to make sure you have consistent heat as well as a steady flow of thin blue smoke.
- Place the brisket on the smoker, with the point end facing your main heat source.
- Close the lid and smoke it until it reaches an internal temperature of 165 degrees F (usually this takes about 8 hours). If your temperature drops, be sure to add more wood chips.
- Wrap your brisket. One of the most crucial steps when it comes to achieving that balance of juicy tenderness and the dark caramelized bark is to wrap it. Some folks prefer using foil while others use butcher paper. Simply roll out your wrapping and center your brisket right in the middle. Just make sure it’s covered edge to edge and fully sealed.
- Return your wrapped brisket to the smoker, making sure to keep the seam side down so the brisket’s weight crimps it down.
- Close the lid on the smoker. Remember to keep it at 225 degrees F. Now continue to cook until the internal temperature of the brisket reaches 180 degrees in the thickest part of the meat.
- Now move the brisket to a large cutting board and let it rest for an hour before slicing. That’s right, a whole hour! You need to make sure that the internal juices settle down and redistribute inside the meat.
- Congratulations, you’re ready to start slicing your delicious, expertly cooked brisket.
5. How to Cook Brisket in the Oven
Not everyone has a smoker, and that’s fine. You don’t need one to make a delicious piece of brisket. A home oven can also cook a juicy piece of meat with a delicious caramelized crust. Let’s talk about how to cook a brisket in your home oven with this baked brisket recipe.
- Preheat your oven to 300 degrees F and place a rack inside the large roasting pan. A good idea is to lay a couple of sheets of foil that are long enough to loosely cover the brisket, crisscross, on top of the rack. You could also layer the bottom of the roasting pan with some foil to catch any drippings that result from the cooking process.
- Place the brisket, with the fat cap up, in the middle of the aluminum foil in the roasting pan. Bring the aluminum foil together and close it, covering the brisket loosely. Just make sure to leave a little bit of space between the meat and the foil.
- Place your brisket in the oven and bake for about an hour and 15 minutes per pound. Use a meat thermometer to check it out. You want to make sure the thickest part of the brisket reaches an internal temperature of 180 degrees F.
- Open the foil and place it back into the oven. Bake the brisket for another 45 minutes to an hour.
- Take the brisket out onto your cutting board and let it rest for an hour.
- Your oven-baked beef brisket is done!
6. How to Cook Brisket in a Slow Cooker or Instant Pot
While the thought of beef brisket may immediately conjure up thoughts of working with a smoker or an oven, the truth is you’re still able to make delicious, juicy, fall-apart brisket in your slow cooker or even Instant pot.
Slow cookers are great. They help you make incredible meals with minimal prep and super easy cleanup. Instant pots, too; they come in especially handy when you fail to plan ahead.
Now, to make the most of these tools, and to get the very best results, we’re going to be doing things a little differently with this particular brisket. That is to say, we’re going to be accompanying the brisket with our very own sauce. This will take advantage of the slow cooker’s properties, and help break down the beef brisket.
So here’s how to cook your brisket in a slow cooker.
- Place your brisket, with its dry rub applied, in your slow cooker (fat side up).
- In a medium bowl, whisk together beef broth, soy sauce, and ketchup. Some people like to add a bit of liquid smoke for that very specific smoky flavor.
- Pour your sauce into the slow cooker until the brisket is just about covered.
- Cook your beef brisket in the slow cooker on low for 8 hours.
- Once you’re done (check that the internal temperature is 180 degrees F), you can either keep it in the slow cooker on warm, or transfer it to a wood board and cover it with foil.
- Let your brisket rest for 20 minutes.
- Your slow cooked brisket is done; serve with the liquid left in the slow cooker and cut against the grain.
Here’s our instant pot brisket recipe.
- Turn on your instant pot’s sauté function and add a bit of oil to the bottom of the pot. Put your brisket in, searing it for 2-3 minutes on each side until it’s just lightly browned. (If your brisket is too big to fit here, you can cut it in half and sear it in batches).
- Turn off the sauté function and place the brisket in the pot, fat side up.
- In a medium bowl, whisk together your beef broth, soy sauce, and ketchup.
- Pour your sauce mixture into the pot until the brisket is just about covered.
- Cook the brisket in the instant pot on high pressure for 90 minutes, then let it naturally release for 15 minutes. Then release the remaining pressure.
- Remove the brisket and let it rest on a wood board. Your instant pot brisket is done!
7. Top 5 Brisket Knives
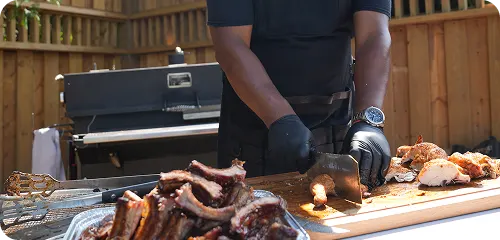
Now you know all the different ways you can make some delicious brisket. But that’s not where the process stops. To have the ultimate brisket experience, you need to use a proper slicing or carving knife.
Why do you ask? Well, think of it this way: you just put in a whole lot of effort to make sure that your brisket isn’t just absolutely delicious, but also mouth-wateringly tender. Texture plays a huge part in the brisket experience, which is why you need a knife that won’t destroy all the good work you’ve put in. You need something that’ll cut it up into thin, satisfying slices without tearing the meat or making a mess.
Here are our picks for the top 5 brisket knives in the market.
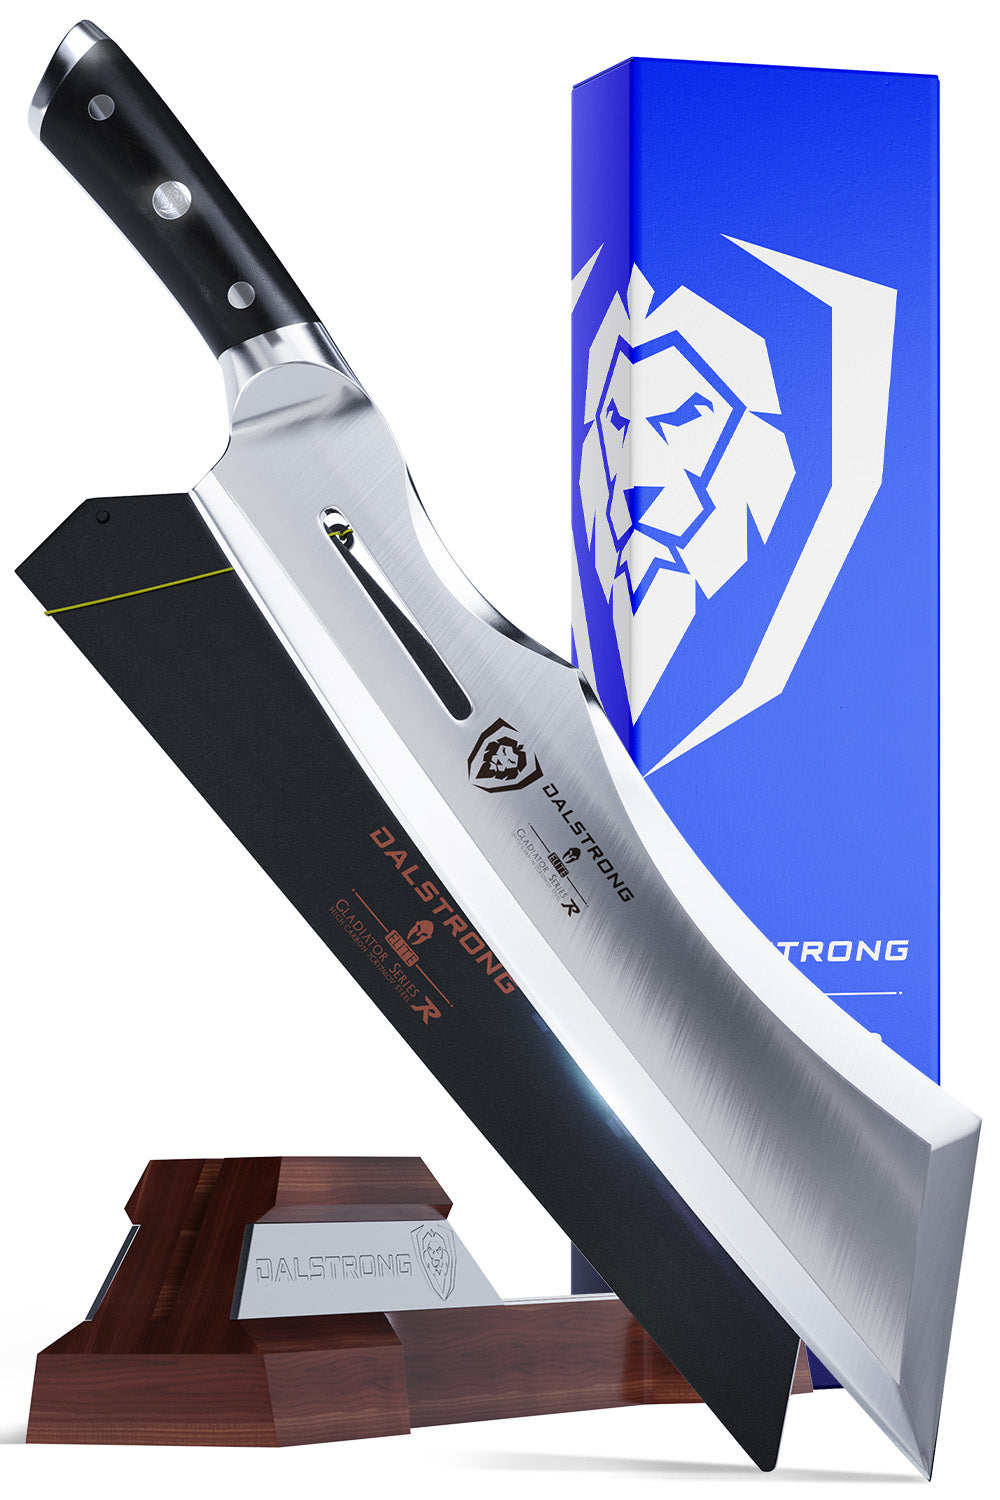
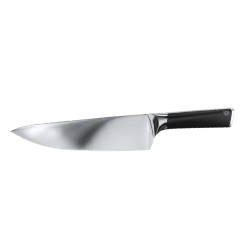
1. Slicing & Carving Knife 10” | Gladiator Series
We start things off with an absolute kitchen powerhouse, this 10” slicing and carving knife from the Dalstrong Gladiator series. This razor-sharp blade is designed for the tough daily demands of the commercial kitchen, which means that home cooks will find using it even more of a breeze. With this 10” slicer, you’ll be creating beautifully long, thin slices of meat without tearing or shredding.
PROS:
- Precision forged, ultra sharp, wear-resistant high carbon German steel, at 56+ Rockwell.
- The edge is hand-sharpened to 16-18 degrees per side, obtaining the perfect balance between sharpness and sturdiness.
- Premium ABS polymer handle, designed for maximum comfort and maneuverability.
- This is an amazing value for a product of this caliber.
CONS:
- This slicer features a classic, timeless look that might be a little down-key to those looking for something a little flashier.
- This is one of the more flexible knives in this list, which makes it great for hams and briskets, but you might be looking for something with less flex.
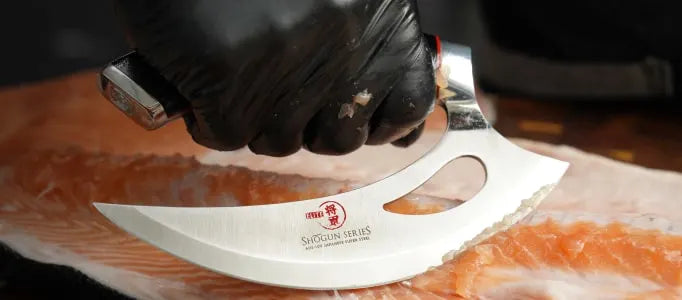
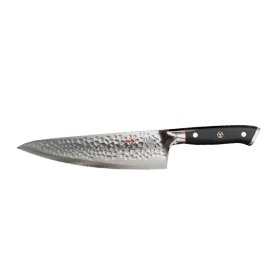
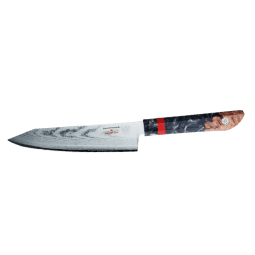
2. Butcher’s Breaking Cimitar Knife 10” | Shogun Series
More than just a slicing knife, this 10” blade is a piece of art. This is an incredible addition to any serious chef’s arsenal; not only will it effortlessly slice up your brisket, but it will also be sure to inspire conversation from your guests as its visual design is gorgeous. A cimitar knife (also known as a scimitar knife) is perfect for hunters, and there’s a reason for that.
PROS:
- Ruthlessly sharp at 8-12 degrees per side, allowing you to easily sail through any culinary challenge.
- Features an AUS-10V Japanese super steel core, with 67-layered Damascus sharpened under the ancient 3-step Honbazuke method.
- Tapered grip for a “zero-balance” effect; great for handling and also for safety.
- Military grade G10 handle for durability and ease of use.
- Features the Shogun Series Tsunami Rose blade pattern.
CONS:
- While the Shogun Series Tsunami Rose blade pattern is a selling point for many, some folks may not be fully on board with its showiness.
- This premium product is towards the top of the price range represented in this list. You get what you pay for: an absolute kitchen juggernaut.
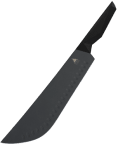
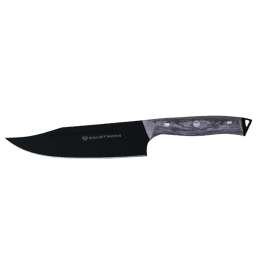
3. Slicing & Carving Knife 14" | Shadow Black Series

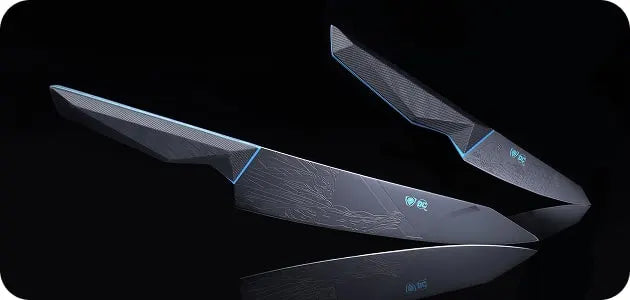
The Shadow Black series features incredible knives with screamingly sharp cutting edges, comfortable ergonomic handles, and tremendous ease of use. Oh, and they also happen to look like the coolest knives you’ve ever seen. Don’t believe me? Just look at these things. Not only is their midnight-black look cooler than cool, but they feature a unique handle geometry (inspired by the F-117 Nighthawk Stealth Fighter). How cool is that?
PROS:
- This 14” slicing and carving knife is large enough to tackle just about any large piece of meat you can throw at it (except we recommend not throwing the meat at the knife because that’s not how slicing works!)
- Features a black, non-reflective titanium nitride coating which adds to its awesome look and enhances its non-stick properties.
- Precision forged, ultra sharp, wear-resistant, single-piece high carbon German steel.
- Fiber-resin military-grade G10 ergonomic handle.
CONS:
- At 14”, this is the largest slicing knife on this list and one of the largest slicing knives you’ll find. Ask yourself first if you need something this large, or if you’d prefer a more manageable size.
- Visual appeal is always such a subjective thing. I love the relentlessly unusual look of this series, but I have known a few people who prefer a more traditional look in their kitchen. And for them, we have…
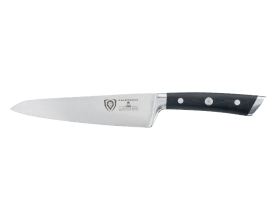
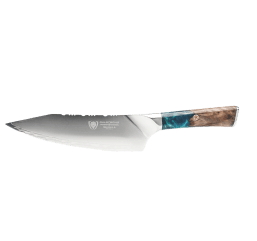
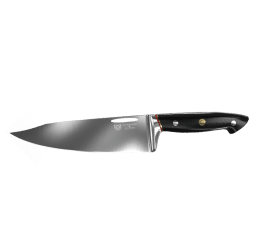
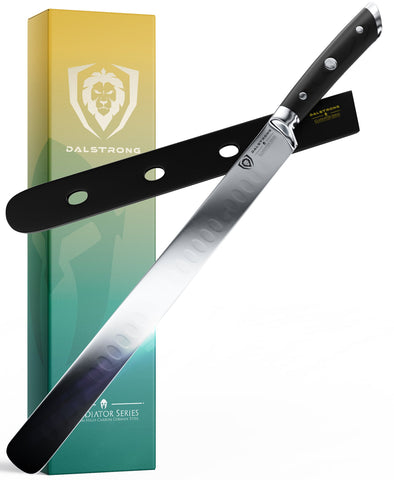
4. Slicing & Carving Knife 12” | Gladiator Series
Another entry in Dalstrong’s acclaimed Gladiator series. This time we’re looking at a 12-inch, which serves as the perfect middle ground between the smaller slicers and the 14” behemoth we just looked at. And, of course, this incredible slicer features a stunning, elegant, timeless design that is sure to complement your kitchen (while also kicking things up a notch).
PROS:
- This 12” knife is perfectly suited for brisket, as well as prime rib, roast hams, turkey, salmon – you name it.
- Like the previous knife we mentioned from the Gladiator series, this knife features precision forged, ultra sharp, wear-resistant, high carbon German ThyssenKrupp Steel (if you’re wondering what exactly that means: it’s high quality!).
- Triple-riveted handle with a stainless steel second bolster.
- Low maintenance knife, cleans very easily.
CONS:
- As with any slicing knife that’s over 10”, you should ask yourself if you need that large a blade. Not every home cook prefers it.
- Though a robust slicer by any measure, this knife does have a bit of flexibility.
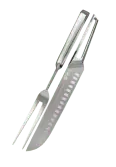
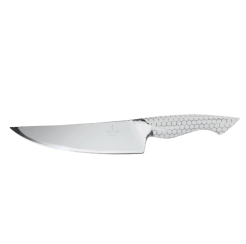
5. Carving Knife & Fork Set 9" | Crusader Series
We wrap up our list with a gorgeous 9” carving knife and fork set from the Crusader series. If you’re not aware, the Crusader series is famous for its clean, minimalistic less-is-more approach to its look; it’s a gorgeous all-steel knife that looks effortlessly elegant and performs wonderfully in the kitchen.
PROS:
- Razor-sharp German-made ThyssenKrupp x50crmov15 blade steel at 58+ Rockwell for incredible performance.
- Gorgeous design, with a minimalistic, understated aesthetic that won’t clash with the rest of your kitchen tools or your décor.
- Its solid steel design means toughness and resilience; not only that, but they are extremely hygienic since the seamless transition from blade to handle means there’s no space for debris to go.
- Its high chromium stainless steel handle is carefully hand-polished for a smooth and comfortable finish.
CONS:
- Keep in mind this is the smallest slicing knife on this list. Once again, pay attention to what you’re needing and to what you’ll be using the knife for.
- Because of the handle design, this slicer is a little bit lighter than the rest featured in this list.
8. Frequently Asked Questions
What is brisket called in the grocery store?
“Brisket” refers to the main cut of beef, and it only really has one name. However, every once in a while you may see it divided by its two main muscles: the point and the flat. Most commonly the brisket you’ll find at the grocery store is the flat cut.
Is brisket a good cut of meat?
In the sense that it can be made into a mouth-wateringly delicious meal! Brisket is a great cut of meat… if prepared right. The word “good” is extremely subjective and depends on several outside elements. Yes, brisket is generally a tough cut, but through preparation, it can be made into a succulent and tender piece of beef. Check out the methods outlined above.
Is brisket a steak?
Strictly speaking, a steak is a relatively thin piece of beef that is cut against the grain. Beef brisket is cut with the grain, meaning that it has long and stringy fibers. So it doesn’t fit the dictionary definition of “steak.” Not only that, but it’s so tough when prepared like a steak that it doesn’t come close to feeling like one either.
What does brisket taste like?
Brisket’s flavor depends strongly on its preparation. In general, it can be described as luscious, savory, and robust. If prepared on a barbecue, it is often referred to as rich and smoky. It’s similar to barbecue beef, but its texture is so unique that it’s a completely different experience.
Shop Dalstrong Slicing & Carving Knives Today
Written by Jorge Farah
Born on the coast of Colombia and based in Buenos Aires, Jorge is a cooking enthusiast and kitchenware obsessive with a tremendous amount of opinions.


