


How To Clean A Kitchen Knife
- Hold the knife with your index finger and thumb.
- Scrub with a sponge or cloth, soap and water.
- Rinse with clear water.
- Dry thoroughly with a cloth or paper towel.
- Leave on a drying rack for 12 hours.
Content Gallery
- How To Clean A Knife Step By Step
- What To Do If There is Rust On The Blade?
- Best Tools To Remove Rust
- Frequently Asked Questions About Cleaning A Kitchen Knife
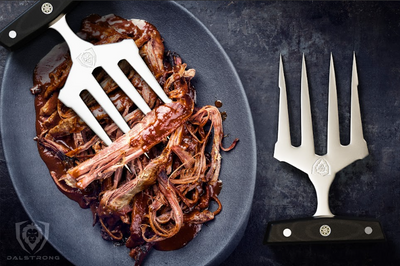
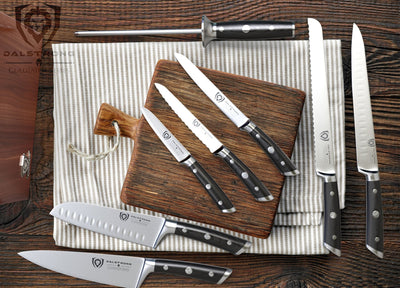
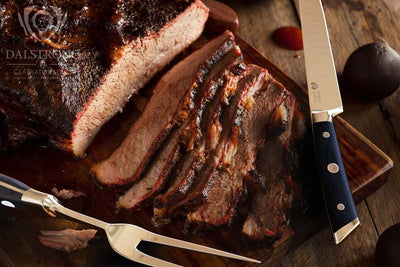
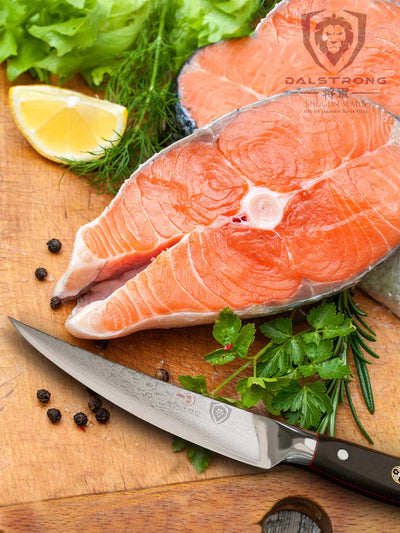
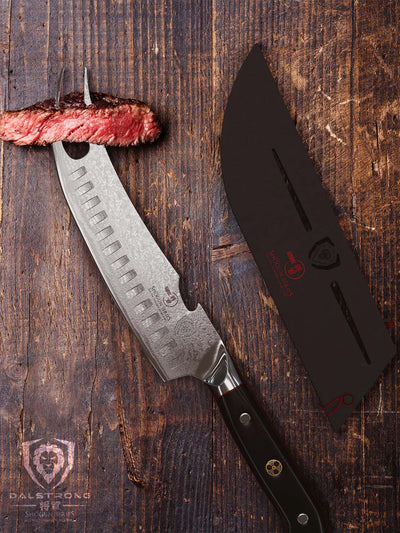
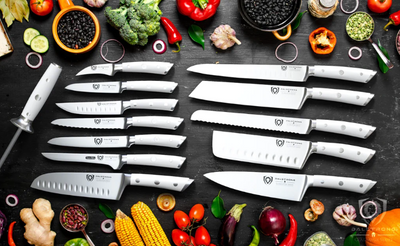
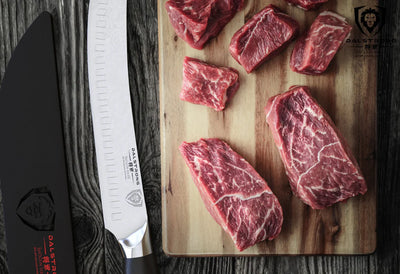
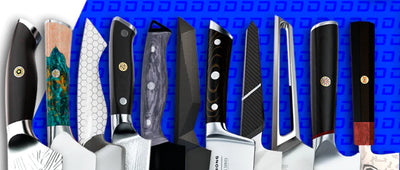
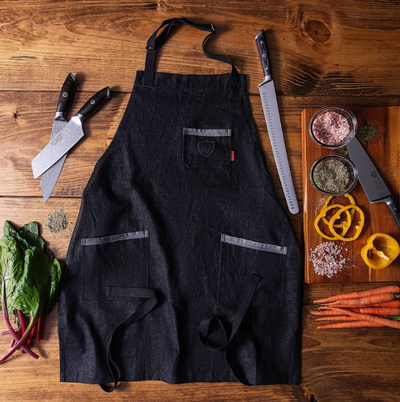
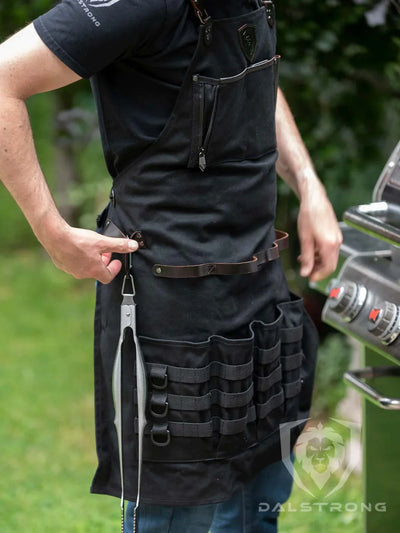
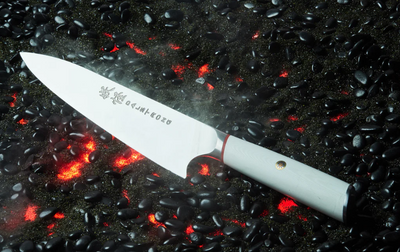
You have dedicated a good amount of time and money putting together a great knife set. You have your chef's knife as your new best friend; your paring knife as Hand of the King; a butcher's knife for your many future barbecues.
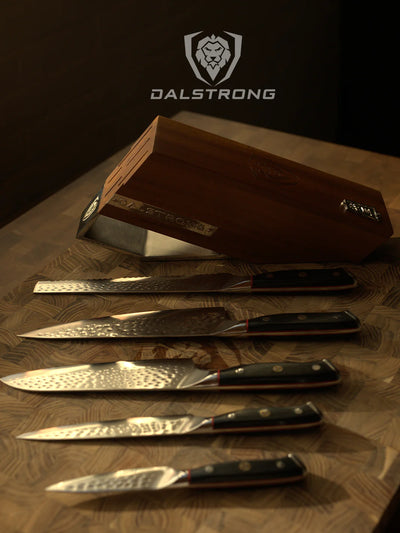
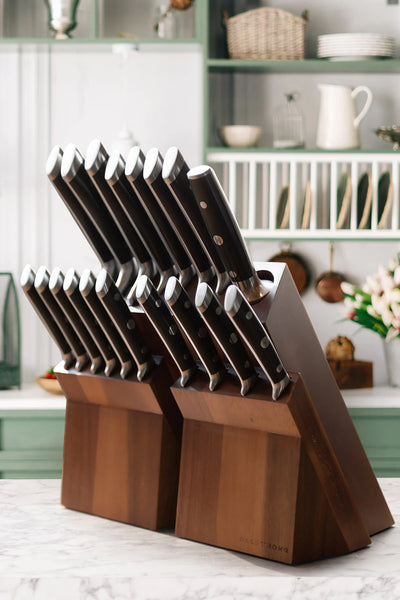
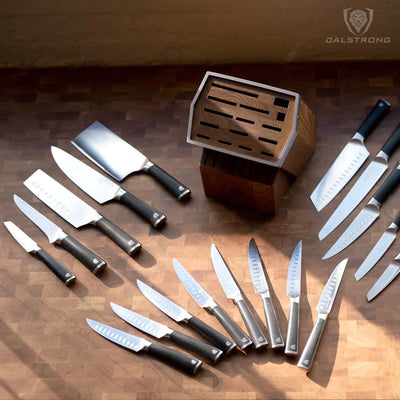
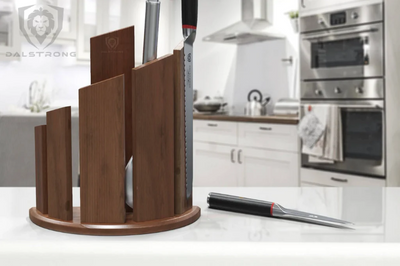
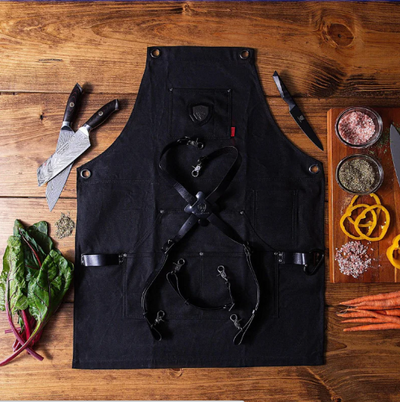
You even have knife accessories such as strong cutting board and a beautiful wooden knife block to keep your knives pretty and safe.
Now, cleaning them properly is key when it comes to keeping them in optimal condition for a long time. The cleaning process for a knife is actually quite simple, yet a lot of people get it wrong. Don’t be one of those people! Keep reading for the best way to clean a knife.
1. How To Clean A Knife Step By Step
What you’ll need for cleaning your knife:
- Plain water (warm if possible)
- Regular dish soap
- A sponge
- A clean cloth or paper towel
DO’s (Step by step)
* Clean your knives by hand after every use.
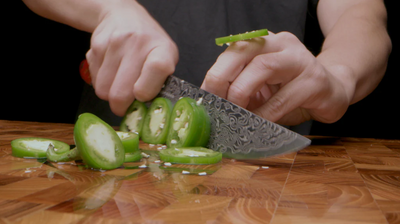
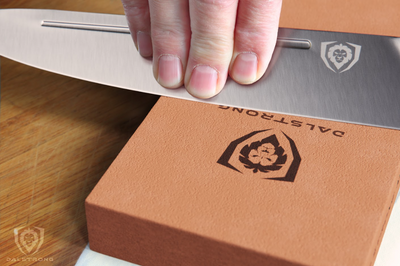
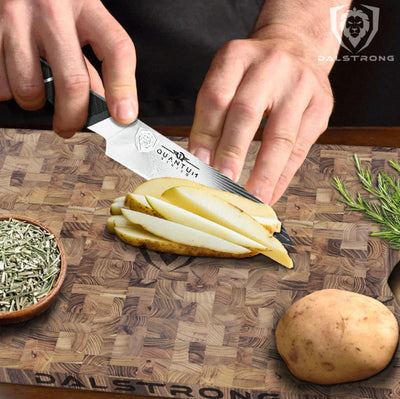
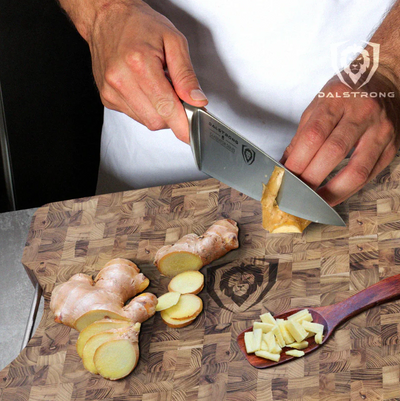
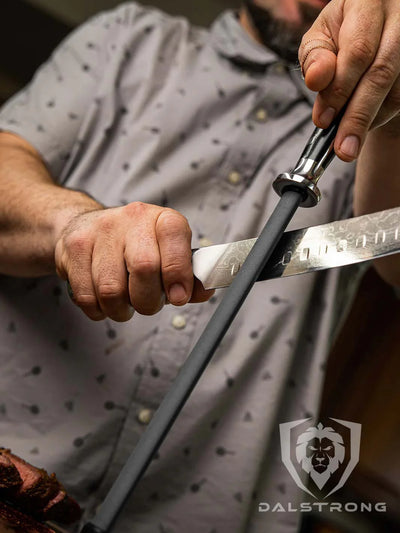
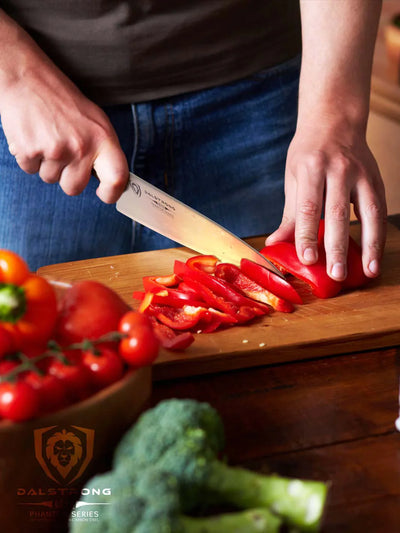
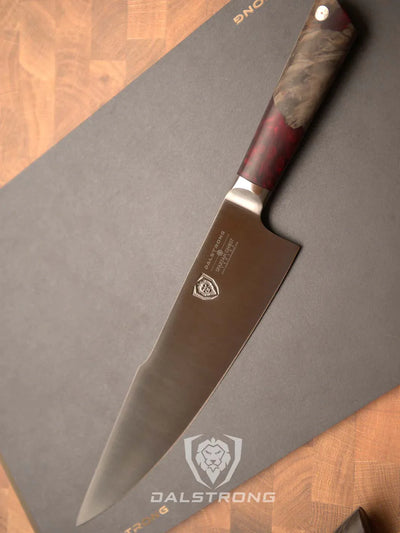
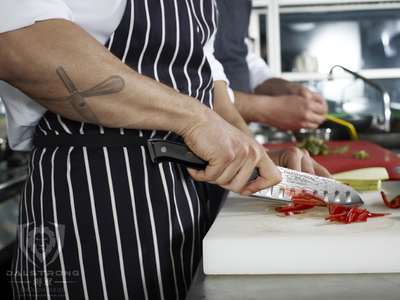
- Hold the knife firmly using a pinch grip (with your index finger and thumb).
- Using a soft sponge, soap and water, scrub the blade slowly.
- Rinse the blade with clear water.
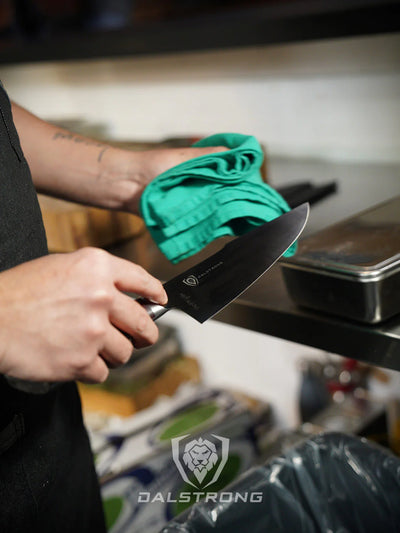
- Dry thoroughly with a clean cloth (microfiber works great) or paper towel.
- After drying, leave it on a drying rack for 12 hours before putting it in the sheath.
- Store your clean knives properly.
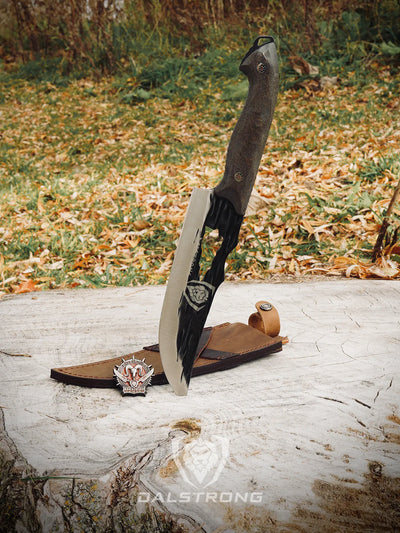
If the knife is made of carbon steel: Oil it with mineral oil after cleaning.
If the food has dried on the surface: Soak the knife blade in warm soapy water for no more than two minutes before following the cleaning steps above. Remove debris with a toothbrush or cotton swab if necessary.
If there is rust: Dish soap alone will not do it. Read point #2 for rust removal options.
DONT’s:
- Do not air dry your knives. Your blades might rust.
- Do not let food dry on the surface of the blade. Cleaning will become more difficult.
- Do not put your knives in the dishwasher. Ever. The dishwasher is one of the worst things that could happen to a high-quality knife. The combination of chemicals, heat and moisture will dull and damage them quite quickly.
- Do not leave your clean knives around and exposed to contaminating or corrosive agents.
Safety Tips:
- Clean your knives in a slow, calm manner.
- Keep the tip pointed away from your body while cleaning.
- Always wipe away from your body.
- If it makes you feel safer; you can hold the knife flat against the table and clean one side of the blade first and then the other.
2. What To Do If There is Rust On The Blade?
Your steel blades are prone to develop rust, especially if they don’t have the proper cleaning and maintenance routine. If this happens, you have several options:
- Rub with a toothbrush and a “pasta” made of baking soda and water.
- Submerge in white vinegar.
- Squeeze a lemon and let it sit for a couple of hours.
- Apply cream tartar with a sponge.
- Use a special solution with components like oxalic acid, phosphoric acid or citric acid.
- Use a specialized tool for rust removal (see next point).
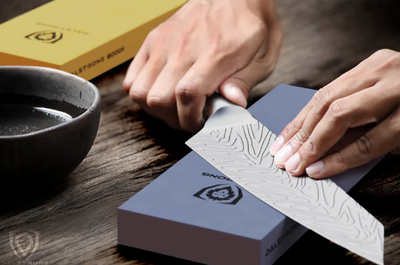
3. Best Tools To Remove Rust

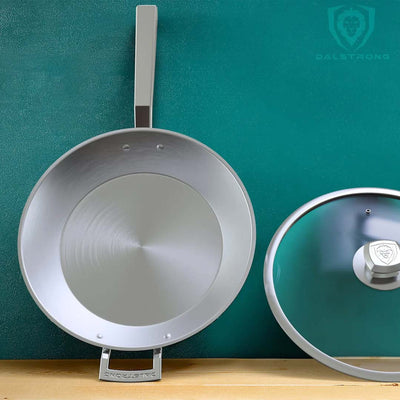
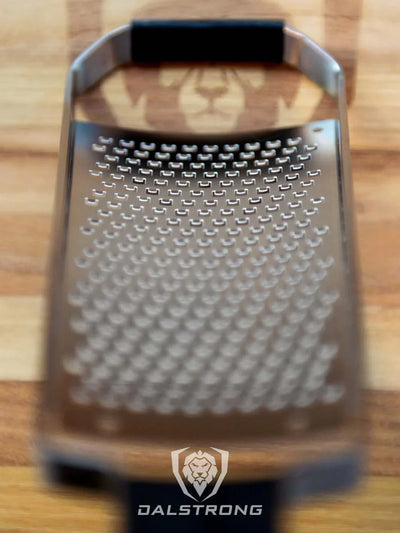
Yes, it is exactly what it sounds like: a convenient tool to “erase” rust from your knives and other kitchen tools like scissors, spatulas, whetstones and cast iron pans. Practical, affordable and extremely easy to use.
Simply soak the eraser in water for five minutes, and then use it like a school rubber to erase rust, corrosion or scuff from the blade (always in the direction of the grain and towards the end of the knife). More instructions on how to use it here.
PROS:
- Use it on stainless steel knives, damascus steel knives and high carbon steel knives.
- It offers a modern, convenient alternative to baking soda and other rust removing procedures.
- You can also use it to remove rust and stains from whetstones.
- It doesn’t damage the surfaces or engravings.
- Easy to carry around, move and store.
CONS:
- There’s no guarantee that it will not remove paint. Use it only on appropriate surfaces.
- Although it is very versatile, the size of the eraser was planned with knives in mind. If the item to clean is too large, for example a cast-iron pan, it may take a while to clean it all, considering the size of the eraser.
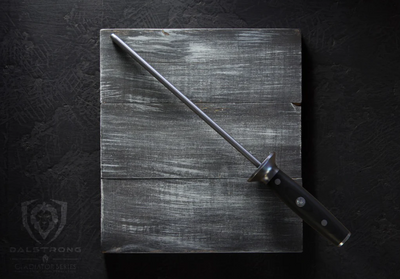
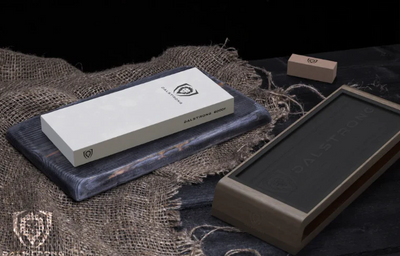
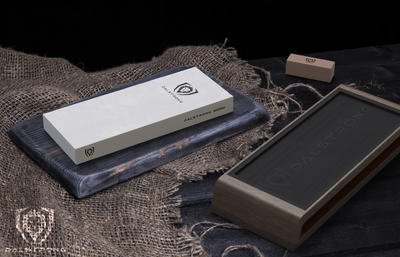
2. #1000 / #6000 Grit with Nagura Stone & Rust Eraser

This is the ultimate kit for prolonging the life of your favorite knives, and of course it includes a rust eraser. If your knives had a skincare routine, they would choose these products to look as fresh and young as ever, forever.
The kit includes two stones: a #1000 gritstone, an all-purpose knife sharpener to bring the edge back to dull blades; and a #6000 gritstone, a.k.a. “the finisher”, to mirror-polish the blade and sharpen the edges.
And because it’s really meant to cover any need or scenario; both stones come with their own stone: The Nagura flattening stone to level, condition and clean their surface. Then, of course, the rust eraser we described above with all its added benefits.
PROS:
- Remove rust, sharpen and polish your knives, all with the same kit.
- Two separate whetstones for a more precise sharpening process.
- You can sharpen both German and Japanese Knives.
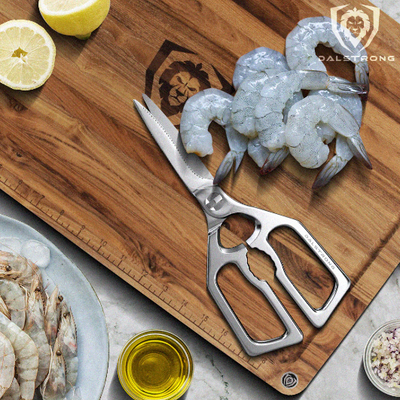
- The tools can be used on other sharp utensils, like scissors.
- The size of the stones allows you to cover a bigger surface with less effort.
- The wooden handcrafted base is beautiful and serves both as a working surface while sharpening and also as a storage base.
CONS:
- Compared to other stones out there, these are quite oversized and require some storage space.
- If you’re only looking to remove a bit of rust from one of your knives; this set (and its price) might seem a bit too much for you.
4. Frequently Asked Questions About Cleaning A Kitchen Knife
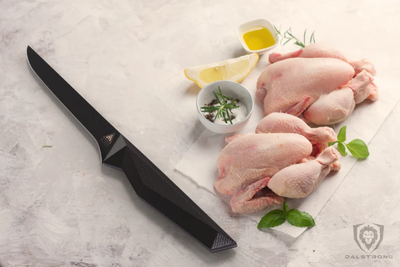
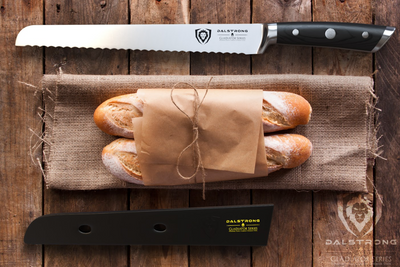
Do I need to clean a bread knife after only cutting bread?
It’s best if you do so. It may seem like enough to just wipe the crumbs away; but cleaning your knife after every use is the best way to keep it at its best performance.
Can I use any type of vinegar for removing rust?
White vinegar is the only type of vinegar suitable for removing rust. Other kinds of vinegar may leave stains or damage the blade.
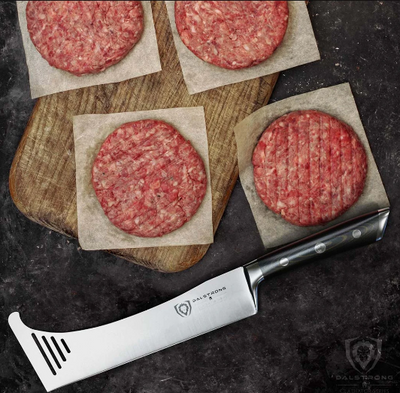
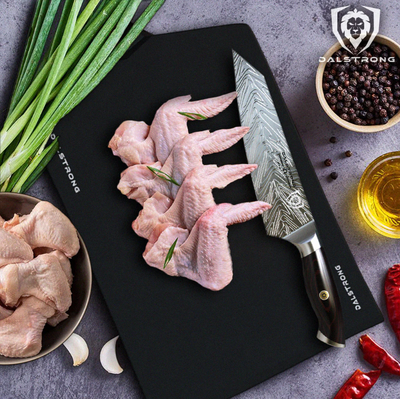
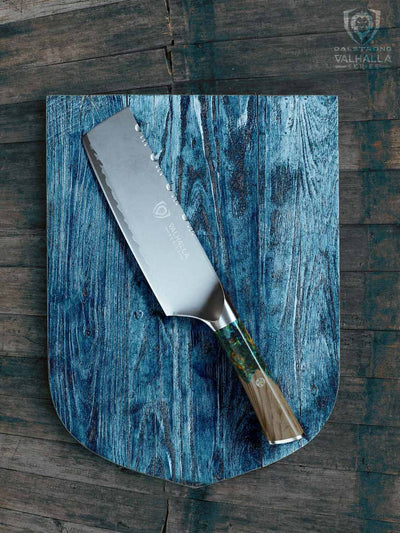
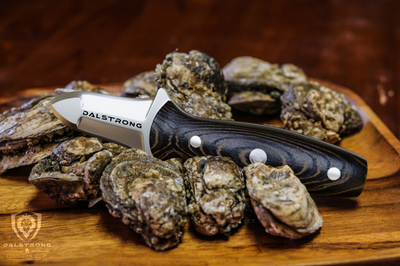
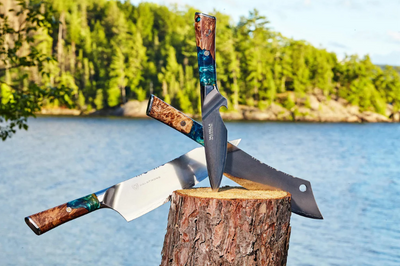
Will my high carbon steel cleaver rust?
High carbon is arguably the best material for a cleaver knife. It is very resistant to stains and corrosion; however, you still have to clean carbon steel knives properly and dry them completely after every use.
Written by Eva ContrerasFood & travel writer based in Buenos Aires. Superpowers include relentless curiosity and high tolerance to spicy foods.