


Steps to cook your turkey in the oven to be moist:
- Let it thaw slowly in the fridge
- Stuff the inside of its skin with a butter mixture (recipe below)
- Make sure to pat your turkey exterior dry before putting in oven
- Baste the turkey with the drippings of the butter during cooking
- Pay close attention to the temperature and cooking times (use a meat thermometer)
- Let the turkey rest for 1 hour after cooking
1. Taking a Stand Against Dry Turkey
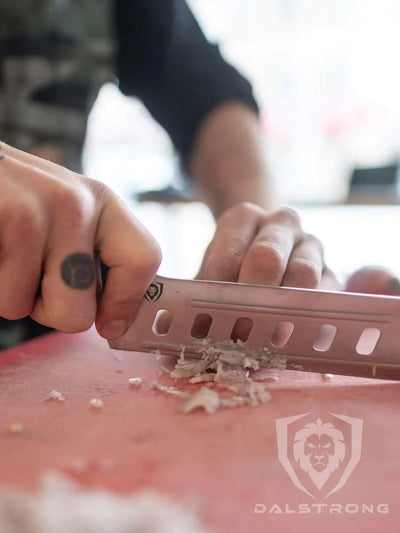
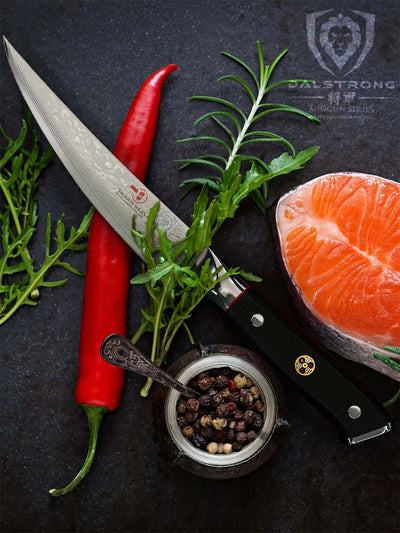
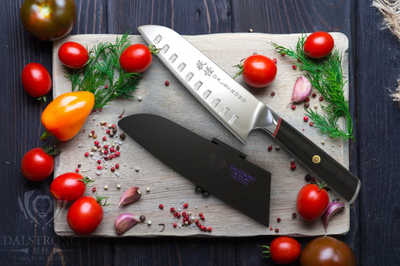
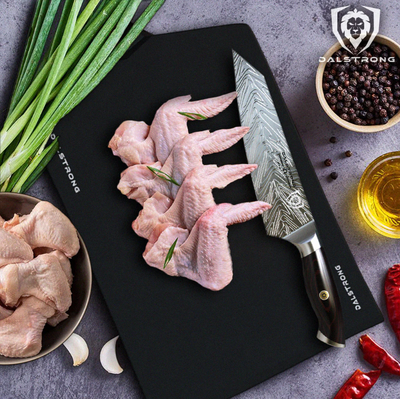
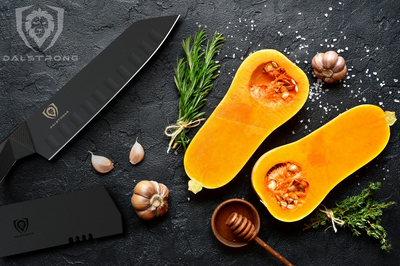
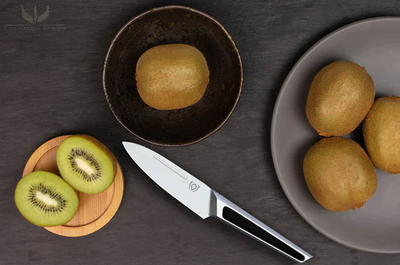
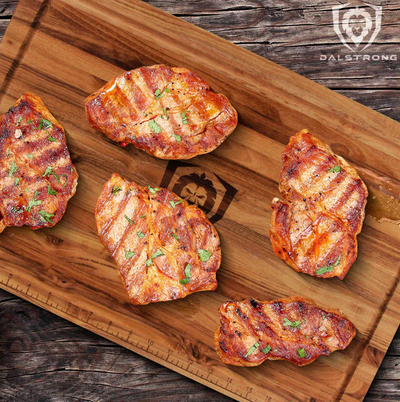
 Teak Cutting Board | Dalstrong ©
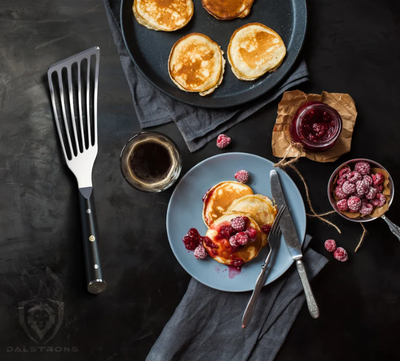
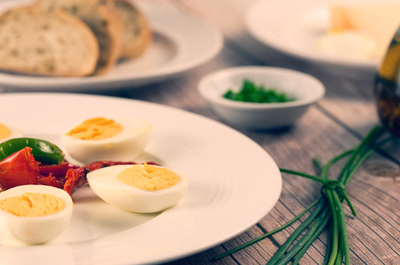
Whether you’re making a traditional Thanksgiving turkey feast or you’re simply cooking up a nice turkey dinner, few meals are as wholesome and satisfying as a juicy roast turkey cooked to perfection in an oven. And because this meal is so delicious and so satisfying, it is particularly frustrating when it doesn’t come out right.
What’s the number one cause of turkey disappointment in the world? Dryness. A turkey that has been cooked improperly will be dry, negatively affecting the flavor and the entire textural experience. It feels like a huge wasted opportunity for something great, and the worst part is there’s really no way to fix it except to smother it in the turkey gravy (which is what a lot of people end up doing, anyway).
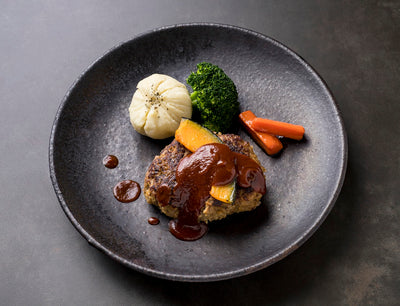
No more. We’re going to take a stand against dried-out, stringy turkey. We’re going to ensure that every turkey you cook from this point on is as juicy and deliciously succulent as it can be. And the way that we’re going to do it is by going through the steps of cooking up a juicy roast turkey and dissecting it one by one in this article. Are you ready? We sure are. Let’s get started.
2. How to Prep a Turkey
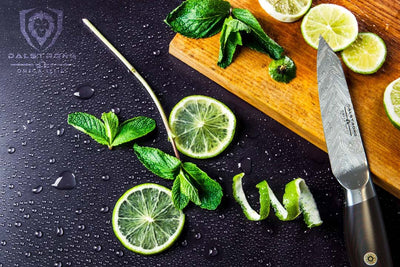
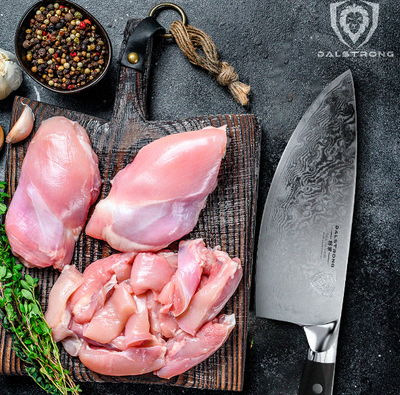
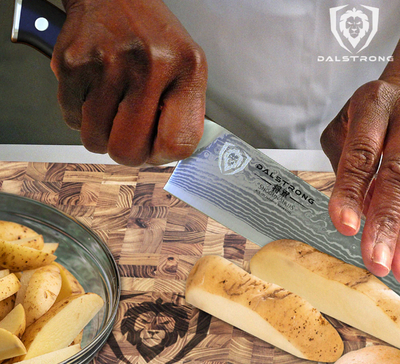
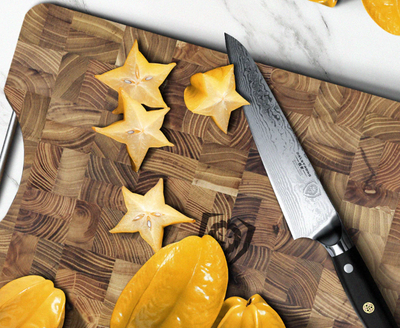
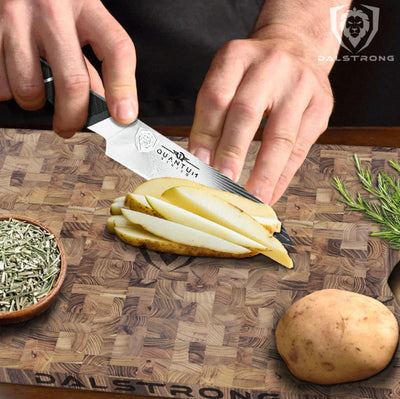
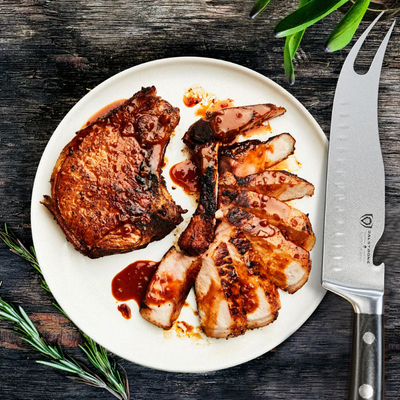
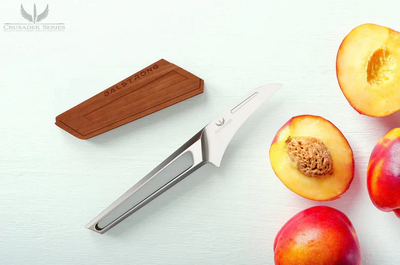
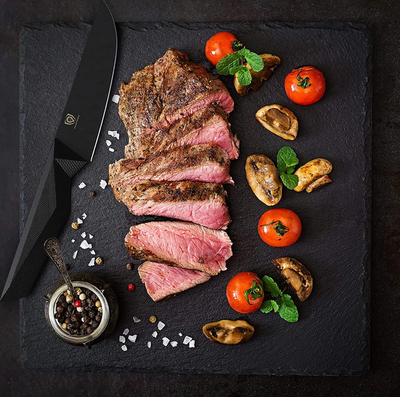
 Lionswood Colossal Teak Cutting Board
So we’re going to talk about the different steps of the process and examine why they’re important, and we’ll do that by outlining an easy juicy roast turkey recipe. In order to do that, first, we need to list the ingredients.
Ingredients
12 lb turkey. Anything between 11 and 15 lbs will work, but bake time will vary (see below section on times and temperatures).
Salt & pepper for the inside and outside of the bird.
For the compound butter
|
Unsalted butter |
1 cup (two sticks) |
|
Olive oil |
1 tbsp |
|
Fresh lemon juice |
4 tbsp |
|
Crushed garlic cloves |
3 |
|
Freshly chopped parsley |
¼ cup |
|
Kosher salt |
½ tbsp |
|
Black pepper |
½ tsp |
For the stuffing
|
Onion |
1 |
|
Halved garlic cloves |
4 |
|
Parsley |
½ |
|
Quartered lemon |
1 |
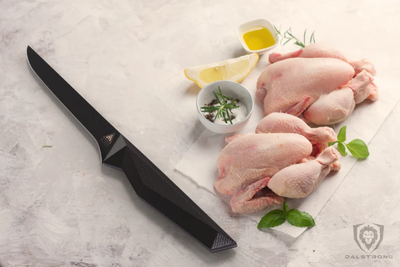
Before we can get our turkey cooking in the oven we need to make sure it’s fully prepped. Here are the main steps you need to take to prep your turkey prior to sticking it in the oven.
Prepping the bird
- If you’re using a frozen turkey, let it defrost in its plastic bag in a refrigerator for a good 3 days or so prior to roasting. This will ensure the thawing process is nice and gradual and ensure that your turkey doesn’t lose moisture.
- Remove your turkey from the fridge a good 30 minutes before you start to work on it. This is because we want to get the turkey as close to room temperature as possible. By doing this, we allow it to bake more evenly.
- Remove the bag of giblets from the turkey, as well as the neck. Store it somewhere if you want to use it for other purposes, such as a stock.
- Pat the turkey dry with paper towels. Any moisture left on the surface of the turkey by the time you put it in the oven means extra energy wasted by the oven, running the risk of overcooking the turkey internally.
- Fold the wings behind the turkey. This is the part of the bird that is the quickest to scorch and dry out, so we must take every precaution to avoid this from happening. Simply fold them behind the main trunk of the body.
Seasoning, stuffing, and tying up the turkey
- Season the inside of the turkey cavity with 1 tsp of salt and ¼ tsp of pepper.
- Prepare your butter mixture: in a medium-sized bowl, combine 2 sticks of softened butter, 2 tbsp olive oil, ½ tbsp lemon zest, 4 tbsp lemon juice, 3 crushed garlic cloves, ¼ cup chopped parsley, ½ tbsp salt, ½ tsp pepper. Simply mash it all together with a fork until it’s well combined (this might be a little tricky at first as the lemon juice doesn’t easily stir into butter, but if you keep mixing it’ll happen after a few minutes).
- Push your fingers under the skin to separate the skin from the turkey breast. Make sure to do it from the front and the back of the turkey, but be careful not to tear the skin – it’d be a shame to damage it considering how lovely it will turn out in the end.
- Using your hands, stuff about two-thirds, of the butter mixture under the skin, then spread the butter around by massaging gently over the top of your skin. This is a very important step as the butter mixture will keep the turkey breast tender and juicy, which is what this whole article is all about!
- You can rub the remaining third of the butter over the outside of the turkey. Drizzle the top of the turkey with olive oil and season it with salt and pepper. This will help the skin be as crispy as possible.
- Then you can stuff the inside of the turkey with your vegetables and herbs. I use a quartered onion, 4 halved garlic cloves, ½ bunch of parsley, and finally quartered lemon. Tie the turkey together, crossing the legs in order to better close up the cavity.
3. How to Cook a Turkey in the Oven to Be Moist
As you could tell from the previous section, a big part of cooking a juicy, moist turkey is ensuring the bird is properly prepped. But there are still some steps you can take to fully maximize the oven cooking and ensure that your turkey is as juicy as possible.
- Preheat your oven to 430˚F on “bake”. Place the oven rack in the lower part of the oven. This will ensure that the turkey roasts in the middle of the oven. It also ensures that the turkey breast (one of the areas most prone to drying out) is far from the top heating element.
- Speaking of the turkey breast. Here’s a clever way to protect it and keep it juicy: fold a large square sheet of foil into a triangle shape. Use olive oil on one side of the triangle by rubbing it all over, then shape the foil (with the oiled side facing down) over the turkey breast. Then remove the foil. This will shield your turkey breast and prevent it from drying out. We’ll apply this shield later on.
- We’re going to be super safe here, since the main priority is to keep the turkey juicy. That means we’re going to use an oven-safe meat thermometer to monitor the bird’s internal temperature. Place the meat thermometer into the bird; the best place to put it is beneath the drumstick, deep into the dark meat. Then start roasting the turkey uncovered at 430˚F for about 20 min.
- This part is crucial: remove the turkey from the oven after 20 minutes, then quickly baste it with the butter that’s on the bottom of the dish. You can use a baster or simply tilt the pan to one side so the drippings of butter pool up, then use a spoon to baste. This would also be the time where you can apply that foil triangle we prepared to the breast area. This butter basting is huge to keep your turkey from drying out.
- Reduce the oven to 350 Fahrenheit and bake it for another two and a half hours (for a 12 lb bird; once the oven has been reduced to 350, aim to bake about 13 min for every pound of turkey). Make sure the thigh registers 170˚F on the meat thermometer, with the breast being at 160˚F. Remove it from the oven when it’s fully cooked through.
- Transfer your turkey to a serving platter and cover it with foil. Let it rest for at least 1 hour. This will help it become more tender and easier to carve.
- Applying these steps, you’ll ensure that your turkey is cooked to perfection every time.
4. Perfect Time and Temperature for Cooking Turkey
As mentioned above, the easiest way to figure out the roasting time for a turkey in the oven is to calculate 13 minutes per pound at 350°F for an unstuffed turkey (about 3 hours for a 12- to 14-lb. bird), or 15 minutes per pound for a stuffed turkey. Always keep an eye on the temperature (this is why a meat thermometer is such a good idea).
But if you prefer to roast your turkey at a different temperature, here are some guidelines you can follow. These cook times are for unstuffed turkeys. Simply follow this cheat sheet:
If your turkey weighs 8 to 12 pounds, roast it at:
- 325°F for 2¾ to 3 hours
If your turkey weighs 12 to 14 pounds, roast it at:
- 425°F for 2¼ to 2½ hours
- 400°F for 2½ to 2¾ hours
- 350°F for 2¾ to 3 hours
- 325°F for 3 to 3¾ hours
If your turkey weighs 15 to 16 pounds, roast it at:
- 425°F for 3 to 3¼ hours
- 400°F for 3¼ to 3½ hours
- 350°F for 3½ to 3¾ hours
- 325°F for 3¾ to 4 hours
If your turkey weighs 18 to 20 pounds, roast it at:
- 425°F for 3½ to 3¾ hours
- 400°F for 3¾ to 4 hours
- 350°F for 4 to 4¼ hours
- 325°F for 4¼ to 4½ hours
If your turkey weighs 21 to 22 pounds, roast it at:
- 425°F for 4 to 4¼ hours
- 400°F for 4¼ to 4½ hours
- 350°F for 4½ to 4¾ hours
- 325°F for 4¾ to 5 hours
If your turkey weighs 24 pounds, roast it at:
- 425°F for 4¼ to 4½ hours
- 400°F for 4½ to 4¾ hours
- 350°F for 4¾ to 5 hours
- 325°F for 5 to 5¼ hours
5. Pro Tips for Cooking Turkey in the Oven
Here are a few simple rules you should be following if you want to cook a perfect turkey in the oven to be moist:
Choose the right size turkey
This is a big one. The size of your turkey will have a direct impact on how it cooks in the oven. Generally, you should plan on 1 pound (uncooked) per person. For a boneless turkey breast, get ½ pound per person. If you’re feeding a large group of people, rather than buying a huge bird you can get two smaller birds or one whole turkey and one breast. These are pretty generous estimates, and you’ll be left with plenty of delicious Thanksgiving turkey leftovers.
Let the thaw take its time
The safest way to thaw a turkey is to let it do its own thing in the refrigerator. Don’t rush it. Yes, it usually takes a few days – usually, you’ll have to allow 1 day in the fridge for every 4 pounds of turkey. That means a 12-pound bird will take 3 days to thaw in the fridge. That’s fine. You don’t want it to lose internal moisture by rushing the process.
Try a dry brine
Turkey doesn’t have to be just a vehicle for gravy. Dry brining is a great way to ensure that your turkey is seasoned the whole way through (not just the surface). It also ensures that the skin gets extra crispy, and the turkey meat remains juicy. All you really need to dry brine a turkey is salt. Just rub it all over the raw bird, place it into a large plastic bag, and let it refrigerate overnight or up to 2 days before cooking.
Don’t stuff your turkey
This one might seem a little crazy, but it makes sense when you think about it: instead of packing your bird with bread cubes that will turn soggy, you can cook your stuffing outside of the bird, in a casserole dish. The final product will be a crisp-topped, juicy turkey your guests will adore.
Take its temperature
As outlined above, temperature monitoring is a big part of the process of roasting a turkey. So you want an instant-read thermometer that will allow you to know when your turkey is done cooking, or when it’s about to be done cooking. Simply insert it into the thickest part of its thigh (without touching the bone). The temperature should read 165°F.Let it rest
This is something we find ourselves saying with just about any recipe that involves cooking meat: let it rest! Giving it a break will allow its juices (or moisture, if you want to be more accurate) to redistribute after doing so much to it. If you carve it too soon, all of that moisture will end up in the cutting board and you’ll end up with the dry, chewy turkey you’ve been trying to avoid.
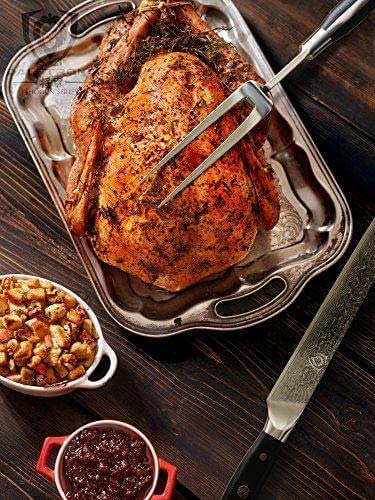
Don’t carve the roasted turkey at the table
Sure, we’ve all grown up watching that scene in movies where the family patriarch slices the turkey at the table, but it’s usually not a good idea. It’s better to carve your turkey in the kitchen using specialty cutting tools (more on that later!).6. How to Carve a Turkey
Here’s a very easy, foolproof turkey carving method:
- First, remove the twine, then remove the legs. Cut it down in between where the leg meets the breast to remove the entire leg. From there, transfer it to another cutting board. Repeat this process with the other leg.
- Next up, do the breast and the wing. Cut along one side of the breast bone and using the hand that’s not handling a knife, gently pull the breast away from the bone. It’s a good idea to cut as close to the bone and ribs as possible, then cut through the wing joint. Move to the other cutting board.
- Separate the drumsticks from the thighs. Move the drumsticks to a platter. Then remove the thigh bones, then slice the thigh meat and move it to the platter. Remove the wings from the breasts and move over to the platter (if you plan on eating the wings).
- Finally, all that's left is the breast. Slice the turkey breast against the grain and place it on the platter.
Boom. You’ve not only cooked a deliciously juicy turkey, but you’ve also carved it like a pro. If you want more detail on this, check out our guide on how to carve a turkey.
7. Best Knives to Carve a Turkey
As we’re fond of saying, part of being a home cook is making sure you’re equipped with the right tools for the job. In order to properly (and easily) carve an entire turkey, you’re going to need some good tools as well as your knife skills. Here’s a list of amazing stainless steel knives you can use to carve your turkey.
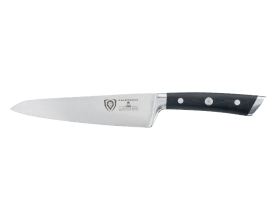
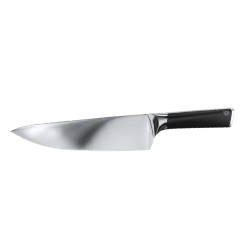
1. Chef's Knife 10" | Gladiator Series

This knife is a fantastic choice for carving a turkey. Since it’s a long blade, it’ll make quick work of any carving task you throw its way. And it’s high-quality too, made of a single piece of imported, premium quality, high-carbon ThyssenKrupp German steel. It has a Rockwell hardness score of 56+, a fantastic balance between sharpness and resilience.
PROS:
- Hand-sharpened to 16-18 degrees per side, which will produce clean cuts of meat.
- A great knife made of premium materials, high-carbon stainless steel.
- The knife features a tapered tip, which makes it easy to carve a turkey with precision.
-
A fantastic value for the price.
CONS:
- This is a chef’s knife, yes, but it’s also a pretty large one, all things considered. There’s also an 8” chef’s knife from this same Gladiator series, so try that one if you’d prefer to start with something more manageable.
- While this will do great at carving a turkey, some might prefer to go with an actual carving knife.
2. Carving Knife & Fork Set 9" | Crusader Series

This incredible 9” carving knife and fork set is exactly what you need to make quick work of a turkey, no matter how big it is. With the Crusader series’s elegant, all-steel look, this knife set is also a conversation starter if ever there was one.
PROS:
- Precision forged, ultra-sharp, wear resistant, single-piece high carbon German stainless steel.
- Features a beautiful hand polish to a satin finish with a tapered design allowing for hardness and flexibility.
- Full tang knife for added strength and robustness.
-
Hygienic and easy to clean. Since it’s a single piece of steel, it cleans real easily because there’s no place for debris.
CONS:
- Due to the construction of the all-steel handle, this knife is probably a little lighter than most people expect at first.
- The Crusader series has a distinctive look that not everyone is fully on board with. That’s fine, there is no accounting for taste.
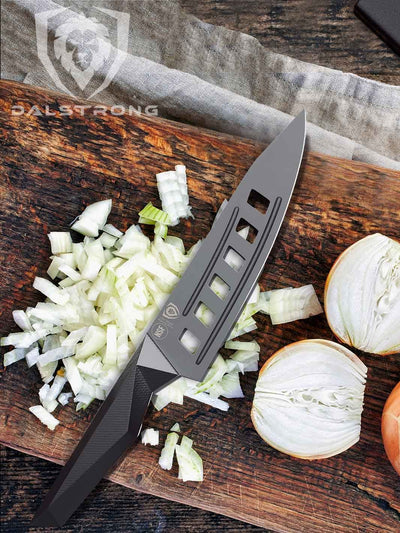
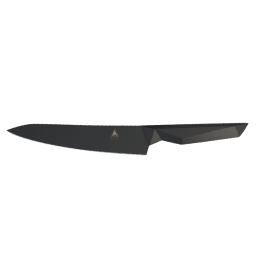
3. Carving Knife & Fork Set 9" | Shadow Black Series

Here’s another 9” carving knife and fork set, and if you want to talk about distinctive looks, the knives in Dalstrong’s Shadow Black series are absolutely distinctive. With their black titanium nitride coating and unique geometry, these look like they’re pulled right out of a different era.
PROS:
- Made of precision-forged, wear-resistant, high carbon ThyssenKrupp stainless steel at 58 Rockwell.
- Incredible look with a black, non-reflective titanium-nitride coating.
- Features a tapered design for added hardness and flexibility
-
Extremely comfortable, ergonomic G10 handle.
CONS:
- Not everyone is a fan of the Shadow Black series' unusual look, or they find that it clashes with the other knives in their kitchen.
- Because of the titanium nitride coating, you might find yourself a little hesitant to actually sharpen this knife, but it’s very straightforward and easy to do without any special equipment.
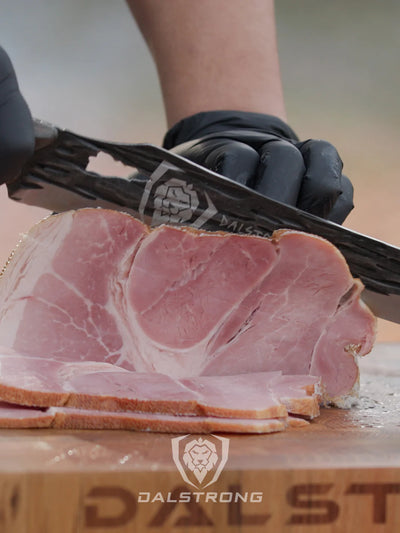
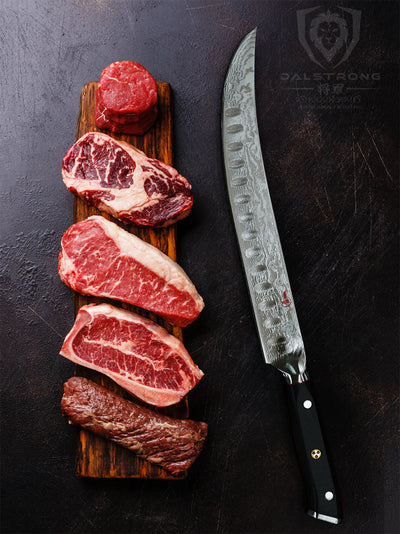
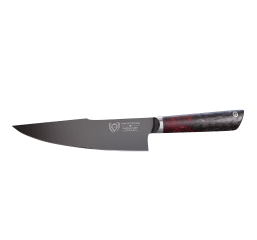
4. Butcher's Breaking Cimiter Knife 10" | Shogun Series

A Cimiter knife is designed after the Cimiter swords of old, and this 10” slicer definitely packs all that power into one heck of a kitchen tool. You’ll be able to sail through any kitchen challenge with a tool like this in your hands.
PROS:
- An extremely sharp knife, featuring a staggering 8-12 degree angle per side, making this uniquely suited to slice through all kinds of meats.
- Features an enhanced vacuum treatment with nitrogen cooling for the ultimate in performance
- AUS-10V Japanese super steel core with 67 layered Damascus cladding; looks amazing, works great.
-
Rust and corrosion resistance.
CONS:
- This is towards the higher end of the price range represented in this list, but it is a premium instrument and more than worth it.
- Because it features Damascus steel as well as the Tsunami Rose blade pattern, its design can be a little busy. If you’re looking for a cleaner, more classic look, check out some of the other options outlined above.
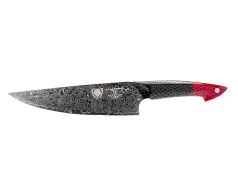
5. Bull Nose Butcher Knife 10" | Shogun Series

We wrap up this list of knife recommendations with this powerful 10” bull nose butcher knife, also from Dalstrong’s acclaimed Shogun series. It is designed to masterfully slice through flesh, break through cartilage and trim fat from beef, pork, poultry, fish and other meats, so carving a juicy turkey won’t pose any problem for this incredible kitchen tool.
PROS:
- Made of AUS-10V Japanese super steel core, with 67 layered Damascus cladding as well. Looks incredible and, thanks to its blade pattern, will likely elicit questions from your guests..
- Tapered bolster for a “zero-balance” balance.
- The blade has undergone a precise cryogenic tempering process, which increases the steel’s crystalline structure and enhances strength and flexibility.
-
At 10”, this makes for a fantastic slicer for various types of meat.
CONS:
- This knife is also a premium kitchen tool with a matching price point. It’s an investment, and it’s more than worth it.
- This butcher knife does not come with a fork like some of the other sets represented in this list.
8. Frequently Asked Questions About Moist Turkey
How do you keep a turkey moist when baking?
Keeping a turkey moist while baking it in the oven is a tricky thing to do, and something many turkey recipes try to accomplish. Much of it has to do with setting yourself up for success beforehand – making sure you prep the turkey by stuffing it with a butter mixture that you can then use to baste the turkey, making sure you’ve thoroughly patted the turkey dry before baking it, placing your turkey in the lower part of the oven, and using very precise temperature/time combinations (see above).
Do you cook a turkey covered or uncovered in the oven?
Many turkey recipes differ on this point. There’s no one right or wrong answer, but our recipe calls for cooking the turkey uncovered in the oven.
Do you put water in the roasting pan when cooking a turkey in the oven?
Some turkey recipes call for putting water in the roasting pan when baking a turkey in the oven, usually adding an aromatic element that can also then be basted on top of the bird. Our recipe does not include that, but hey, feel free to try it out and let us know how it works.
Shop Dalstrong Knife Block Sets Today
Written by Jorge FarahBorn on the coast of Colombia and based in Buenos Aires, Jorge is a cooking enthusiast and kitchenware obsessive with a tremendous amount of opinions.