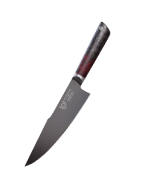
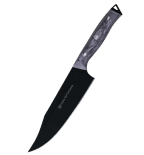
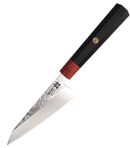
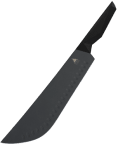
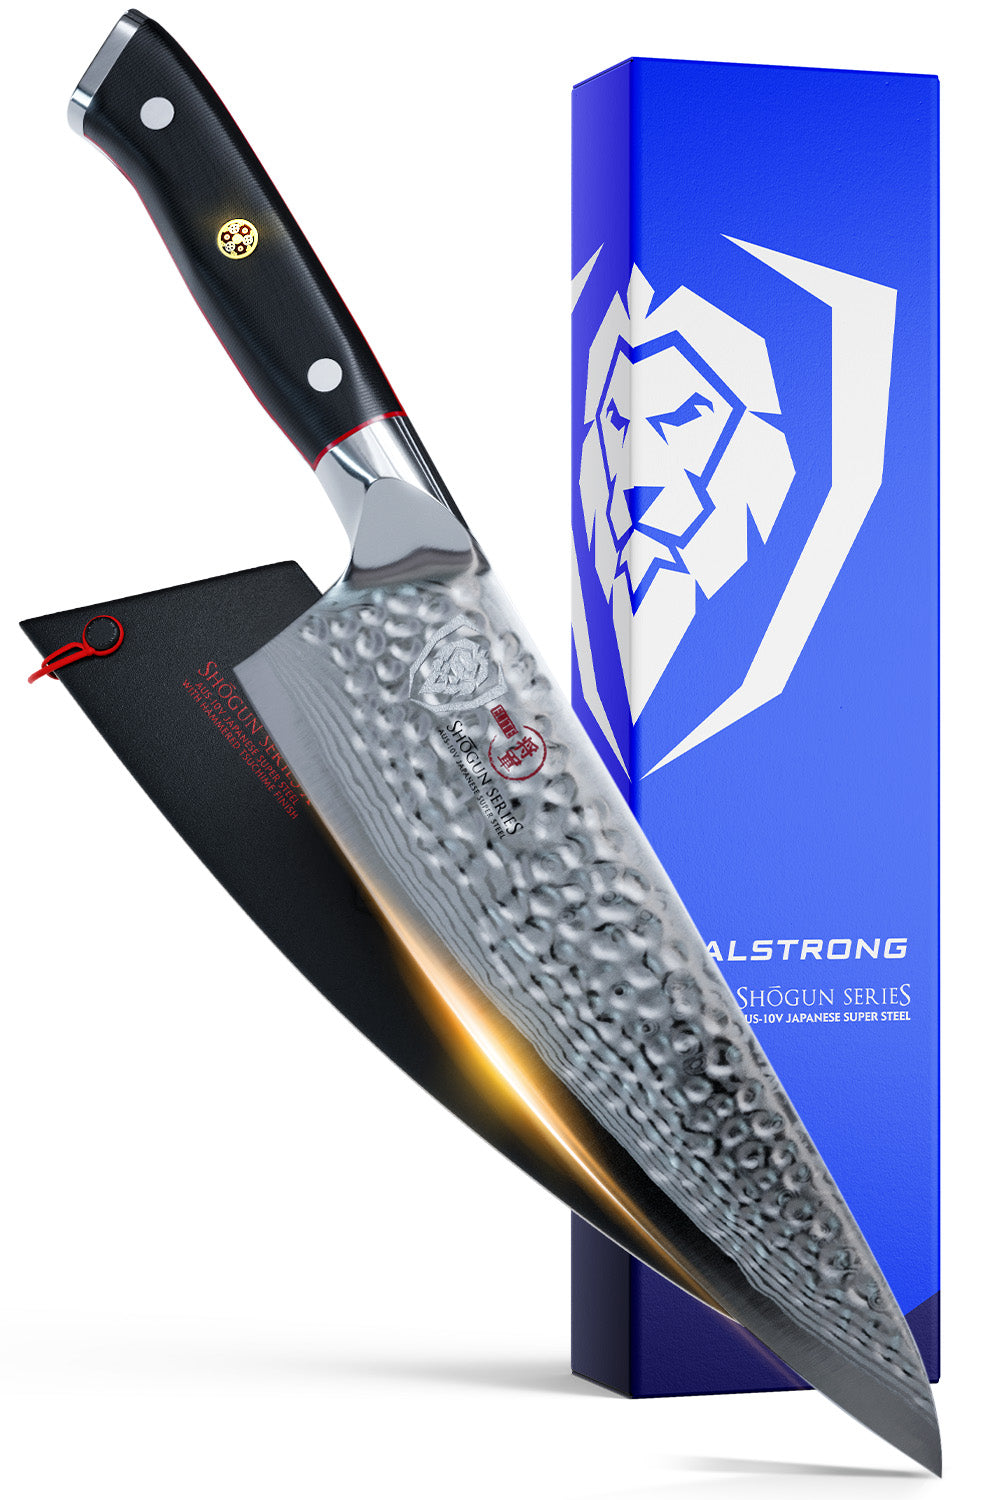
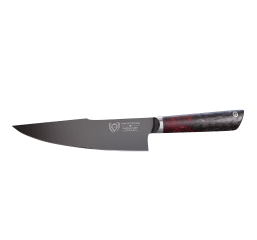
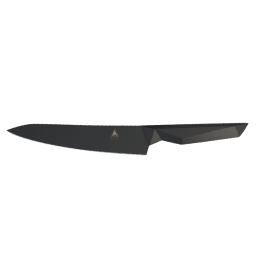
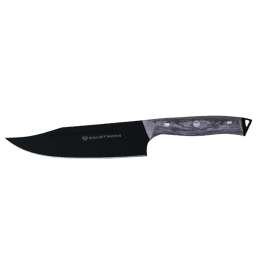
 Paring Knife 4" | Shadow Black Series
Homemade Dill Pickles Recipe
Quick Steps Overview: Homemade Dill Pickles
- Prepare the jars
- Prepare the cucumbers
- Add spices to the jars
- Pack the cucumbers into the jars
- Bring the pickling brine to a boil
- Remove any air bubbles
- Tighten the lids
- Process the pickle for longer storage
- Cool and refrigerate
I always thought that making a delightfully sour, cool, and crunchy pickle takes effort and time, and I couldn’t have been more wrong! Did you know that pickles are quick to make at home? All you need is a few easy-to-find ingredients, some pint jars, and 30 minutes.
One of the most popular kinds of cucumber pickles is dill pickles. Fresh dill is added to either a vinegar brine or salt brine along with the other flavor-filled ingredients like garlic, mustard seeds, and pepper. However, you can’t use just any kind of cucumber for this purpose.
Kirby cucumbers are the classic pickling cucumber as they hold up better than regular cucumbers during pickling. They tend to remain more firm and crunchy instead of becoming overly soft. You can also go for Persian cucumbers for this recipe as they have thinner skin and are the perfect size for packing into pint jars.
Now here’s a little secret that will help you make a flavorful pickle: the main flavoring for dill pickles doesn't come from the dill herbs but rather from the dill seeds. While this is not something that most grocery stores carry, you can find it at smaller co-ops with bulk herbs and even some online websites.

1. Tools You Will Need
Let’s take a look at what you’re going to need to get pickling:
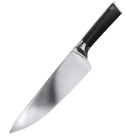
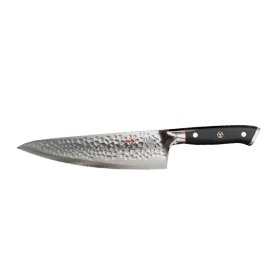
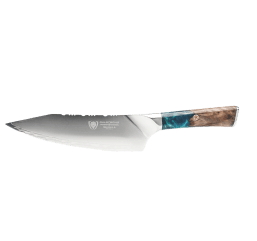
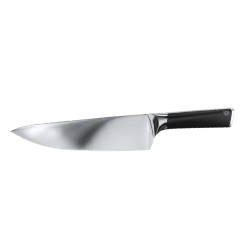
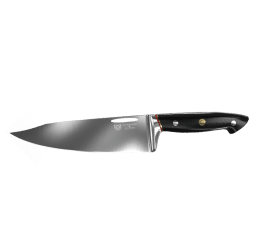
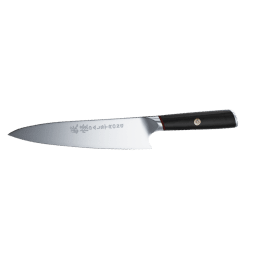
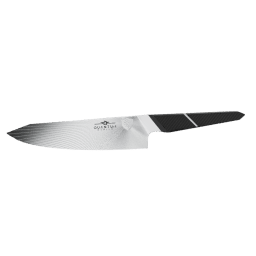
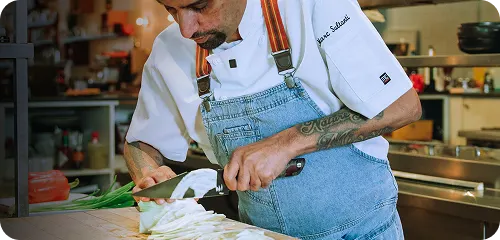
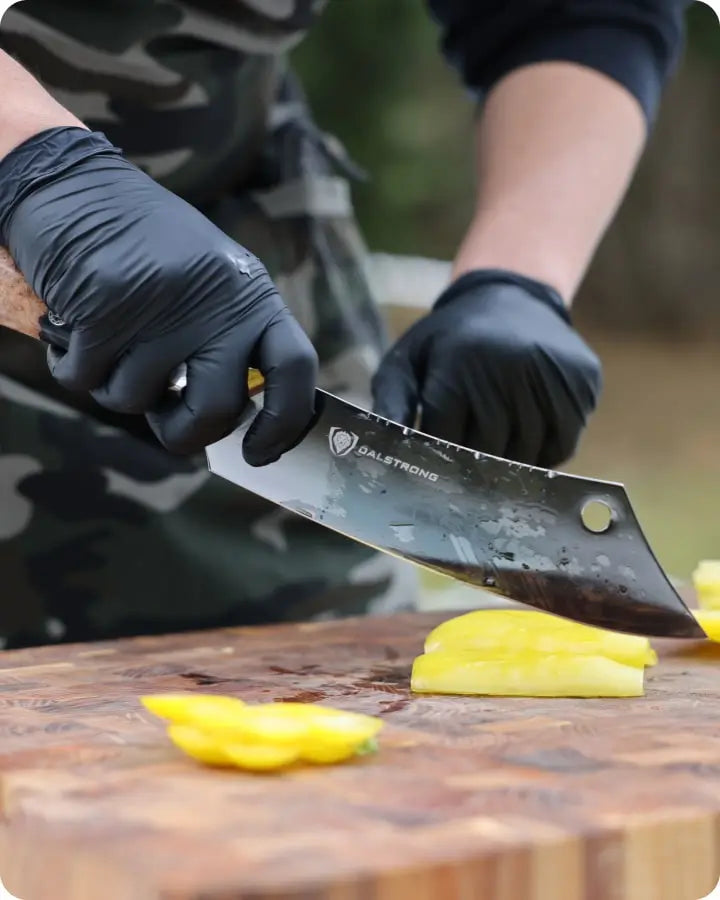
- Chef’s Knife: A razor-sharp chef’s knife will help you glide through the pickle prep with ease and precision, giving you uniform slices of cucumbers and other ingredients.
- Cutting Board: A big and sturdy cutting board is a must as it provides you with a strong base to slice, dice, and chop and will limit the mess on the cutting board, protecting your kitchen counter.
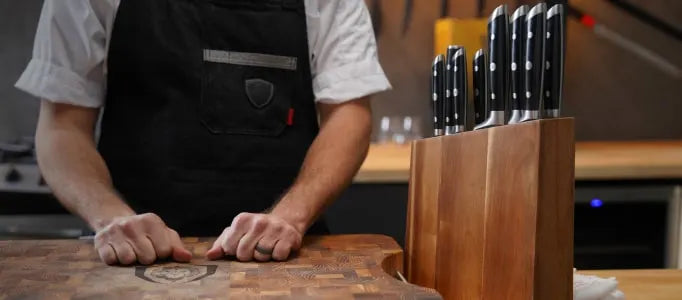
- Apron: Shield yourself from unwanted splatters and stains with a functional apron. Not only will this protect your clothes, but will also act as a space for you to store your cooking tools.
- Stock Pot: A large stock pot will be needed to sterilize the jars to store the pickles and to make the brine.
- Pint Jars: You will also need 2 wide-mouth pint jars with lids to store the dill pickles.
2. Recipe: Homemade Dill Pickles
|
Homemade Dill Pickles |
||
|
Prep Time 15 mins |
Cook Time 5 mins |
Servings Makes 2-pint jars |
|
Ingredients |
|
|
Cucumbers |
|
|
Ingredients |
|
|
Cooking Instructions |
|
| 1. Prepare the jars |
|
| 2. Prepare the cucumbers |
|
| 3. Add spices to the jars |
|
| 4. Pack the cucumbers into the jars |
|
| 5. Bring the pickling brine to a boil |
|
| 6. Remove and air bubbles |
|
| 7. Tighten the lids |
|
| 8. Process the pickle for longer storage |
|
| 9. Cool and refrigerate |
|
3. Tips To Make The Best Pickle At Home
- You can use this recipe as a template for pickling other summer vegetables. Okra, green beans, garlic, and even carrots make delicious pickles.
- Dill isn’t the only pickle you can make. Swap the dill seeds for turmeric, black peppercorns, mustard seeds, or any other spices that you might like.
- Keep the ratio of vinegar, water, and salt the same, and make enough to top off all your jars of pickles.
- You can use different types of vinegar like apple cider vinegar, rice vinegar, or white wine vinegar. However white distilled vinegar is preferred for its neutral taste.
- Yes, you can opt for dried dill in this recipe, but fresh dill brings amazing flavor which makes a very big difference.
4. Secret To Crunchy Dill Pickles
Fresh produce is key.
Vegetables are the crispiest and firmest when they're fresh from the plant. I know it’s not possible to pickle things the day they were picked, but the sooner you can get the cucumbers, green beans, and okra pods into the jar, the better texture you will have.
Don’t forget to trim.
While this one is specifically for cucumber pickles, it is an important step to remember. The blossom end of a cucumber contains an enzyme that can lead to limp pickles. Trimming it away will instantly improve the texture.
Do not over slice or chop.
The more you slice, chop, or mince the vegetables, the less crispy they will be. This is why thinly sliced bread and butter pickles are way more tender than a whole dill pickle.
Watch the processing time.
Preserved pickle has to spend some time in the boiling water bath canner. That heat kills bacteria and ensures a good seal, however, it also ends up cooking your produce a little bit. Stay right on top of your timer to ensure that the pickles don’t spend any more time than is necessary for the canning pot.
Refrigerator pickles give the best texture.
If you don’t want the heat messing with the texture of your pickles, you can skip it entirely and make refrigerator pickles. While these pickles aren’t shelf-stable, they will keep good for a long time if refrigerated.
5. Nutritional Value
|
Homemade Dill Pickles |
|
|
Calories |
15kcal |
|
Fat |
0.1g |
|
Carbohydrates |
2.8g |
|
Protein |
0.5g |
|
Fiber |
0.4g |
|
Sugar |
1.0g |
|
Sodium |
227.3mg |
6. Alternate Recipe: Refrigerator Dill Pickles
Here’s another way you can add a boost of flavor to your dill pickles.
|
Refrigerator Dill Pickles |
||
|
Prep Time 25 mins |
Cook Time 5 mins |
Total Time 30 mins |
|
Ingredients |
|
|
Cucumbers |
|
|
Ingredients |
|
|
Cooking Instructions |
|
|
Step 1: |
|
|
Step 2: |
|
|
Step 3: |
|
|
Step 4: |
|
|
Step 5: |
|
|
Step 6: |
|
|
Step 7: |
|
|
Step 8: |
|
7. Dill Pickles Serving Suggestions
Homemade Dill Pickles taste great on sandwiches, burgers, and more. You can pile dill pickles on veggie burgers, mushroom burgers, or black bean burgers. You can also toss in a few pickle pieces in your Caprese sandwich, avocado sandwich, or vegan sandwich.
If you’re not in the mood for sandwiches or burgers, you can also add refrigerator pickles to chickpea salad or a yummy serving of macaroni salad. Last but not least, dill pickles are delicious on their own as well. Enjoy them straight out of the fridges for a quick, tangy, and refreshing snack.
8. Storing Homemade Dill Pickles
- Canned pickles will keep good for at least a year on the shelf and several weeks in the refrigerator once opened.
- Refrigerated pickles will keep for several weeks.
- Once the pickle is ready, pack tightly into a jar small enough that the pickling liquid covers the vegetable.
- Seal and store the jars in a cool, dark place for at least a month and refrigerate once opened.
9. Top Culinary Tool Picks For You
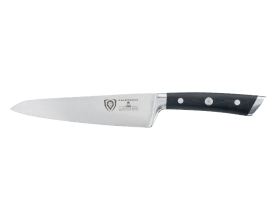
1. Chef’s Knife 6” | Gladiator Series
Looking for a blade that will help you glide through pickle prep with ease and precision? Then this is the blade you need! This small but brutal 6” blade is designed to provide you with enhanced maneuverability and hand control.
Pros:
- Not only is this knife stunning to look at but it is also built to last you a lifetime.
- The small size of this blade allows you to work for long hours without causing wrist fatigue and discomfort.
- The low-maintenance knife cleans as easily as it cuts through tough meats and vegetables.
Cons:
- If you are working on large chunks of meat or vegetables, you might want to go for a longer blade that will help you slice in one clean motion.
- While this blade is perfect for someone new to handling professional knives, a seasoned chef would prefer to use a slightly longer blade when working. In that case, you can take a look at the other chef’s knives.
2. 3 Quart Stock Pot | Oberon Series
This medium-weight, ultra-functional piece of cookware is perfect for stirring up brines, soups, stews and so much more. This stockpot is known for its impeccable conductivity and its ability to evenly cook a full range of culinary delights.
Pros:
- The stockpot comes with a non-stick Eterna coating that is proven to last 10 times longer than most other brands, making it the world’s longest-lasting non-stick coating.
- This highly versatile piece of cookware is compatible with all stovetops and is optimized for induction.
- It comes with a thick, extra-strong glass lid that provides a clear window during the entire cooking process to ensure precise cooking.
Cons:
- If you need a stockpot to cook for a big family or a large party, you might prefer one of the bigger, 4 or 5-quart stock pots.
- The simple look of this pot might not be the preferred choice of chefs who have a bold sense of style.
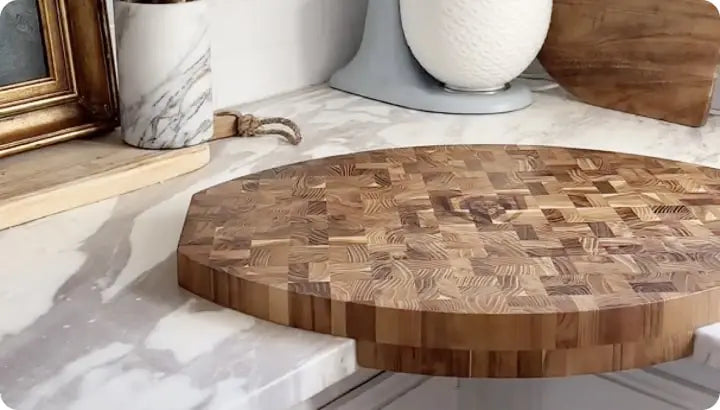
3. Lionswood | Teak Cutting Board
This teakwood marvel is going to be a head-turner in your kitchen. The board functions as your all-purpose chopping, slicing, and serving board and is meticulously hand-crafted from end-grain wood and filled with rich moisturizing oils.
Pros:
- The unique checkered construction offers a slip-resistant surface, ensuring the food stays in place when chopping, slicing, dicing, or mincing.
- The board is easy to maintain as the tight-wood grain ensures a long-lasting hygienic cutting surface, making this board ideal in wet environments.
- This doubles up as a serving board with 2 steel handles on the side, making it the perfect base to present your finest roasts, bread, cheeses, and more.
Cons:
- This is a medium-sized board. If you are someone that has to prep meat, fruits, and veggies in a large volume, you can go for a large cutting board.
- This board can look slightly bulky in a compact kitchen and can get tricky to store.
4. The Gandalf | Professional Chef’s Kitchen Apron
This lightweight apron is both stylish and functional. Shield yourself from unwanted kitchen messes with this grey denim apron that will work by your side all day, every day.
Pros:
- The apron is equipped with 3 easy-access front pockets that provide ample storage to house anything like sharpies and pens, note pads, labels, thermometers of small utility tools.
- The apron also includes a hidden interior stash pocket that is ideal to store your personal belongings like a cell phone, wallet, or any other kitchen secret.
- This apron is designed to make you look and feel confident as you work your way to greatness in the kitchen.
Cons:
- The light grey color of the denim will make stains and splatters stand out more on the apron, making it look messier than a dark-colored apron.
- If you work in a very busy kitchen, you might want to go for an apron that has more storage space and is slightly more heavy-duty than this one.
10. Frequently Asked Questions
Which vinegar is best for dill pickles?
Distilled White Vinegar is what is used in most pickle recipes. This is the clear, colorless vinegar made by fermenting grains. It has a mellow aroma, and tart acid flavor and does not affect the color of the light-colored vegetables or fruits.
What is the ratio of vinegar to water for dill pickles?
The basic ratio for pickles is 1:1 vinegar to the water and includes some amount of salt and sugar. Another ratio that is followed is the 3:2:1 method, using 3 parts vinegar, 2 parts water, and 1 part sugar.
What is dill pickle brine made of?
Pickles are made with a very basic brine of equal parts cider vinegar and water mixed with salt. This brine gets poured over the cucumbers and transforms them into pickles.
Check Out Dalstrong Cookware Today!
Written by Himani Vaid
Toronto-based food nerd turned food storyteller, Himani is a connoisseur of all things delish. Currently, busy thinking about what to eat next.


