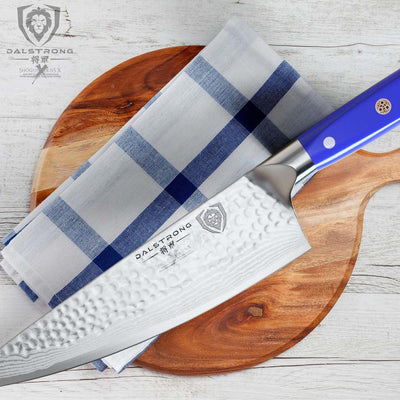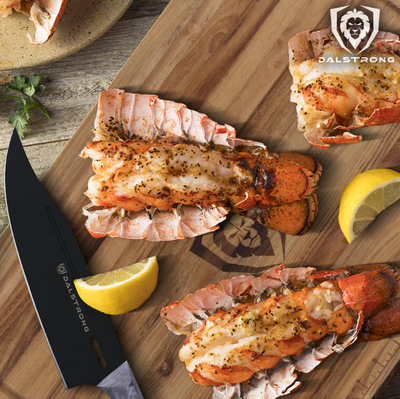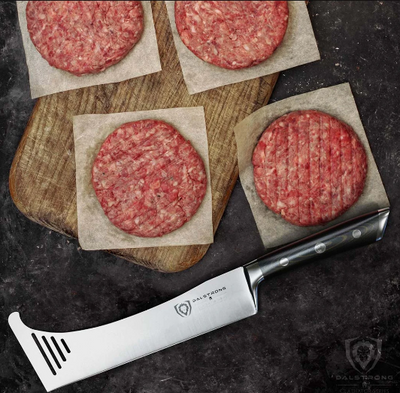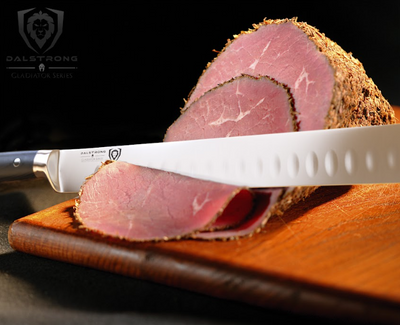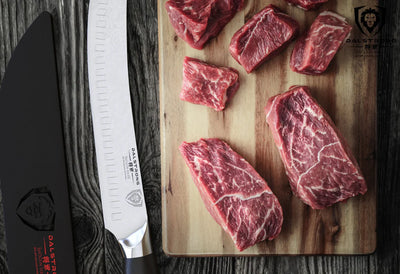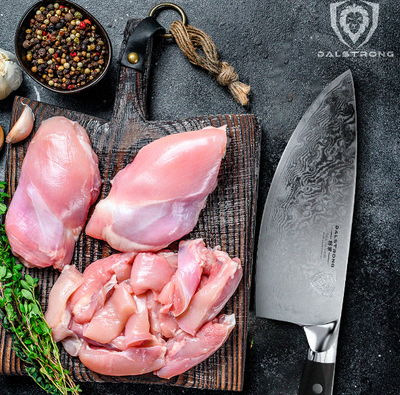


 Slicing & Carving Knife 10" | Gladiator Series
The Perfect Brisket Temperature For Your Cookout
Quick Steps Overview: Smoked Brisket
- Trim the brisket to an even thickness
- Marinate & season the brisket
- Preheat the smoker
- Add the brisket & cook low and slow
- Place the brisket on the foil
- Wrap it up
- Return the brisket to the smoker
- Remove & leave it to rest
- Slice it up & serve
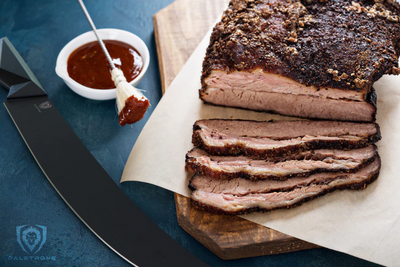
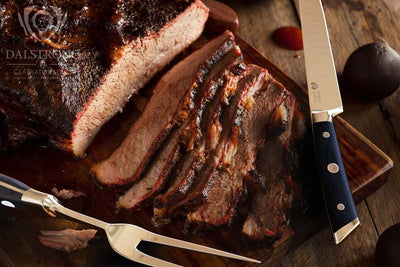
Who doesn't love a gorgeous, perfectly smoked brisket that’s crunchy on the outside and flavorful and juicy on the inside? And if you are also a brisket fan, you might know how even the thought of attempting to cook it at home can be daunting. But it doesn’t have to be.
Typically, brisket is tough meat to cut so it needs to be cooked at a low cooking temperature over many hours. This helps break down the connective tissue so it melts and gives you tender meat. If the internal temperature of the brisket is too high, all the moisture will escape and the rack will turn out to be tough and dry.
Read on as I tell you more about how to hit the perfect internal temperature every time you cook a brisket.
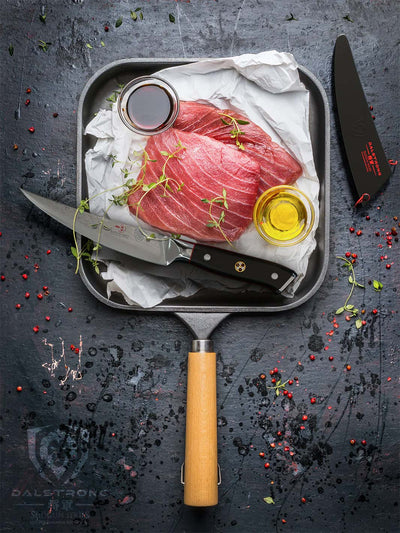
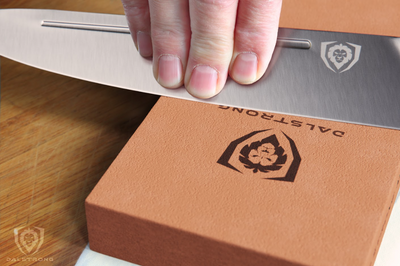
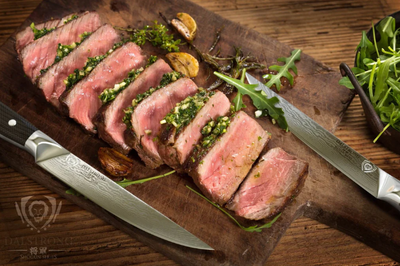
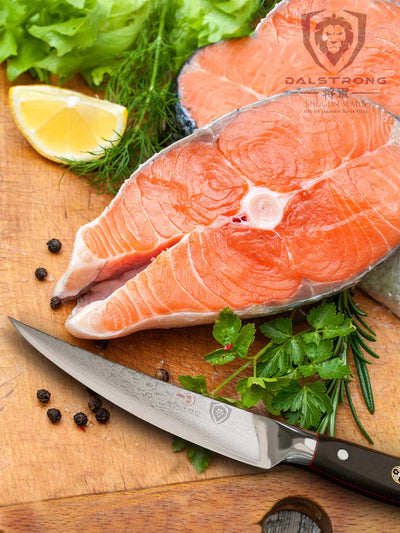
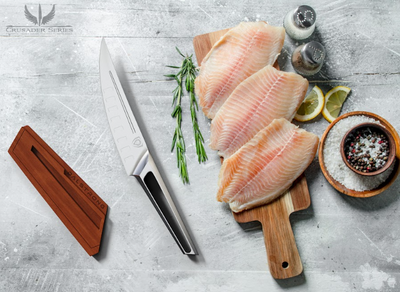
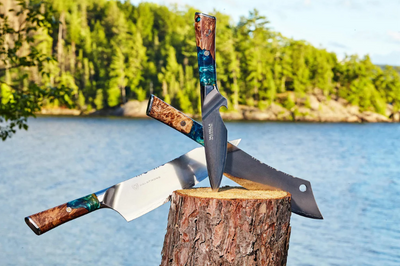
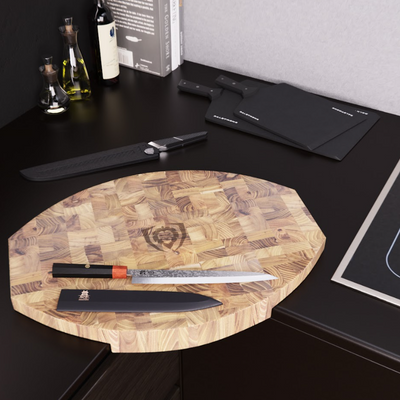
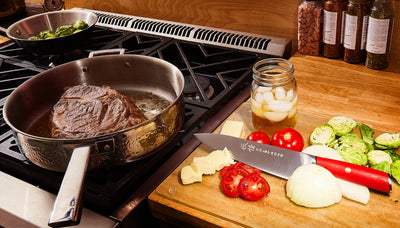
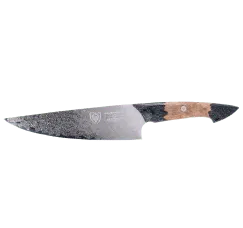
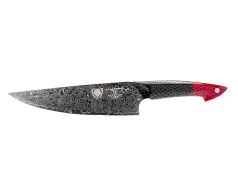
 Slicing & Carving Knife 12" | Phantom Series
1. How To Select The Perfect Brisket For Smoking
When smoking beef, the classic cut to use is the brisket. You can find a brisket that is beef or veal, but regardless of where it comes from, the term refers to the meat that is located at the front of the animal’s chest.
There are 4 things to consider when picking the perfect beef brisket for your meal:
- The fat on the meat: The fat on the brisket plays an important role in the smoking process. As the meat gets cooking inside the smoker, the fat melts and keeps the brisket moist. The good brisket for smoking should have a layer of fat that is between a quarter to a third of an inch thick. While some people like even more fat, this is generally a good choice. Don't forget the juicy fat cap!
- The weight of the brisket: Try and look for a brisket that is between 8-10 pounds in weight. This is what most home smokers can handle and is a great pick when you want to feed a big party. The brisket you choose must be of roughly equal thickness along all sides as you want to be sure that the meat does not dry out on one side while remaining all raw on the other side.
- The quality of the brisket: There are 2 grades to choose from, namely “choice” and “select”. Choice brisket is of a higher quality than select brisket. You will see that choice brisket has more extensive marbling in terms of fat, ensuring that the result is juicy and flavorful. This meat is also slightly more expensive than the other cut but it is worth it once smoked to perfection.
- The flex of the meat: Another way to make sure that you are getting a fresh brisket is by looking for a little flex in the meat. Although meat is vacuum-packed, you should be able to bend it slightly between your hands. Remember, the meat should not feel soft or slimy, however, the brisket should have a bit of give to it.
2. The Best Internal Temperature For Brisket
While the pros can tell you whether the brisket is done simply by its appearance and the texture of it, some of us need a little help. Experts suggest that the ideal internal cooking temperature of the brisket should be between 195 and 202 degrees F.
One popular method to ensure that the brisket is cooked evenly is to pull the brisket off after it reaches 185 to 195 degrees F, wrap it and return it to the offset smoker. Check it every hour until the internal temperature reaches 200 degrees F.
Another method is not to pull off the brisket or wrap it up. Instead, wait out the stall. Eventually, the internal temperature will rise. This technique might take more time but the brisket will have a smokier flavor and crisper bark.
One of my best friends to help me through this process is my trusted leave-in instant-read thermometer that helps an eye on the internal temperature. Whatever temperature you aim for, remember the temperature can rise another 10 degrees after you pull it from the smoker. So if you are aiming to get an internal temperature of 200 degrees F, you should remove the brisket from the smoker at about 190 degrees F.
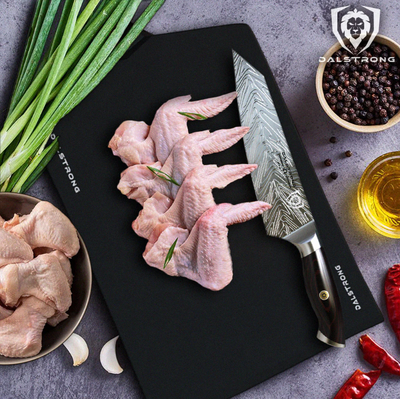
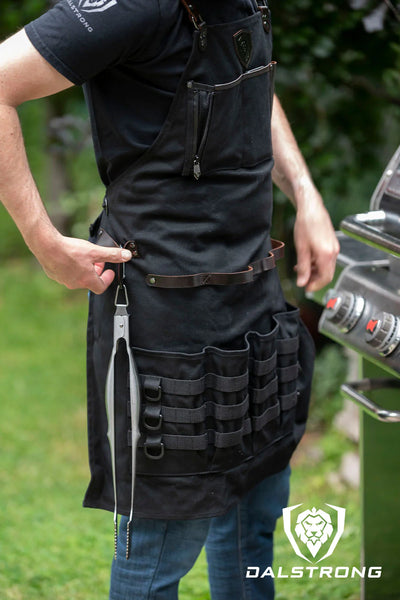
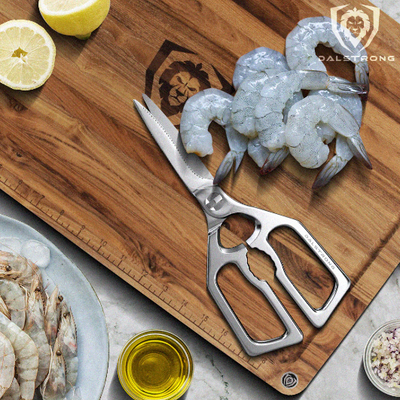
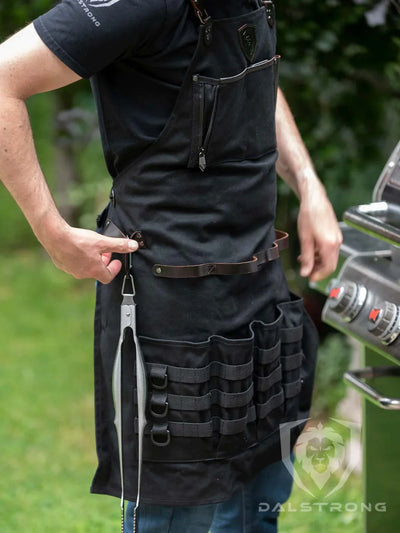
3. Tools Required To Smoke A Brisket
- A smoker: This is where all the magic will happen. Make sure your pellet grill is all clean from the previous use.
- Hickory Wood Pellets: The smoke created by these pellets penetrates the meat well, giving it a smoky and mildly nutty flavor.
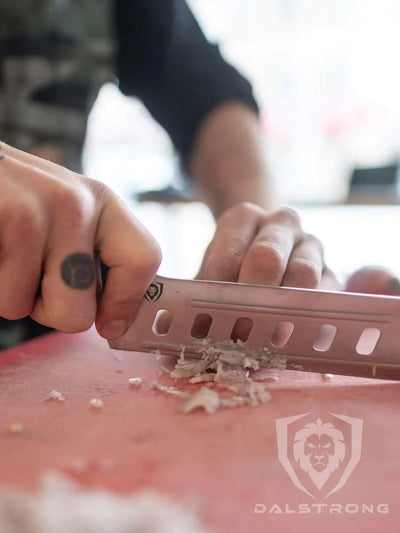
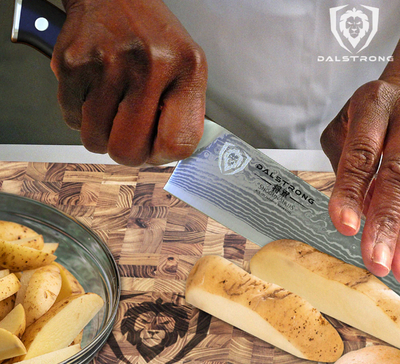
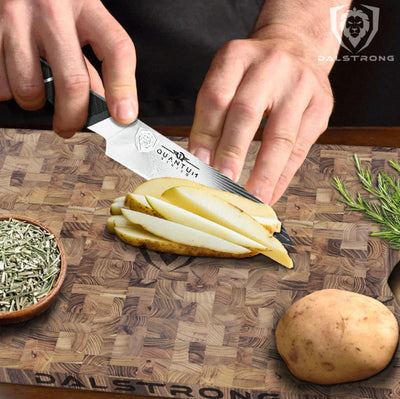
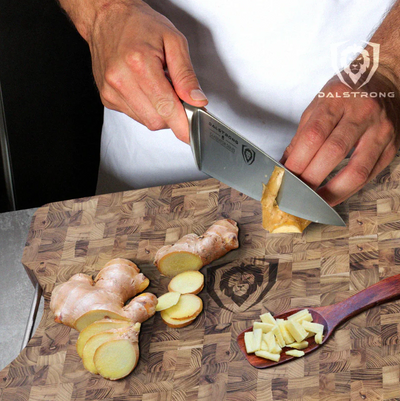
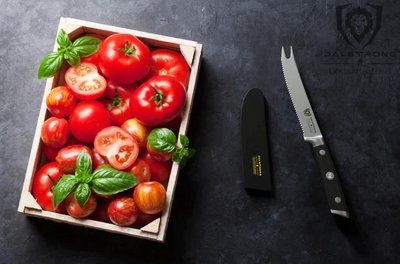
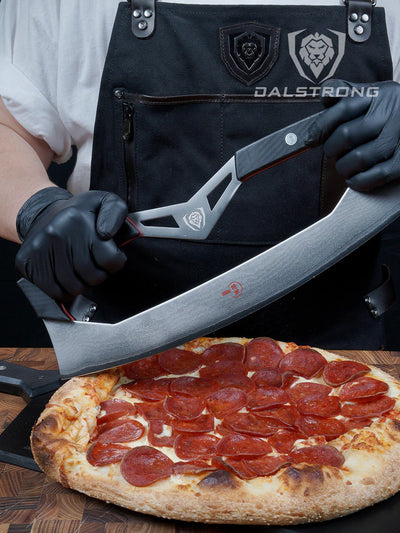
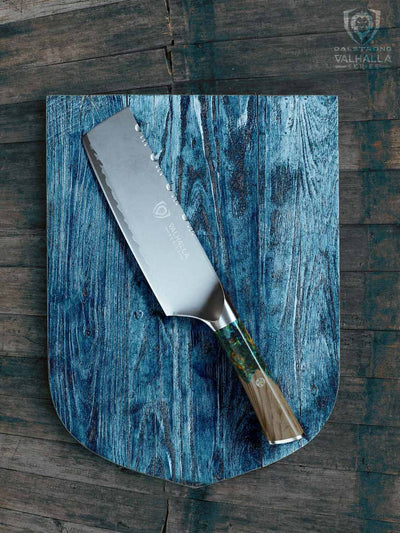
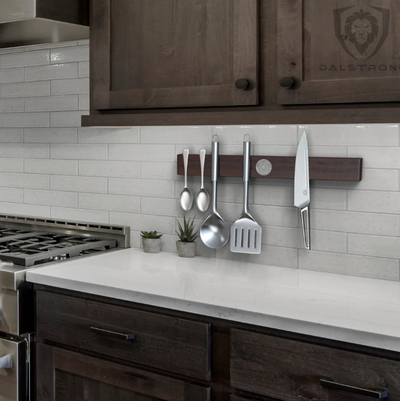
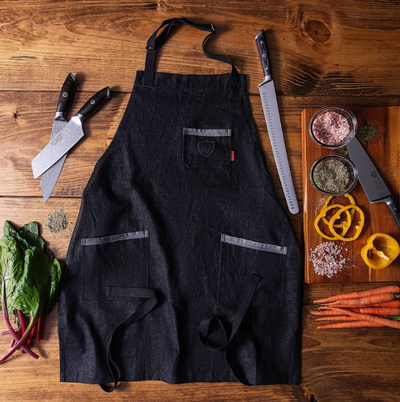
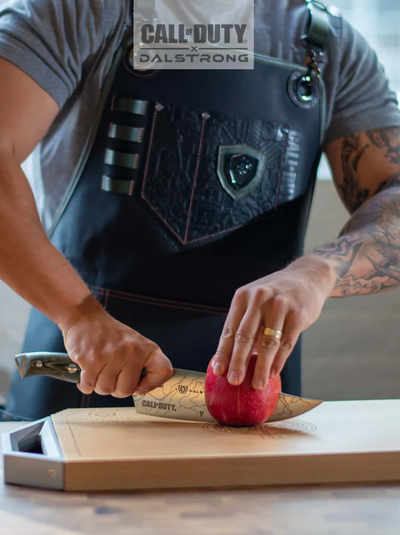
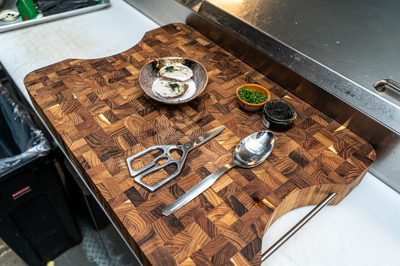
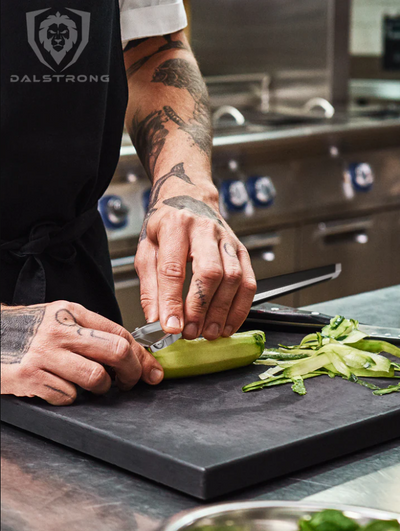
- Cutting Board: A sturdy, flat surface like a cutting board is required to place the brisket on it, apply the rub evenly, and slice it up once ready.
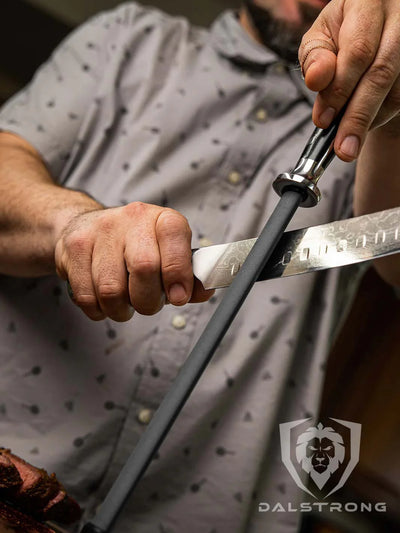
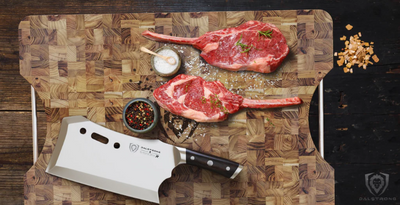
- Brisket Knife: Slicing up the beautifully done brisket with a brisket knife will help reduce flesh damage and allow you to cut through the meat with ease.
4. How To Smoke A Brisket
|
Smoked Brisket |
||||
|
Prep Time 15 mins |
Marinate Time |
Cook Time 6 hours |
Total Time 8 hours 15 mins |
Servings 6 |
|
Ingredients |
|
|
Brisket |
|
|
Brisket Rub Ingredients |
|
|
Wrapping the Brisket |
|
|
Cooking Instructions |
|
|
Step 1: Trim the brisket to even thickness |
|
|
Step 2: Marinate & season the brisket |
|
|
Step 3: Preheat the smoker |
|
|
Step 4: Add the brisket & cook |
Note: The brisket should remain moist on top during this time. |
|
Step 5: Place the brisket on the foil |
|
|
Step 6: Wrap it up |
|
|
Step 7: Return the brisket to the smoker |
|
|
Step 8: Remove & leave it to rest |
|
|
Step 9: Slice it up & serve |
|
5. Tips For Smoking Brisket To Perfection
- Trim the fat to a thickness of ¼ inch.
- Season the smoked brisket with a dry rub or wet sauce before placing it on the smoker. You want the brisket to be heavily covered in spice and then pat it to make sure that it sticks well to the brisket.
- Don’t forget to prepare the smoker. You want the smoked between 200-275 degrees F. As soon as the coal starts turning gray, add small chunks of wood. Add this wood throughout the process as the wood burns away.
- When cooking a brisket, keep in mind that it takes an hour of cooking time per pound of meat, so if you have a 10-pound brisket, expect to smoke it for about 10 hours.
- Keep the fat side up so the juices can drip through the meat.
- If you want to add sauce or glaze to the brisket, do so after you have removed the foil and allow it to continue smoking for about an hour to create the bark.
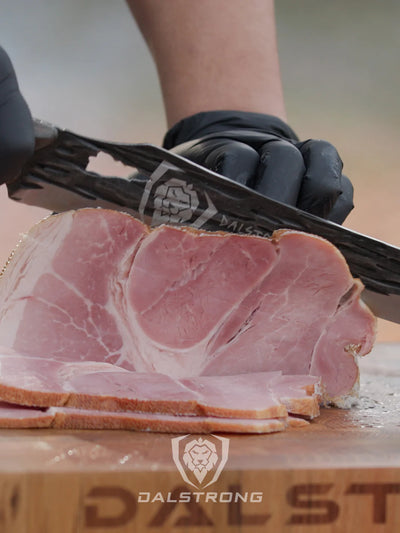
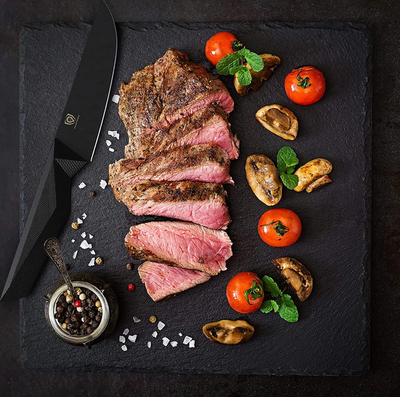
- Cut against the grain into thin slices. This will reduce food drag, loss of moisture, and flesh damage. Save the fat cap for yourself as this is the juiciest part. :)
6. Wrapping A Brisket
You must wrap the brisket after 2 things have happened:
- A dark bark has formed
- The internal temperature of the brisket has reached 165 degrees F.
There is more than one option when it comes to wrapping the brisket and they are
Aluminum FoilThis is the most popular method. By wrapping the brisket in tinfoil, you can speed up the booking process. Although this will give you a tender end product, you do run the risk of ruining the bark that you had begun to build on the outside of the brisket. Sometimes, it can also result in overcooked or mushy meat.
Butcher PaperPink butcher paper has become closely associated with a certain style of BBQ. Those who prefer this method of wrapping vouch that it gives the same benefits as wrapping in foil while also being porous enough to allow some additional smoke to get in. This paper is more forgiving on the bark, so you get a little more crunch at the end.
NakedWhile wrapping up the meat does help cut down cooking time, it is not necessary. An unwrapped, naked brisket tends to take longer to cook and can run the risk of running dry, but with a little practice, you can achieve a great brisket with a phenomenal bark.
Since nothing is standing in the way of the smoke and the bark, you get to enjoy a super crunchy bark and an extra smoky flavor.
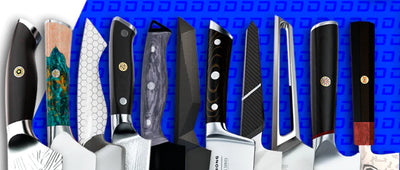
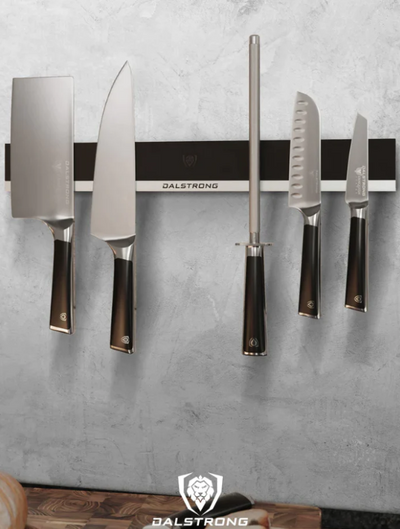
7. Top Brisket Knife Picks For You
Here are some of the best options to help you finish the slicing task with maximum precision:
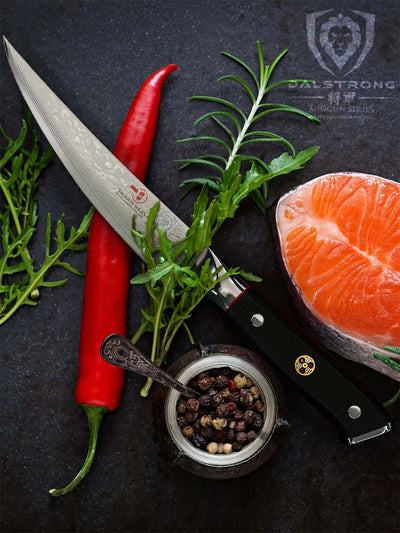
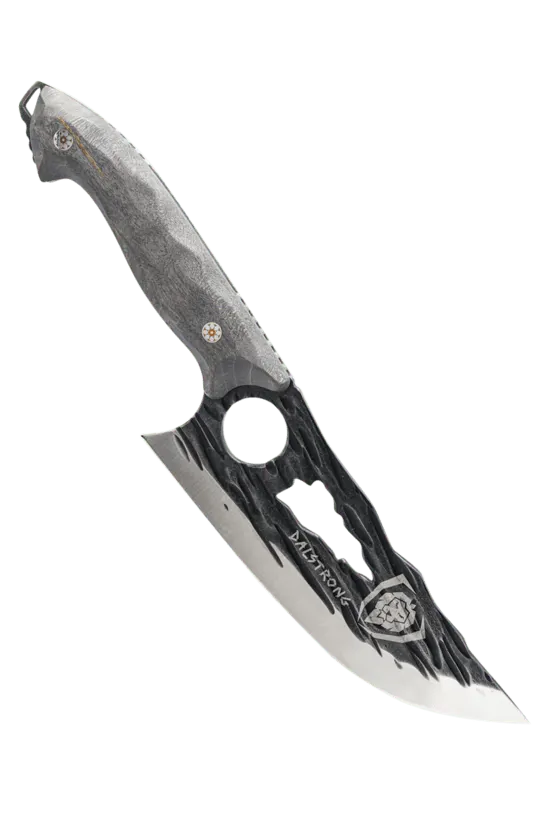
1. Butcher & Breaking Knife 8” | Shogun Series

This knife features a slightly more conservative blade length over its larger counterparts, this blade offers superior control and maneuverability to precisely slice through flesh and cut through cartilage.
Pros:
- The blade has rock-hollow divots which minimize adhesion, prevent stuck-on food, and reduce friction to provide you with a more seamless cutting experience.
- The razor-sharp blade of this knife is perfect for cutting through large chunks of meat with accuracy.
- The non-slip grip of the knife allows you to use it comfortably when working for long hours
Cons:
- The 8-inch blade is great for someone new to the kitchen, but if you are a seasoned chef, you might be more comfortable using a slightly longer blade.
- The knife also comes with a high price tag, but if you are passionate about cooking up magic in the kitchen, then it is worth the investment.
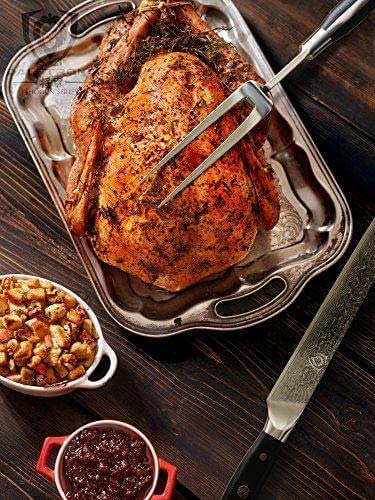
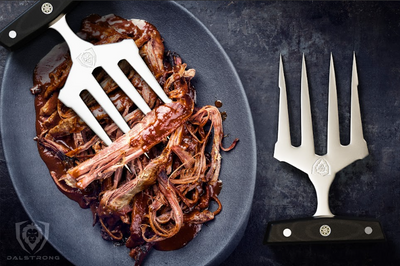
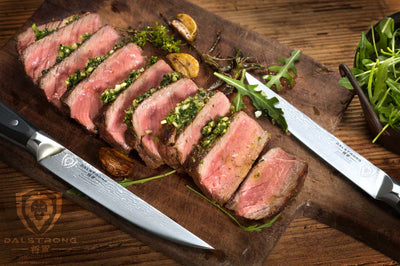
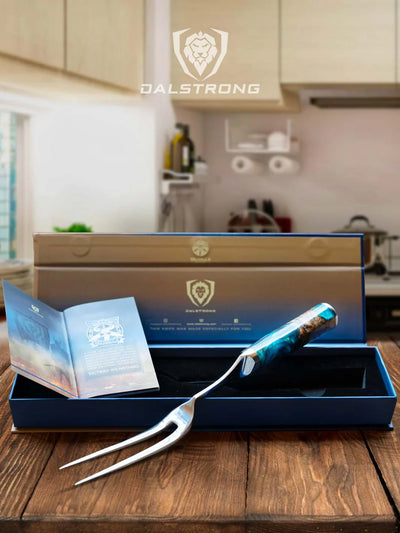
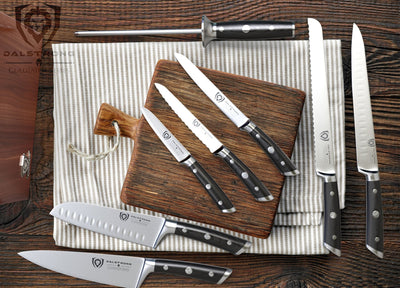
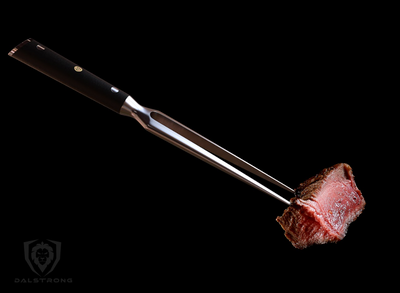
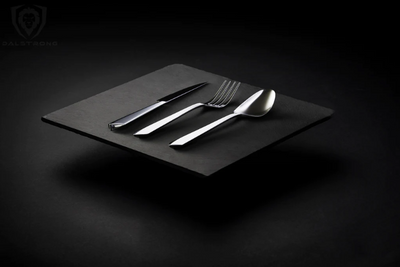
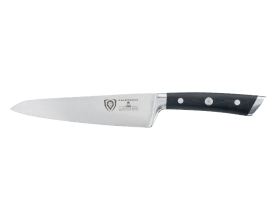
2. Carving Knife and Fork Set 9” | Gladiator Series

Ensure every roast, brisket, turkey, and ham is perfectly and evenly sliced with this duo. The blade of this knife provides effortless motion and seamless maneuverability. The ultra-sharp blade also has a narrow design for nimble movement and provides enough length to perform cuts with a single stroke.
Pros:
- The set features a full tang carving fork that is designed to secure neats for carving and for transferring the slices from the serving plate to the dinner plate.
- The set is priced very well and consists of 2 important pieces of grilling equipment that you are going to need while cooking.
- The knife and fork set clean easily, making it very low maintenance. The moderately sized set is also very simple to store and does not take up much space in the kitchen.
Cons:
- The design of this set is pretty basic. If you are a chef with a slightly bolder design style, you can take a look at the other brisket knives.
- The knife might not provide a good grip for a chef with larger hands. In that case, you can get one of the longer blades mentioned below.
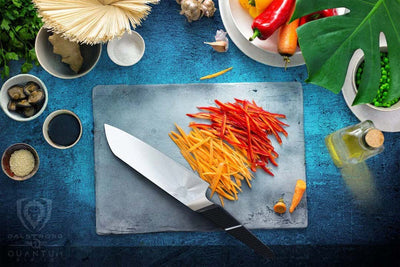
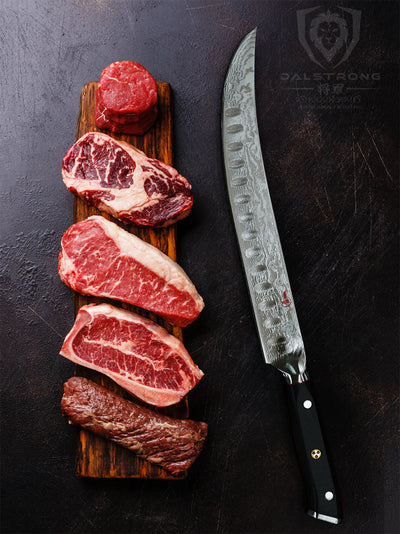
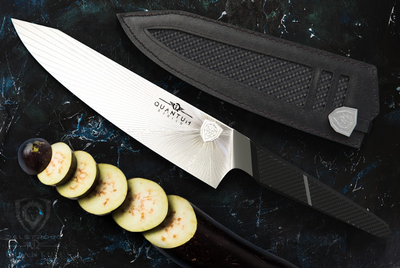
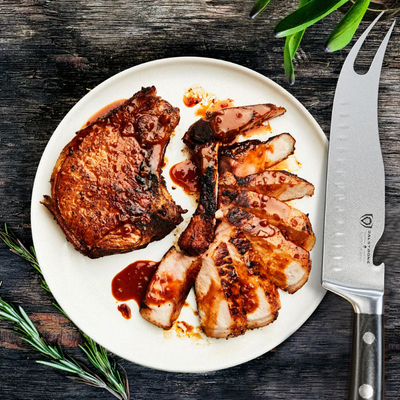
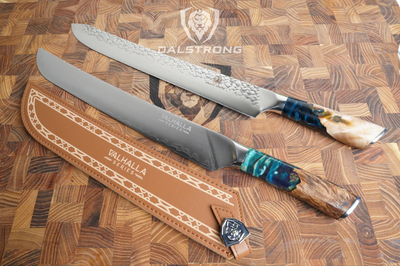
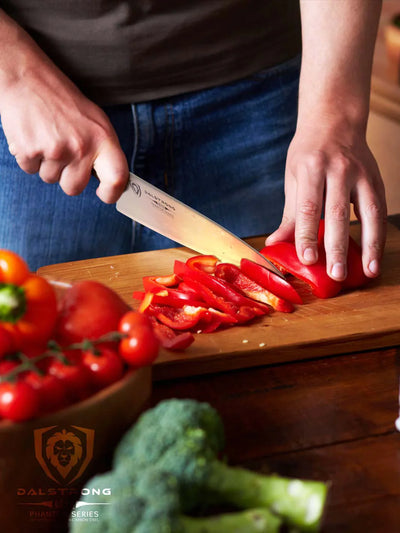
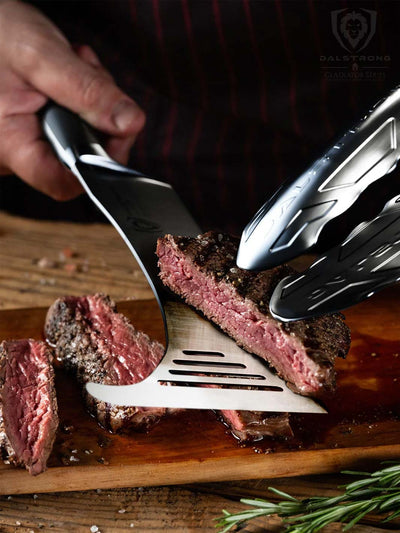
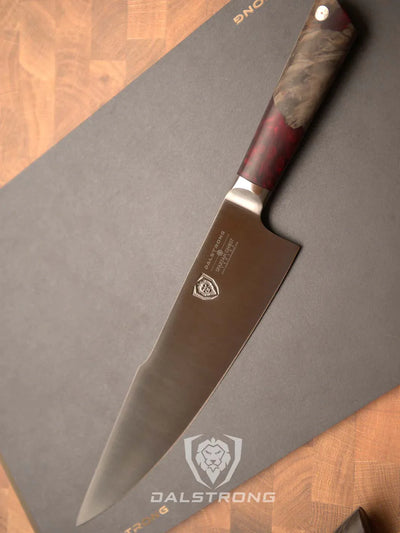
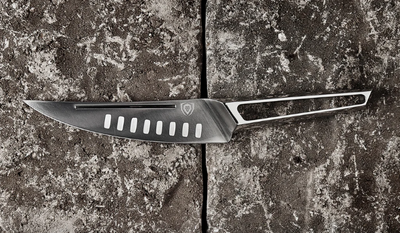
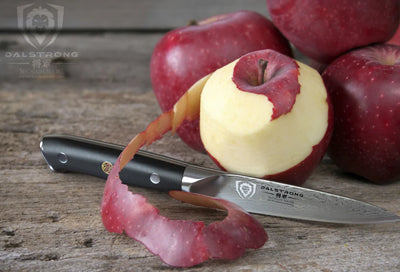
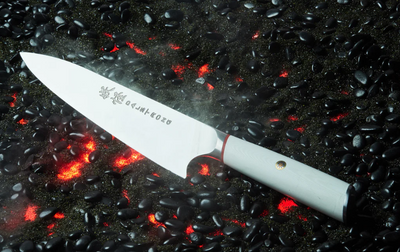
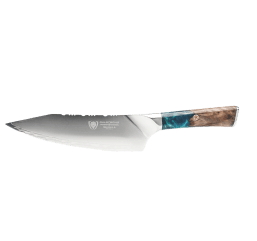
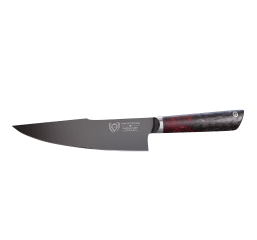
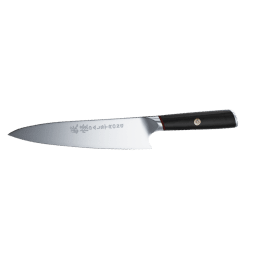
3. Slicing & Carving Knife 10” | Gladiator Series

This versatile blade is perfect for carving roasts, prepping large fruits and vegetables, and slicing bread loaves and layers of cakes. It is also effective when you want to create beautifully long, thin, and uniform slices of larger cuts of meat like briskets.
Pros:
- The knife has a tapered design providing it with hardness and flexibility to cut through anything and everything.
- This 10” blade is priced well, making it a great and affordable addition to your kitchen arsenal.
- The tall blade height gives knuckle clearance to assist with tiring day-to-day food preparation and other chopping activities.
Cons:
- If you are new to the kitchen, this 10” blade can get intimidating to handle. In that case, you can take a look at one of the shorter blades.
- The narrow blade of this knife might make it difficult for you to scoop the sliced meat and transfer it to the plate.
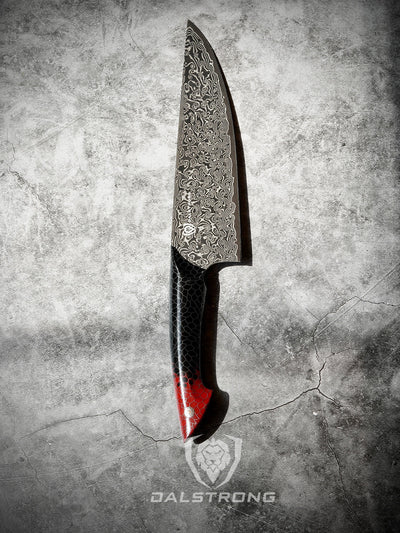
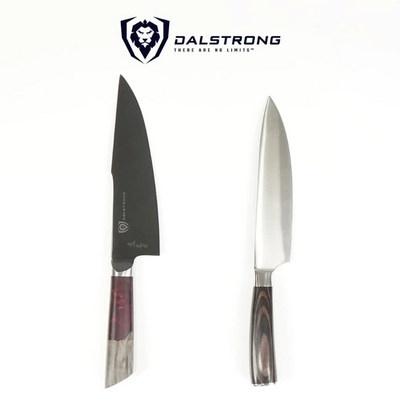
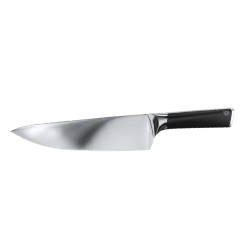
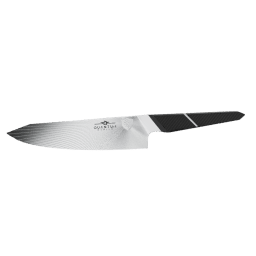
4. Slicing and Carving Knife 12” | Omega Series

Meet the slicing master. Ideal for briskets, roasts, ham, turkey, and salmon, this blade will cut through anything smoothly. It is also very well suited for prepping large fruits and veggies slicing bread loaves and cakes.
Pros:
- The “Liquid Metal” pattern on the blade reduces drag and increases efficiency, allowing you to glide through meal prep.
- This knife is designed to flex just enough to avoid shredding or tearing the meat, leaving all the juices inside the brisket.
- The handle of the knife is designed to provide the user with hand control agility and comfort.
Cons:
- This knife comes with a heavy price tag and if you don’t cook that often, it might not be your ideal choice.
- The 12” blade requires practice and patience to make sure that the user does not get injured when using it.
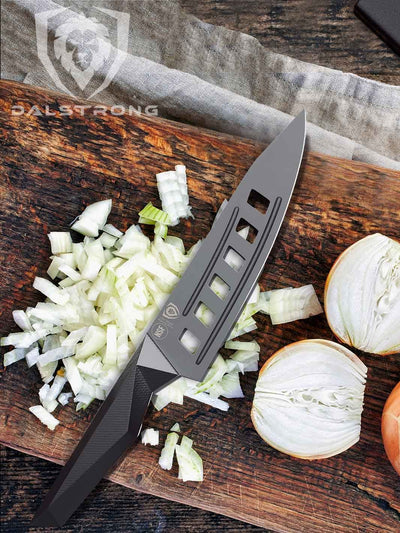
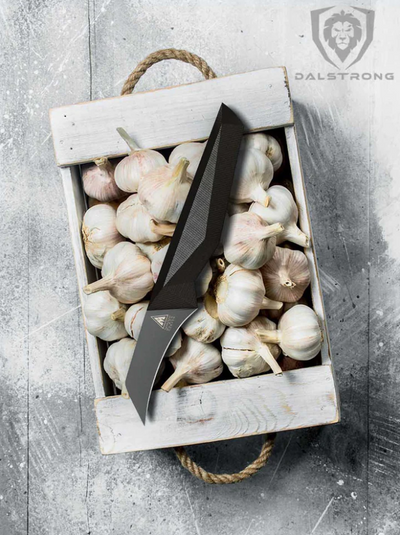
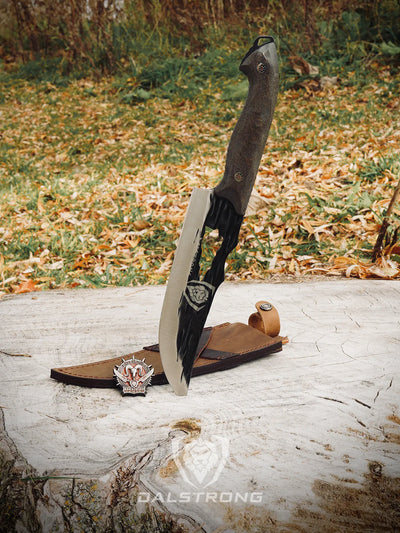
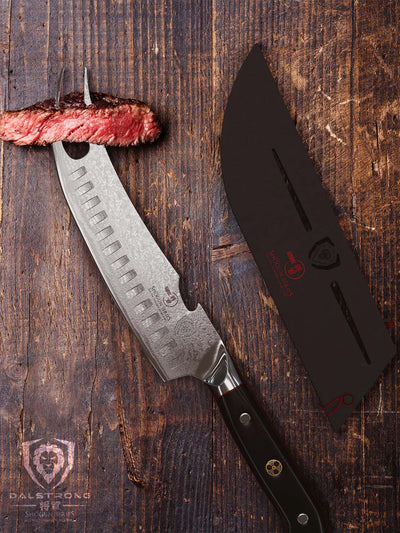
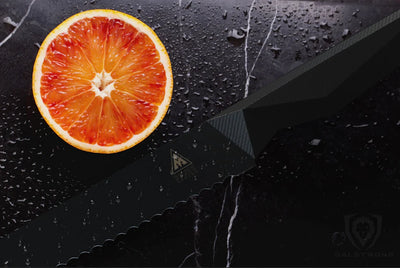
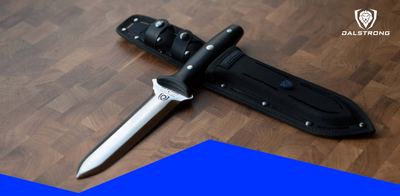
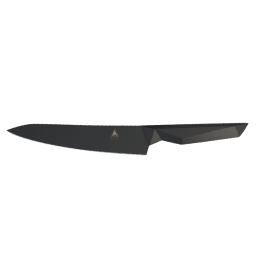
5. Slicing & Carving Knife | Shadow Black Series

Here’s a blade this is designed to be sleek, aggressive, and muscular while providing the user with optimal maneuverability and grip. The ruthlessly sharp edge of this blade ensures clean, precise cuts and excellent edge-retention, especially when you’re dealing with large chunks of meat.
Pros:
- This knife is striking from every angle, making it the star of the kitchen.
- The blade of this knife is engineered and weighted for perfect balance to minimize hand fatigue when using it for long hours.
-
The nitride coating improves robustness, making the blade corrosion-resistant and durable.
Cons:
- This 14” blade is slightly tricky to use, which is why you should go for this blade only if you are a seasoned chef or home cook. If you are new to the kitchen, you can go for the shorter blades and then work up to be able to handle the big ones.
- The all-black aesthetic of this knife can be a little too bold for chefs with a minimalistic sense of style.
8. Frequently Asked Questions
Is brisket done at 180?
The brisket is done when the temperature reaches 180 to 185 degrees F internally or when a fork slides in and out of the meat easily. Remove and allow the brisket to rest for 10 minutes once cooked.
Can I pull brisket at 190?
The brisket is just about ready at 190. While I suggest you wait until it hits at least 195 before pulling it off the smoker, you can do so a few degrees sooner as well.
How long will brisket take?
You must plan an hour to 90 minutes for every pound of smoked brisket, including the rest, or hold the temperature when cooking at 250 degrees F. The total cook time can be anywhere from 8 hours to 16 hours depending on the size of the cut. With every brisket, the cooking time will vary.
Shop Dalstrong Slicing & Carving Knives Today
Written by Himani VaidToronto-based food nerd turned food storyteller, Himani is a connoisseur of all things delish. Currently, busy thinking about what to eat next.