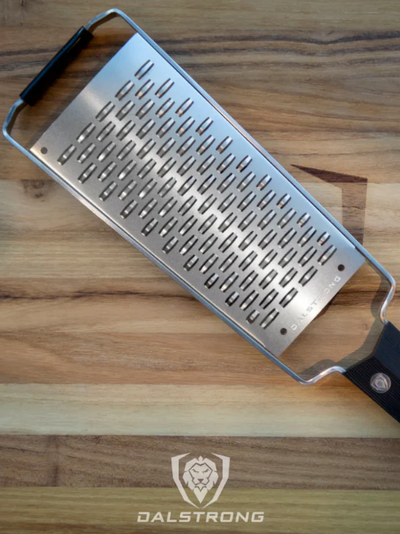

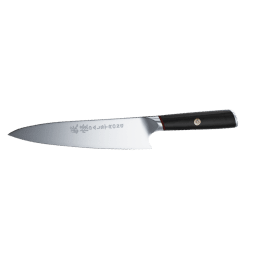


 Y Peeler - Stainless Steel Blade
You don’t always need a potato masher to plate the best potato dishes. It’s true! Today, we’re going to learn more about the incredible methods you can use to make dinner with creamy mashed potatoes without creating much of a fuss in the kitchen. This includes the most common kitchen gadgets and a personal favorite – Hand mashing!
Don’t worry, we have all the right products in stock at Dalstrong that you would need. But first, let’s dig into all the potato mashers available that can help you in the kitchen.
Meet me in the middle of this article, and we’ll talk about the key differences between potato mashers.
Let’s start peeling through this article, shall we?
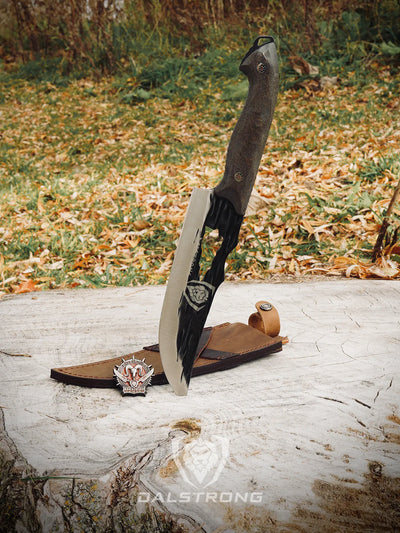
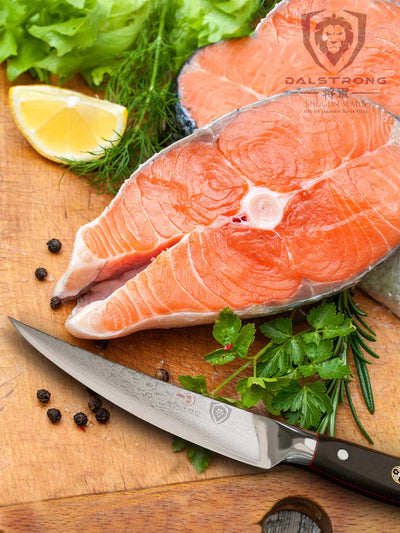
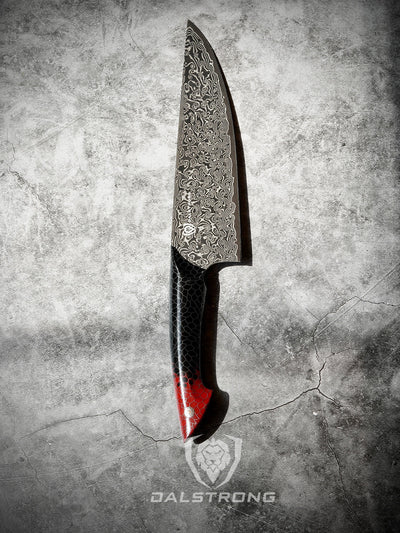
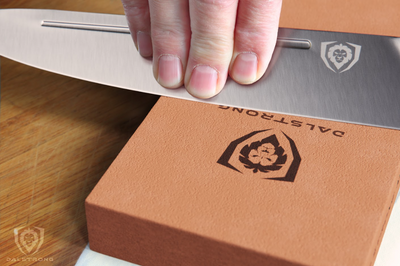
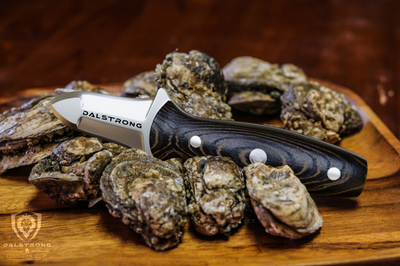
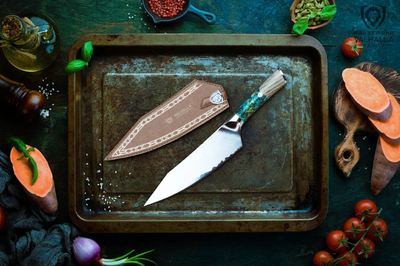
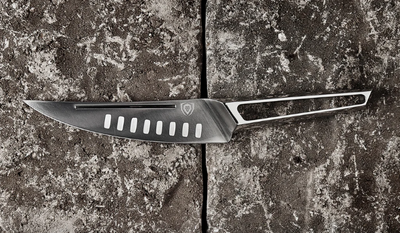
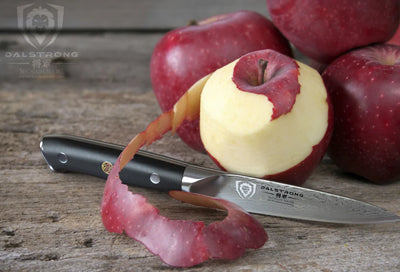
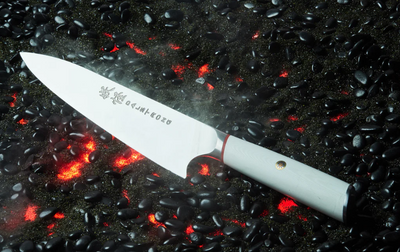
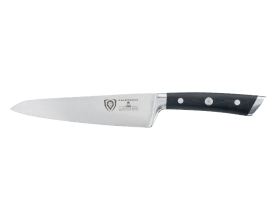
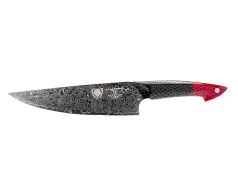
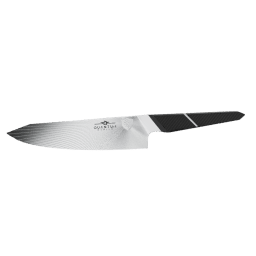
 Paring Knife 3.5" | Shogun Series
1. What Is A Potato Masher?
A potato masher is a kitchen tool that is used to puree potatoes for delicacies like mashed potatoes. It works best on cooked potatoes, fruits and root vegetables that have tenderized and softened after being boiled. To make the perfect mashed potatoes, you can use regular potatoes or sweet potatoes. Heavy duty potato mashers are usually made with stainless steel and are widely available in a handful of styles and colors.
The masher head or a masher plate with slits and holes is used to puree potatoes or as per your preference. The texture of your mashed potatoes depends on the head of your masher.
There are zigzag masher heads that can be used to make other mashed alternatives such as mashed beans by using a portion of refried beans.
2. What Are Potato Mashers And Ricers?
Did you know that mashers and ricers can be used to make mashed potatoes as baby food? Yes! If a child has been introduced to solid foods, mashed potatoes make excellent upgrades instead of store-bought baby food.
Potato mashers have a good grip as well. They are rather traditional and come in two infamous designs. These include mashing plates with small holes on them and a zigzag pattern.
There are plenty of ways through which you can make easy dinner recipes like mashed dishes. Before we talk about that in more detail, let’s take a look at the key differences between a potato masher and a potato ricer – Two commonly found kitchen tools used for quick mashing.
3. Key Differences Between A Potato Masher And A Potato Ricer
|
Attributes |
Potato Masher |
Potato Ricer |
|
Consistency |
Potato mashers are traditional kitchen tools that are used to puree potatoes. But, they have a reputation to leave behind a lot of lumps. |
A potato ricer works by clumping boiled potatoes together, and then forcing them out through small holes, giving them a rice-like texture and consistency. |
|
Texture |
With potato mashers, you need to stir in liquids like milk or water in small quantities to avoid lumps. So, even the best potato masher like a Zyliss potato masher can be a lengthy process for a rather simple dish. A potato masher usually has a mashing plate with small holes on it. This helps in achieving better consistency and texture with very few lumps. |
Since potato ricers use air to press the boiled potatoes together, you get the fluffiest and lightest texture of mashed potatoes that is possible. |
|
Time Consuming |
Even if you use the best potato with a smooth potato masher, such as Zyliss potato mashers or Oxo good grip, there is only so much you can achieve. You will have to be patient and steady with this tool. The handle can also give you arm fatigue. They also aren’t built to deliver fluffy or light mashed potatoes. |
A potato ricer ensures little to no lumps in the mashed potatoes. However, the downside of a potato ricer is that it is incredibly time-consuming as well. If you’re looking for a fluffy texture instead of a rugged one, you need to keep ricing. |
|
Ergonomic & Good Grips |
Potato mashers have a bad reputation for causing hand cramps and arm fatigue. If you set aside a few good minutes dedicated to mashing, arm fatigue can be avoided as these mashers have a soft touch handle to help you avoid arm fatigue and cramps. |
Potato ricers have a better handle on them and are more convenient to use and offer comfortable grip. With ricers, you don’t have to oscillate up and down to mash potatoes like you would with a traditional potato masher. |
|
Price |
Potato mashers range between $9 to $120. The professional ones like the Tovolo potato mashers can be priced at anything above $20, and some go up to $200. |
Potato ricers range between $19 to $120. Professional and heavy-duty potato ricers like the ones by Food Mill are priced at $39, but some go up all the way to $89. |
4. Key Differences Between Silicone Potato Mashers vs. Stainless Steel Potato Mashers
|
Attributes |
Silicone Masher |
Stainless Steel Masher |
|
Grip |
Let’s begin by stating that silicone potato mashers have good grips. |
Stainless steel potato mashers are right up there with silicone potato mashers and offer good grips as they’re both highly resistant to slips and slides. |
|
Sharpness |
One of the downfalls of silicone potato mashers is their rubber-like texture which doesn’t mash potatoes well at all. This takes away the purpose of using a potato masher. |
Stainless steel potato mashers have chromium present in the metal which helps cut and mash any chunky bits of potatoes that haven’t been softened in texture. Stainless steel potato mashers help achieve a light and fluffy texture in no time. |
|
Dishwasher Safe |
Silicone potato mashers are dishwasher safe and non-toxic. |
Stainless steel potato mashers are dishwasher safe and non-toxic as well. |
|
Safe |
Silicone potato mashers are safe to cook any food with, not just potatoes. They do not leech chemicals into food either. |
Stainless steel potato mashers are known for having great tolerance to high heat. So, they do not leech chemicals into foods like potatoes. They are also safe to use with nonstick cookware. |
|
Maintenance & Storage |
Silicone potato mashers are easy to store and fit comfortably in your kitchen drawer. Their dishwasher safe nature makes them incredibly low in maintenance. |
Stainless steel potato mashers are easy to clean thanks to their dishwasher safe nature. They’re also low in maintenance and can be stored in your kitchen drawer. |
|
Price |
Silicone potato mashers range from $8 to $15. |
Stainless steel potato mashers range from $7 to $21. |
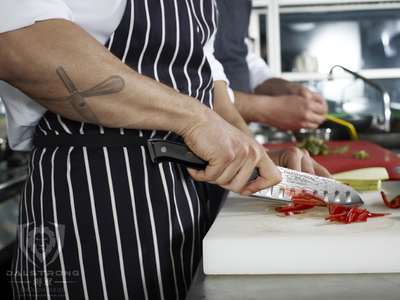
5. How To Make Mashed Potatoes With A Potato Masher
Ingredients:
- 4-5 medium-sized russet potatoes (peeled and cut)
- Salt and pepper to taste food
- Half a cup of milk
- Butter
Steps:
- Peel your potatoes and remove the potato eye or head.
- Place your potatoes in a clean bowl and wash away any dirt. (Root vegetables often have debris of soil stuck onto them)
- In a stockpot, add salt, water, and potatoes to it.
- Bring your potatoes to a boil by cooking them for 15-20 minutes.
- Reduce the heat when you notice your potatoes can break apart easily when you pierce them with a fork.
- Drain the water out from the stockpot and transfer potatoes into a clean bowl.
- In a mixing bowl, add pepper, milk, and boiled potatoes.
- Gradually add butter into your mixing bowl and continue to mash.
- When using your potato masher or ricer for mashing potatoes, make sure that there are no lumps.
- You can quit mashing potatoes once you notice light, fluffy, and creamy consistency.
- Since mashed potatoes are fluffy in texture and not runny, you can use a silicone or fish spatula to place them on a serving plate.
Tips:
- Thyme leaves, fresh ground pepper and green onions or scallions are great additions to garnish your plate of mashed potatoes. We’ve got you covered if you want to learn how to cut green onions.
- Remember to handle your freshly made mashed potatoes with caution as they are extremely hot at this point.
6. Smart Ways To Mash Potatoes Without A Potato Masher
1. Mash Potatoes With A Fork
If you’ve experienced college life, you know that mashed potatoes are the way to go. But, let’s add a tinge of sophistication to all the ways we improvised without a masher or a ricer back in the day.
Ingredients:
- 4-5 medium-sized smooth potato (peeled and cut)
- Salt and pepper to taste food
- Half a cup of milk
- Butter
- Olive oil
Steps:
- Remove the potato eye or head.
- Just like every other food, wash your potatoes well and peel and cut them into smaller pieces.
- In a stockpot, add water, salt, and your potatoes and boil them for 12-15minutes.
- Remove potatoes from the stockpot and drain the water out.
- Return to the stove with the potatoes back in the stockpot. Season it with a pinch of salt and pepper.
- In a bowl (or any of your favorite nonstick pans), mix cream or milk and heat it until it begins to boil. At this stage, turn off the stovetop.
- Pour the cream or milk over your boiled potatoes and add a dash of olive oil and a tablespoon of butter.
- Use a large fork to mash the boiled potatoes to your desired consistency and transfer it to a serving bowl.
Tips:
- Place your fork-mashed potatoes in a warm serving bowl and place the serving bowl in a saute pan with warm water. This helps maintain consistency.
- Before serving, stir the mashed potatoes with a fork very lightly. This will help you identify if your mashed potatoes have dried up a little.
Whipping out the whisk is a total power move, right? Well, here’s how you can use this versatile kitchen tool to mash potatoes.
Ingredients:
- 4-5 medium-sized smooth potato (peeled and cut)
- Salt and pepper to taste food
- Half a cup of milk
- Butter
- Olive oil
Steps:
- Soak your potatoes for a couple of minutes in cold water. If you’re under a time constraint, soaking them in tap water would work too.
- Drain the cold water and cut your potatoes into medium-sized pieces.
- Add your potatoes to a stockpot with a pinch of salt and some water.
- Let your potatoes boil for 12-15 minutes – Just enough to be whipped with a whisk.
- Drain the water and place your potatoes in a mixing bowl. (Handle the potatoes with care as they’re extremely hot at this stage)
- Add butter, cream, olive oil and pepper to the potatoes, and begin whisking them together.
- Use the head of your whisk (the sharp, pointed bit at the base of your whisk) and begin whisking in a clockwise direction.
- Once your mashed potatoes are at your desired consistency, use the handle of your whisk to poke holes to let out any hot air that is trapped inside the potatoes.
Tip:
- Wash the handle of your whisk before using it to poke holes in the potatoes as a sanitary measure.
Ingredients:
- 4-5 medium-sized smooth potato (peeled and cut)
- Salt and pepper to taste food
- Half a cup of milk
- Butter
- Olive oil
Steps:
- In a stockpot, add water, salt, and your potatoes and boil them for 12-15minutes.
- Remove potatoes from the stockpot and drain the water out.
- Cut them into medium-sized pieces. (It is completely alright if they’re uneven since you’re going to puree them)
- Pat your boiled potatoes dry with a paper towel lightly. (Remember to handle the potatoes with care as they are still extremely hot at this stage)
- In the food processor, add your boiled chunks of potatoes and push down upon the plunger.
- Monitor the blades and your potatoes so make sure it doesn’t come out too runny.
- Once your potatoes have reached their desired consistency, your mashed potatoes are done.
- All you need to do is place it in a warm bowl that is further placed in a saucepan with warm water. This will maintain the thickness of your mashed potatoes without letting them get gummy.
Tip:
- Remember to clean your potatoes with a silicone brush prior to boiling them.
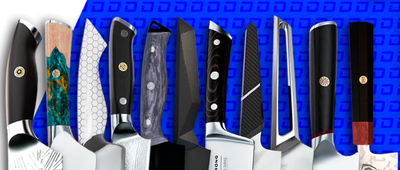
7. Dalstrong Tools You Need
Apart from premium quality potato peelers and nonstick cookware pieces like stockpots that are made with high-quality stainless steel, here is everything you would need to enhance your potato-mashing experience.
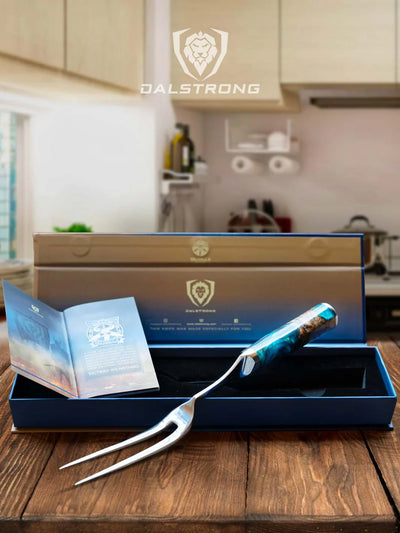
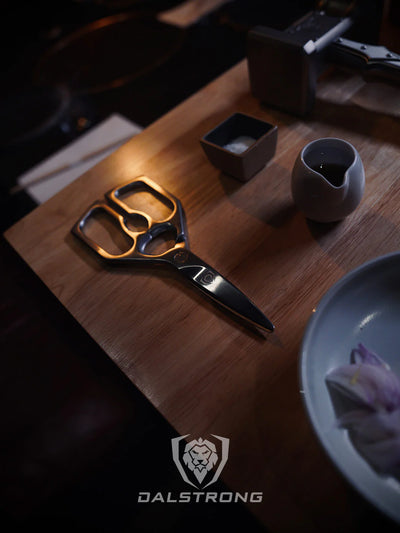
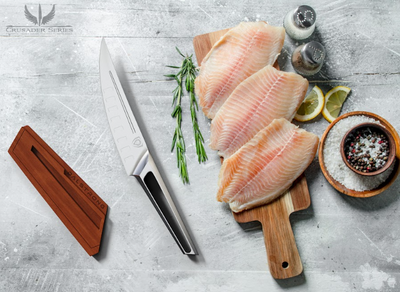
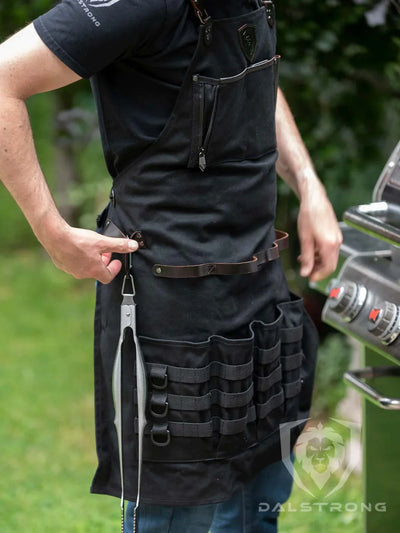
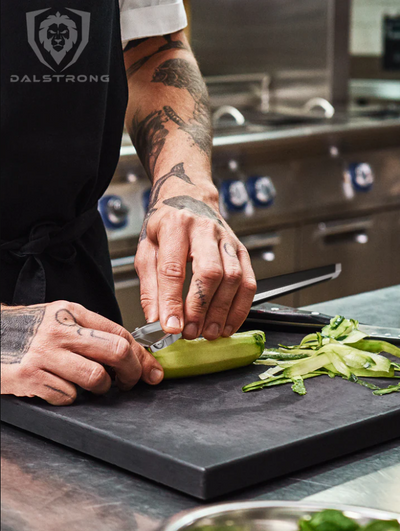
1. Y Peeler - Stainless Steel Blade | Dalstrong ©

Perfect for professional chefs and home cooks, this Y peeler offers comfort, agility, and versatility when you’ve got a boatload of russet and sweet potatoes ahead of you. This Y peeler comes equipped with 3 blades made with high-quality Japanese stainless steel. The ergonomic handle on this peeler helps you maneuver without causing arm or palm fatigue.
Pros:
- A tremendous locking system that is in place to protect your fingers while changing blades.
- Highly durable G10 handle that can handle wet and messy kitchens.
- Each blade comes equipped with a purpose – The first ensures movement, the second ensures precision, and the third helps cut down on waste.
Cons:
- A serrated peeler might be a better fit if you’re particular about the precision of your fruits.
- For enhanced agility, a Swivel peeler might work better for you.
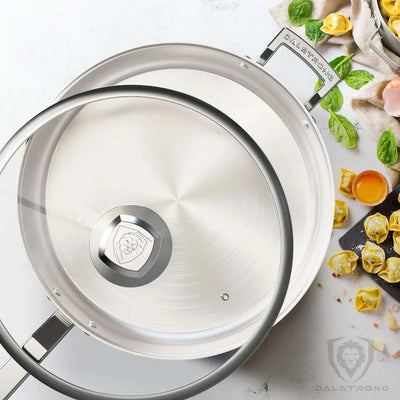
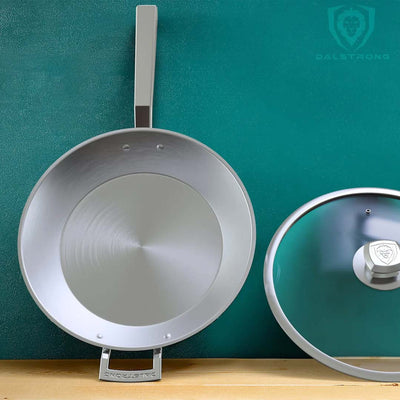
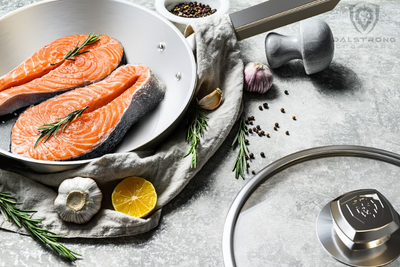
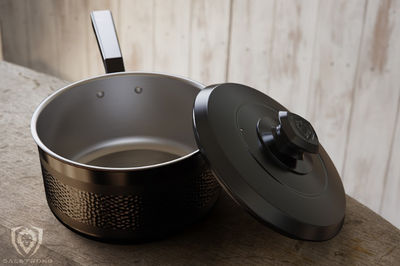
2. 3 Quart Stock Pot Hammered Finish Black | Avalon Series | Dalstrong ©

This 3-quart stockpot is the perfect purchase for boiling russet or sweet potatoes with ease. It can hold food for 2-3 people and has a perfectly fitting stainless steel lid that is made with 18/10 stainless steel, just like the cooking surface and build of this stockpot. The glass lid acts as a pressure release and prevents spills or warping of the stockpot. It is resistant to dents and is an induction cooktop and gas-friendly.
Pros:
- The 5-Ply Copper Forged Foundation is an added layer of protection along with the pot protector that this stockpot comes equipped with.
- It heats 5x and 20x quicker than its iron counterparts.
Cons:
- Some individuals may prefer a nonstick version of this stockpot.
- Since this is a 3-Quart stockpot, it may not work well for large batches of food, but rest assured, you can check out Dalstrong’s stockpots with a variety of sizes here.
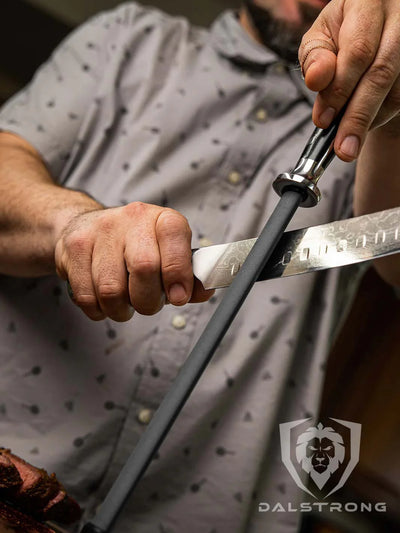
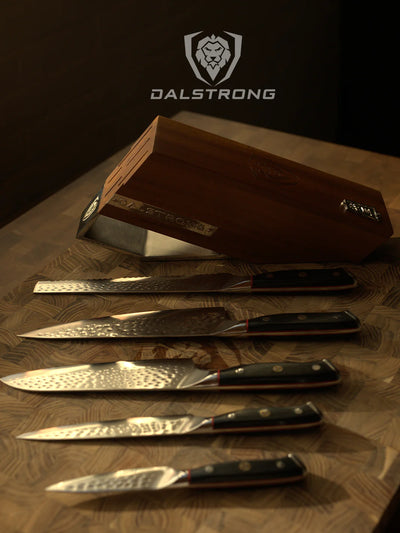
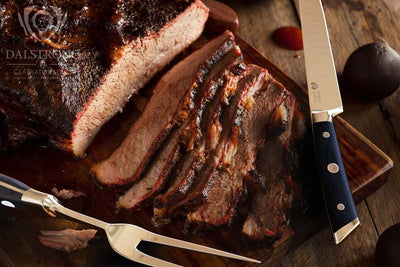
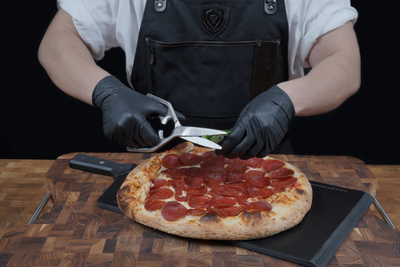
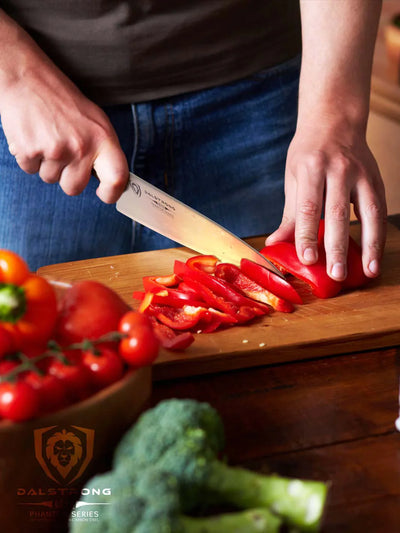
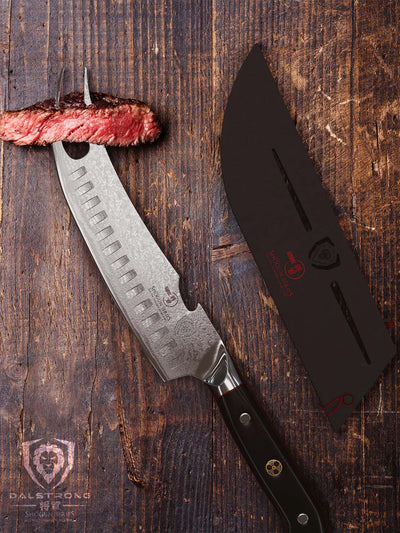
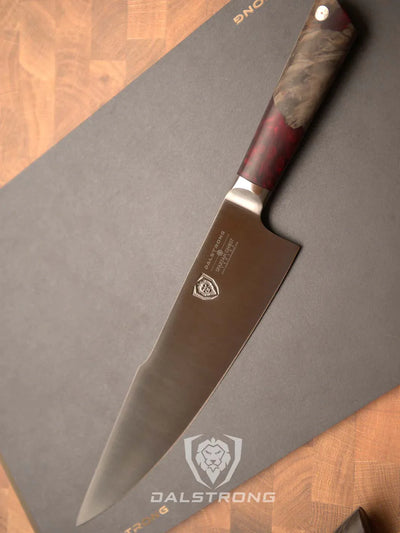
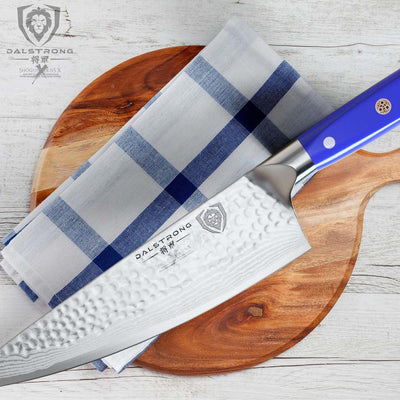
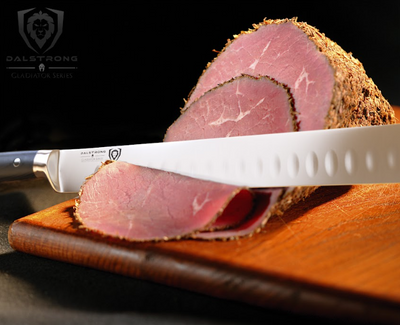
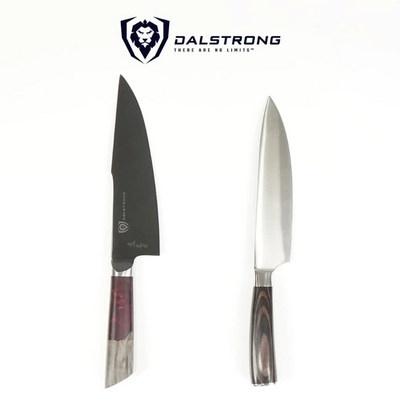
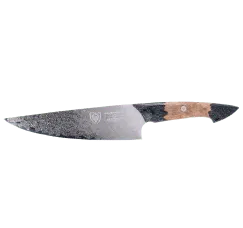
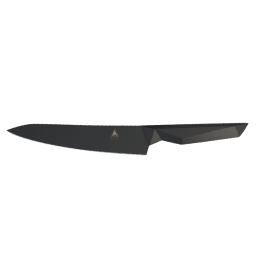
3. Serrated Chef's Knife 7.5" Shogun Series | Dalstrong

This knife is created to help you achieve culinary perfection with its ultra-sharp serrations along the blade that is perfect for crinkle-cut fries when you want to add another side of potatoes along with mashed potatoes.
Pros:
- The blade is made with ultra-premium Japanese high-carbon AUS-10V steel and Damascus cladding for stain resistance and durability.
- It has a full-tang blade which makes it sturdy enough to handle large fruits and vegetables.
Cons:
- The serrations along the blade may make it a little difficult to sharpen the knives. However, it is doable. It will only cost you a couple of extra minutes.
- If you’re a novice, a utility knife may be better suited for you.
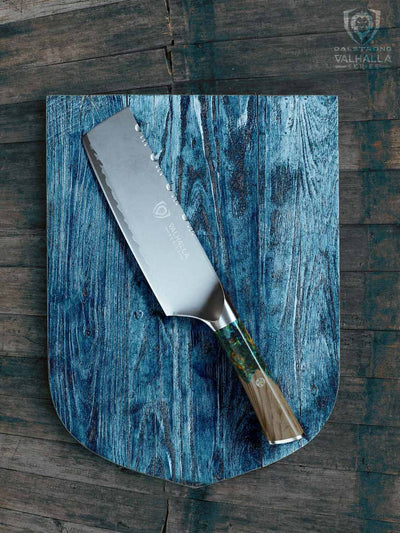
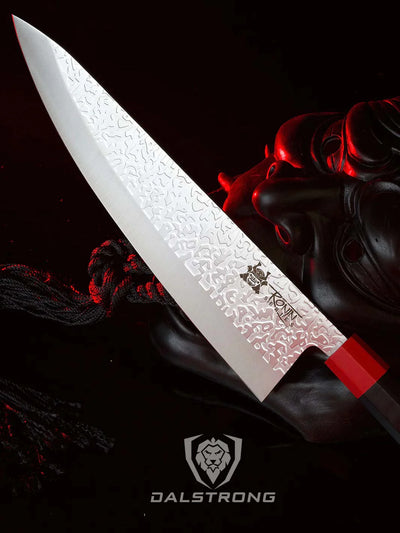
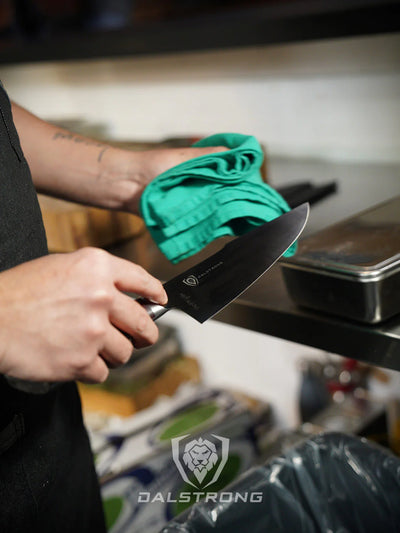
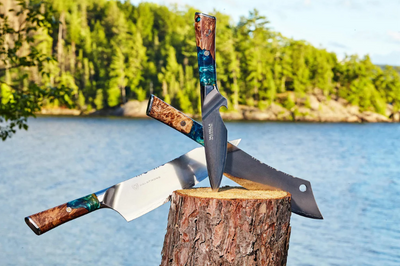
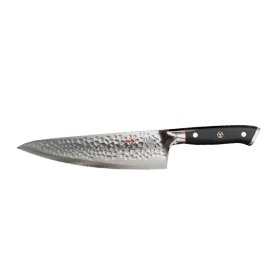
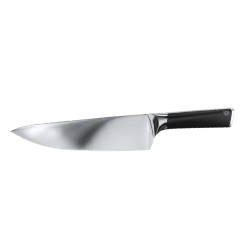
4. Nakiri Knife 6.5 Frost Fire Series | NSF Certified | Dalstrong ©

Nakiri Knives were created to cut tougher vegetables like sweet potatoes or butternut squash. It is an excellent knife to use when working with root vegetables, as well. It has the perfect width to pick up vegetables from the cutting board without anything falling off. This knife from the Frost Fire series is made with 7-layers of high-carbon stainless steel and can handle large potatoes.
Pros:
- It is great to slice sashimi for sushi as well.
- It has an excellent blade length for both home cooks and professional chefs.
Cons:
- You may prefer a longer length to work with large pieces of meat or to filet fish.
- You may prefer a handle that is made with another material instead of resin.
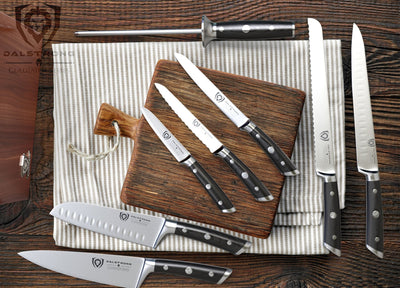
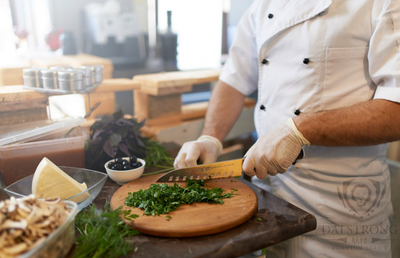
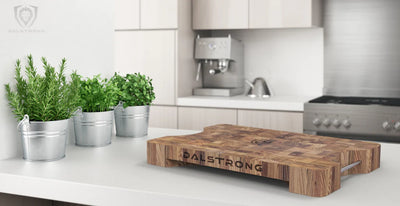
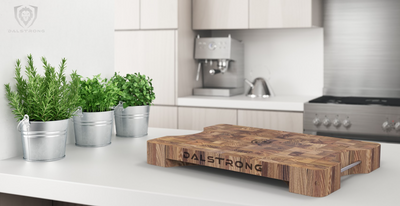
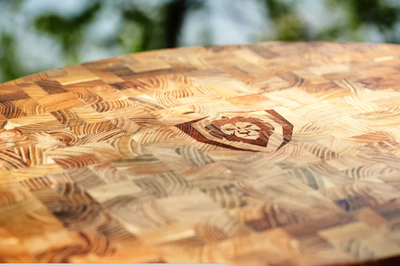
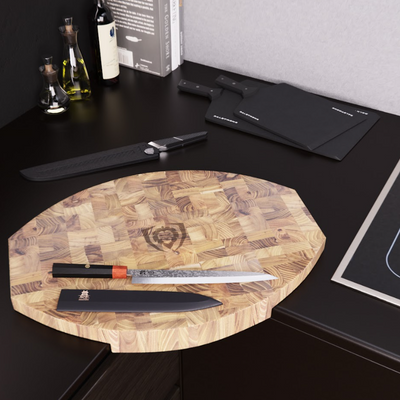
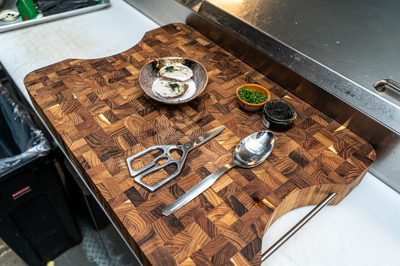
5. Corner Cutting Board - Teak Wood Dalstrong ©

A good cutting board can make all the difference. Elevate your cooking experience with this elegant cutting board that is made with Teak Wood. Hand-crafted to perfection, it is made with premium quality Teak Wood.
Pros:
- It is slip-resistant.
- Sturdy enough to support heavy chopping and cutting of vegetables like potatoes.
Cons:
- Since it is made with Teak Wood, it cannot handle hot surfaces.
- You need to hand wash it and pat it dry immediately, as the soap mixture can damage the cutting board and strip it off of its natural oils.
8. Frequently Asked Questions
What type of potato masher works best?
A traditional potato masher or a potato ricer with zigzag patterns or small holes on the mashing plate work best.
What is the real name for a potato masher?
A potato masher is often called a tater masher or a bean masher.
What can I use instead of a potato masher?
You can use forks, food processors, and whisks instead of a potato masher.
Is a potato masher worth it?
This depends on your preference! If you make mashed potatoes or other mashed dishes quite often, it could turn out to be a good investment.